
This easy Biscoff crust is a buttery, no-bake cookie crust that works perfectly for pies, cheesecakes, and chilled desserts.

Made with crushed Biscoff cookies and melted butter, this Biscoff pie crust holds together beautifully and slices clean every time.
I’ve tested this crust on cheesecakes, pies, and no-bake desserts to get the right balance of flavor, texture, and stability.
Why this recipe works
- Rich Biscoff flavor – works with cheesecake, chocolate, and fruit fillings
- Perfect for pies and cheesecakes – firm enough to slice, yet tender and buttery
- No-bake and fast – just mix, press, and chill
Ingredients you need
- Biscoff cookies: finely crushed into crumbs
- Unsalted butter: melted, helps bind the crust
- Sugar: optional, only if you like a slightly sweeter crust

Tips for the Perfect Biscoff Crust
- Chill long enough before filling to avoid crumbling when slicing.
- Use very fine crumbs so the crust holds together cleanly.
- Press firmly on the bottom and slightly up the sides.
How to Make a Biscoff Crust (No-Bake)
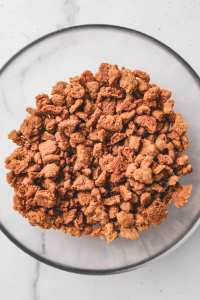
Crush the Biscoff cookies into very fine crumbs using a food processor or rolling pin.
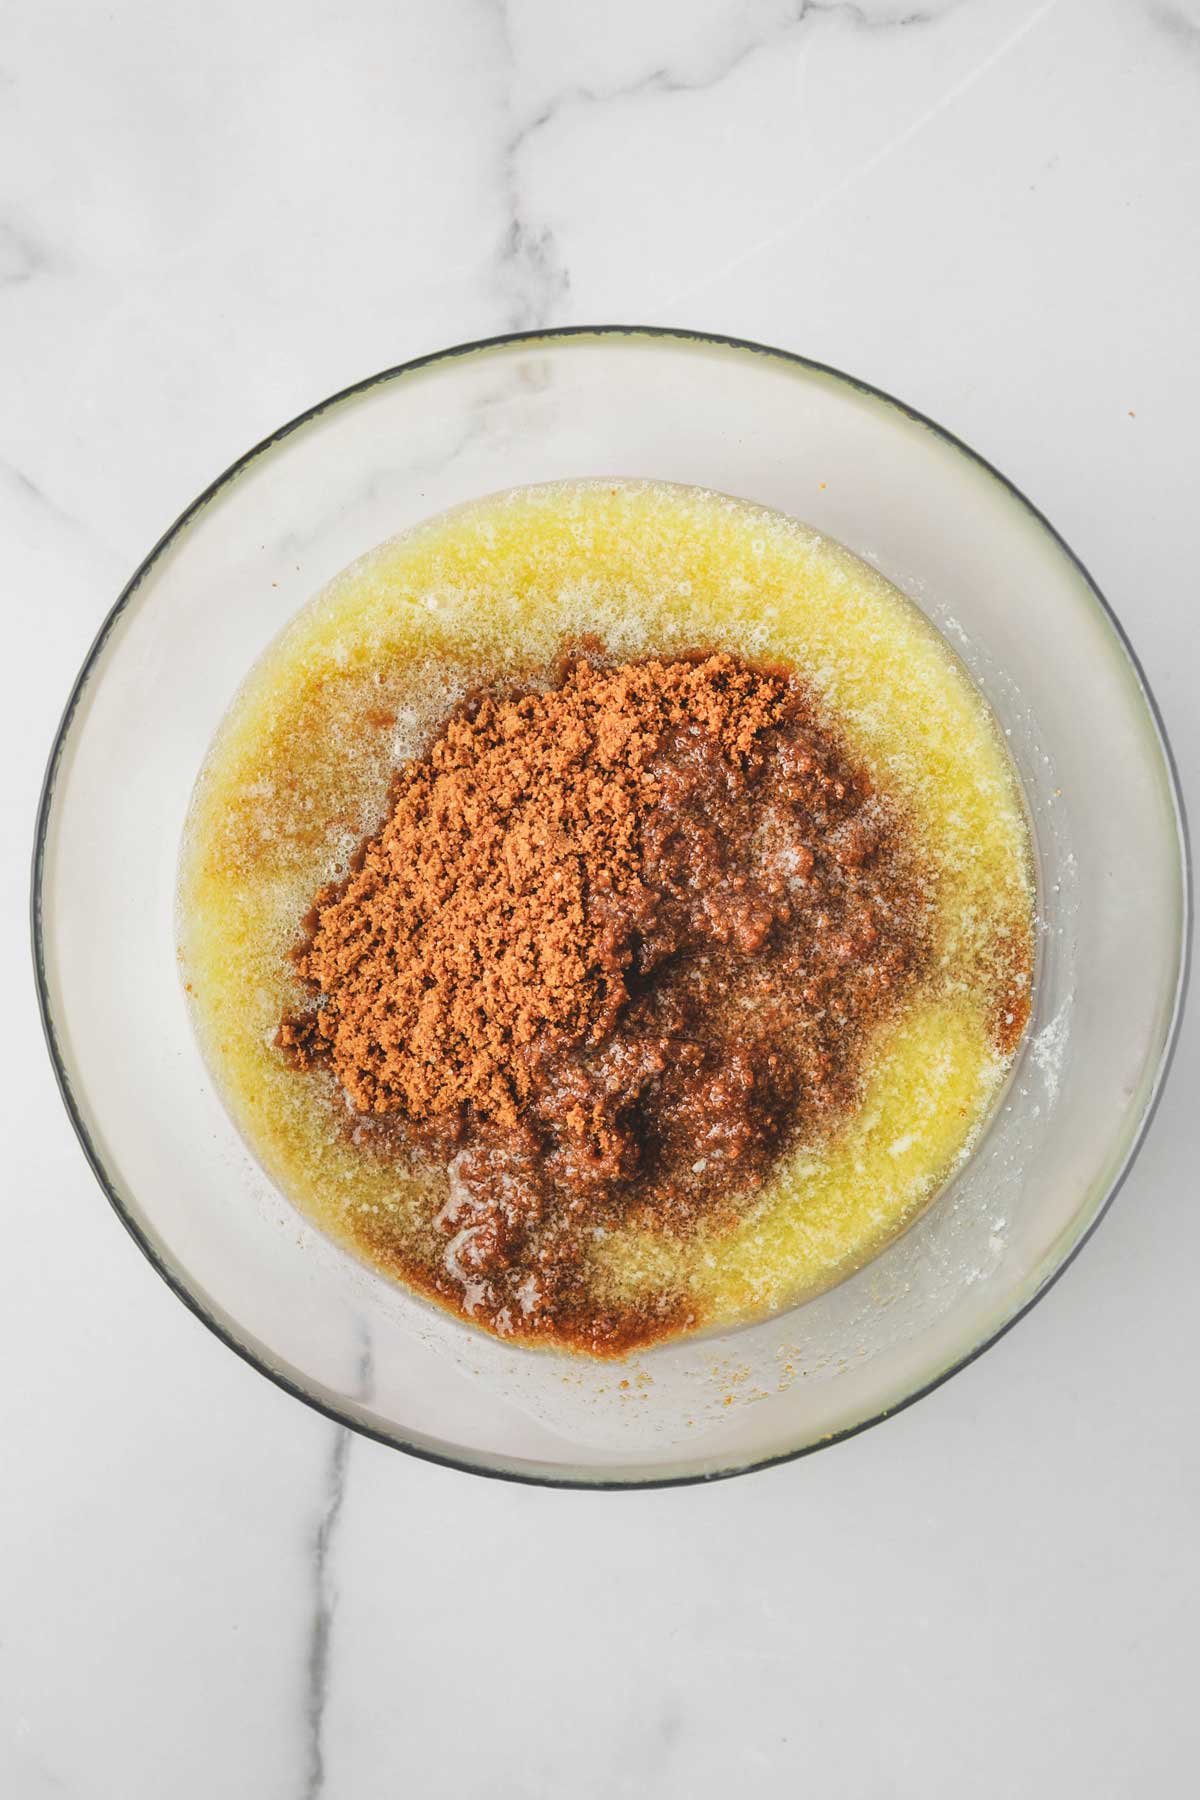
Mix with the melted butter until the crumbs are evenly coated and look like wet sand.
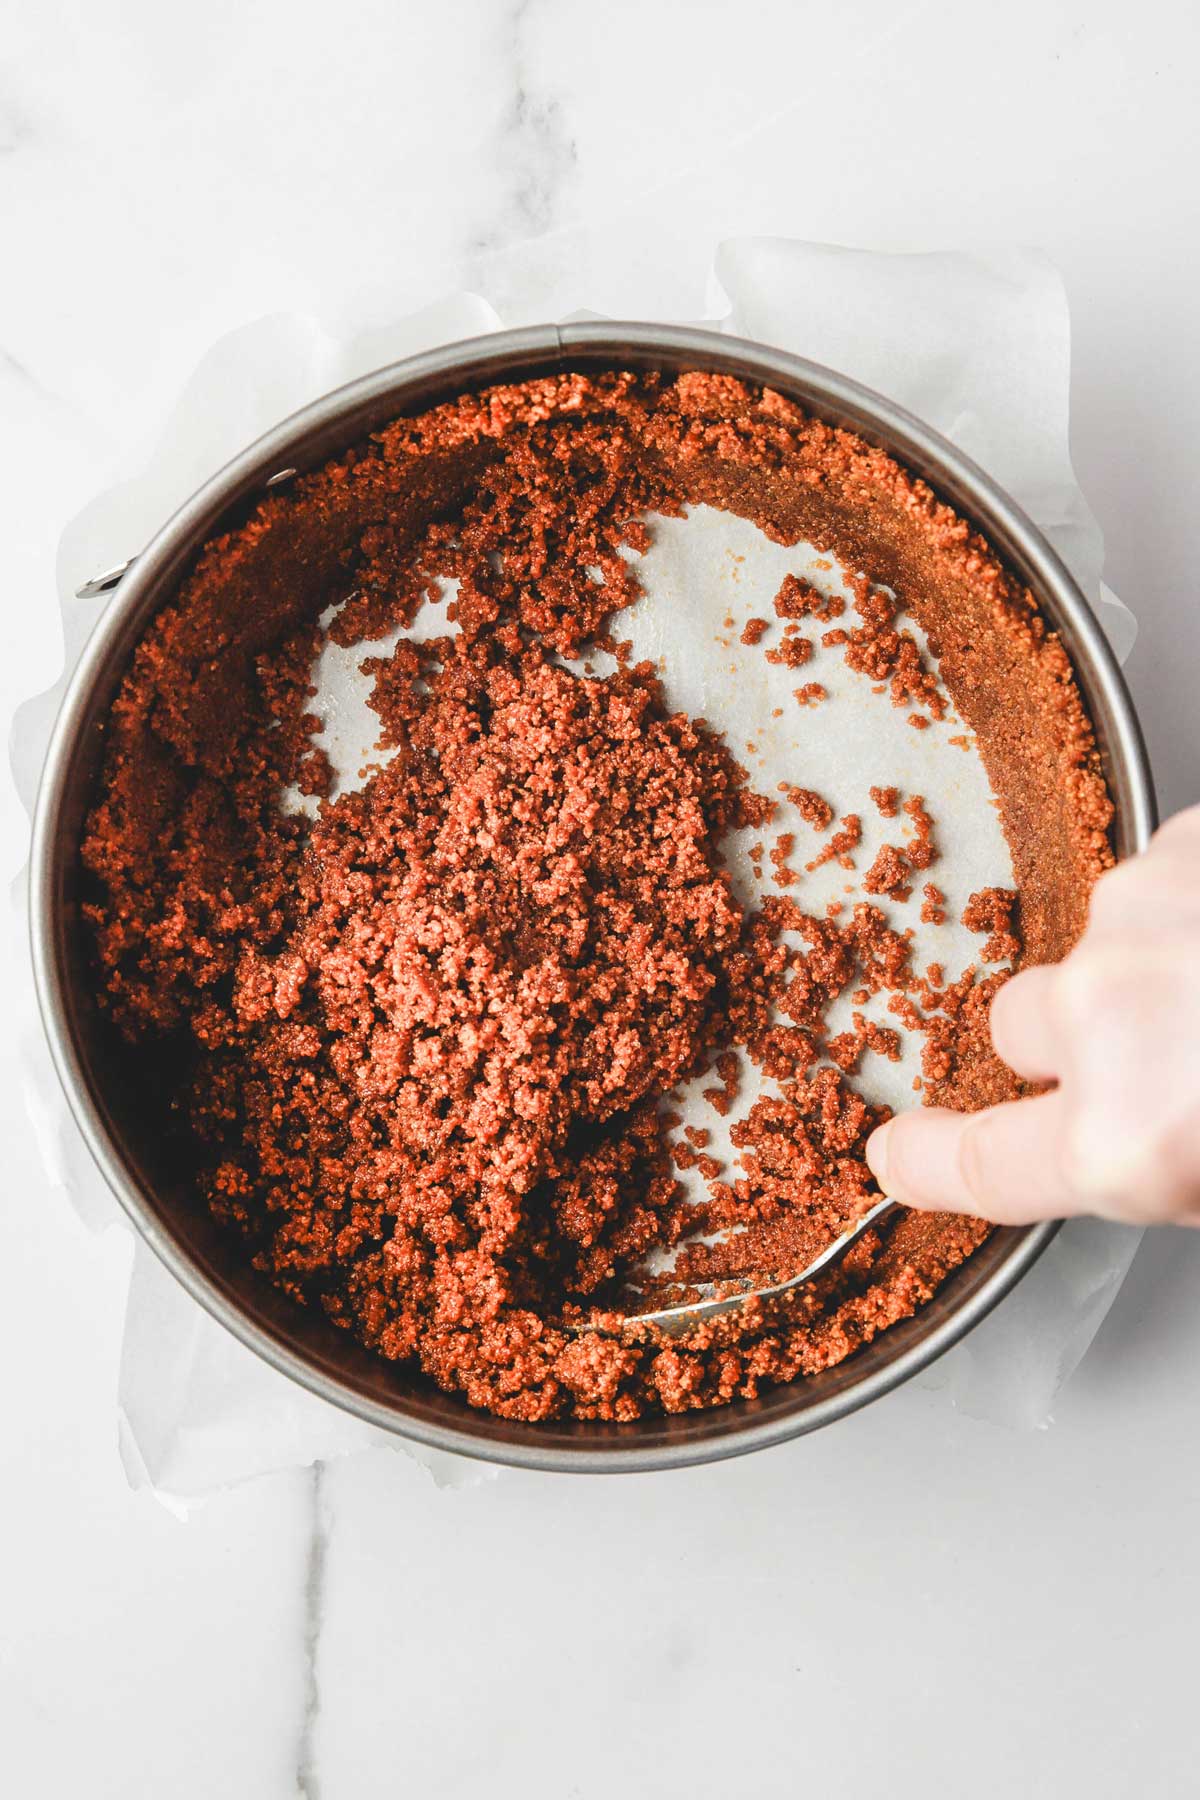
Press the mixture up the sides of a greased springform pan first, using the back of a spoon or a glass.
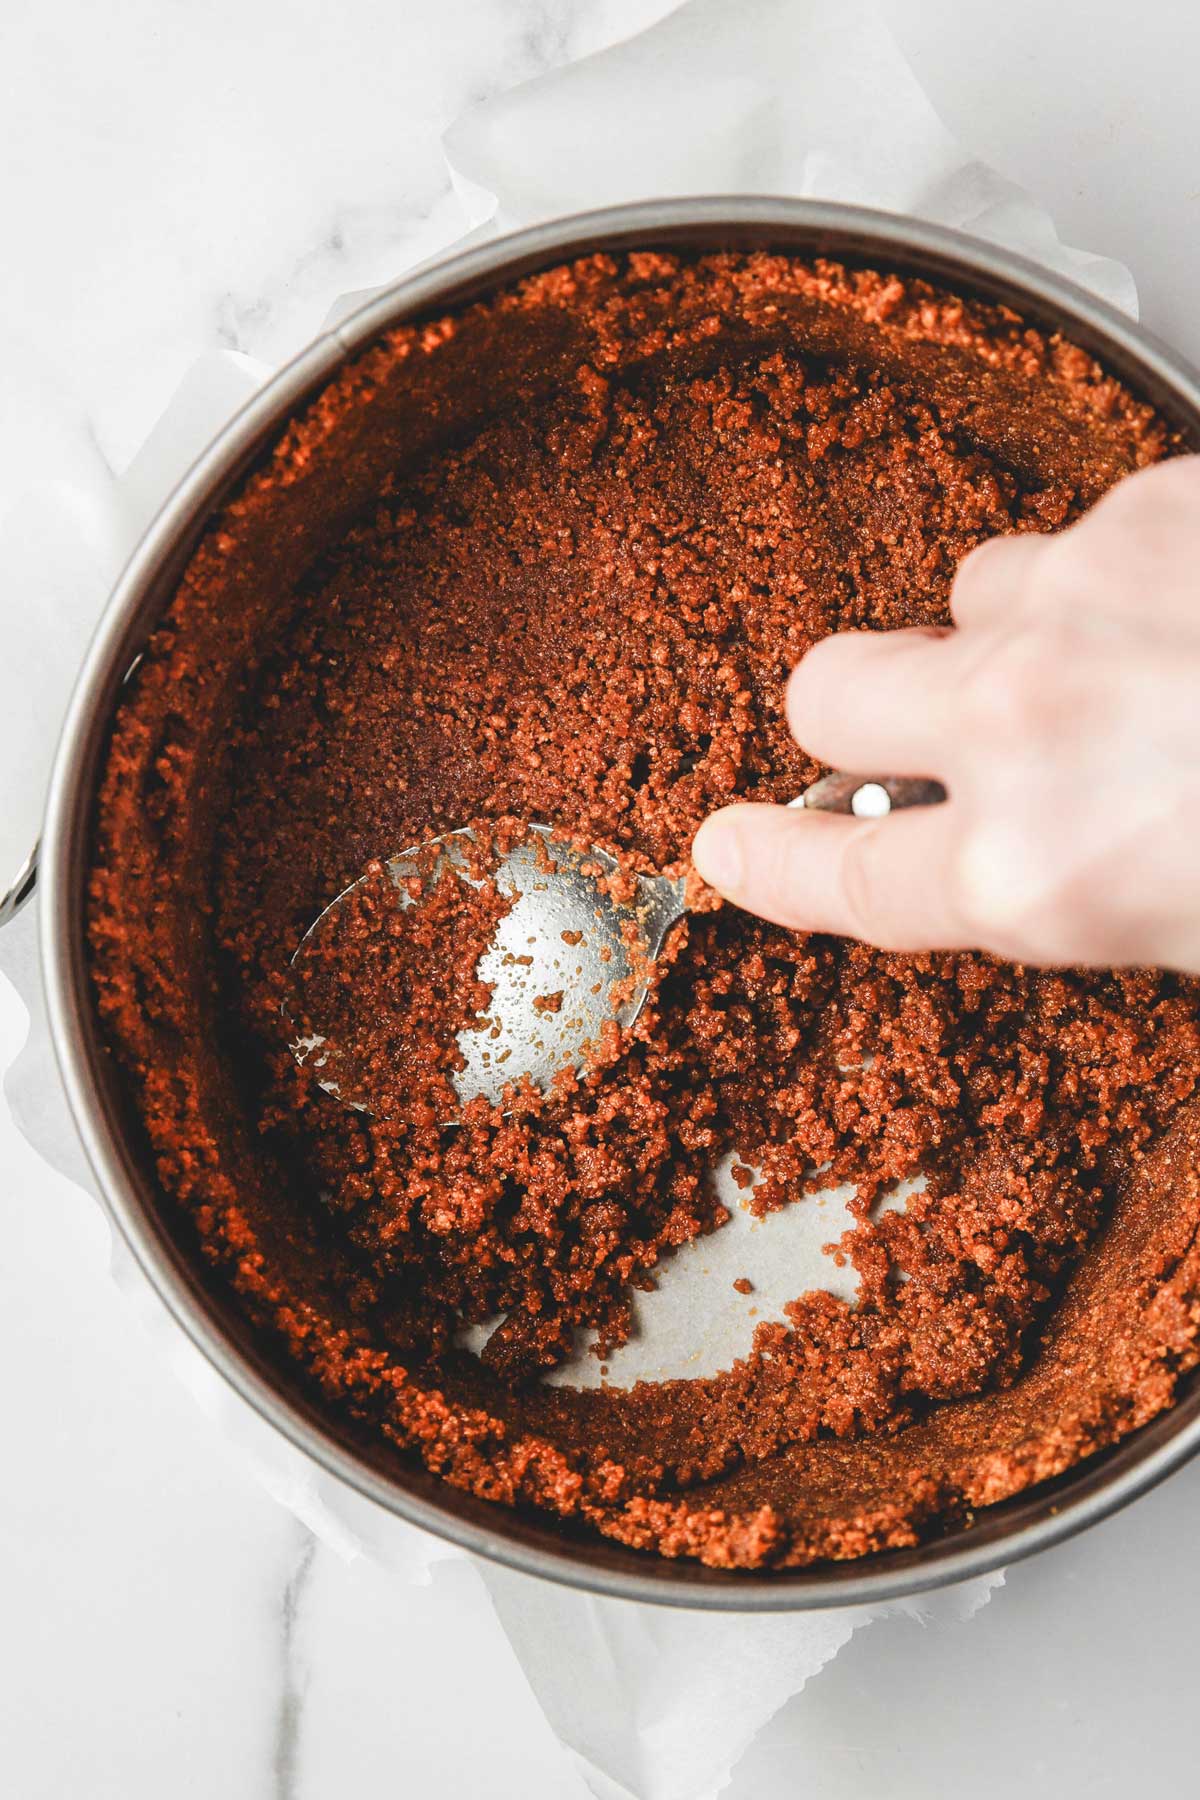
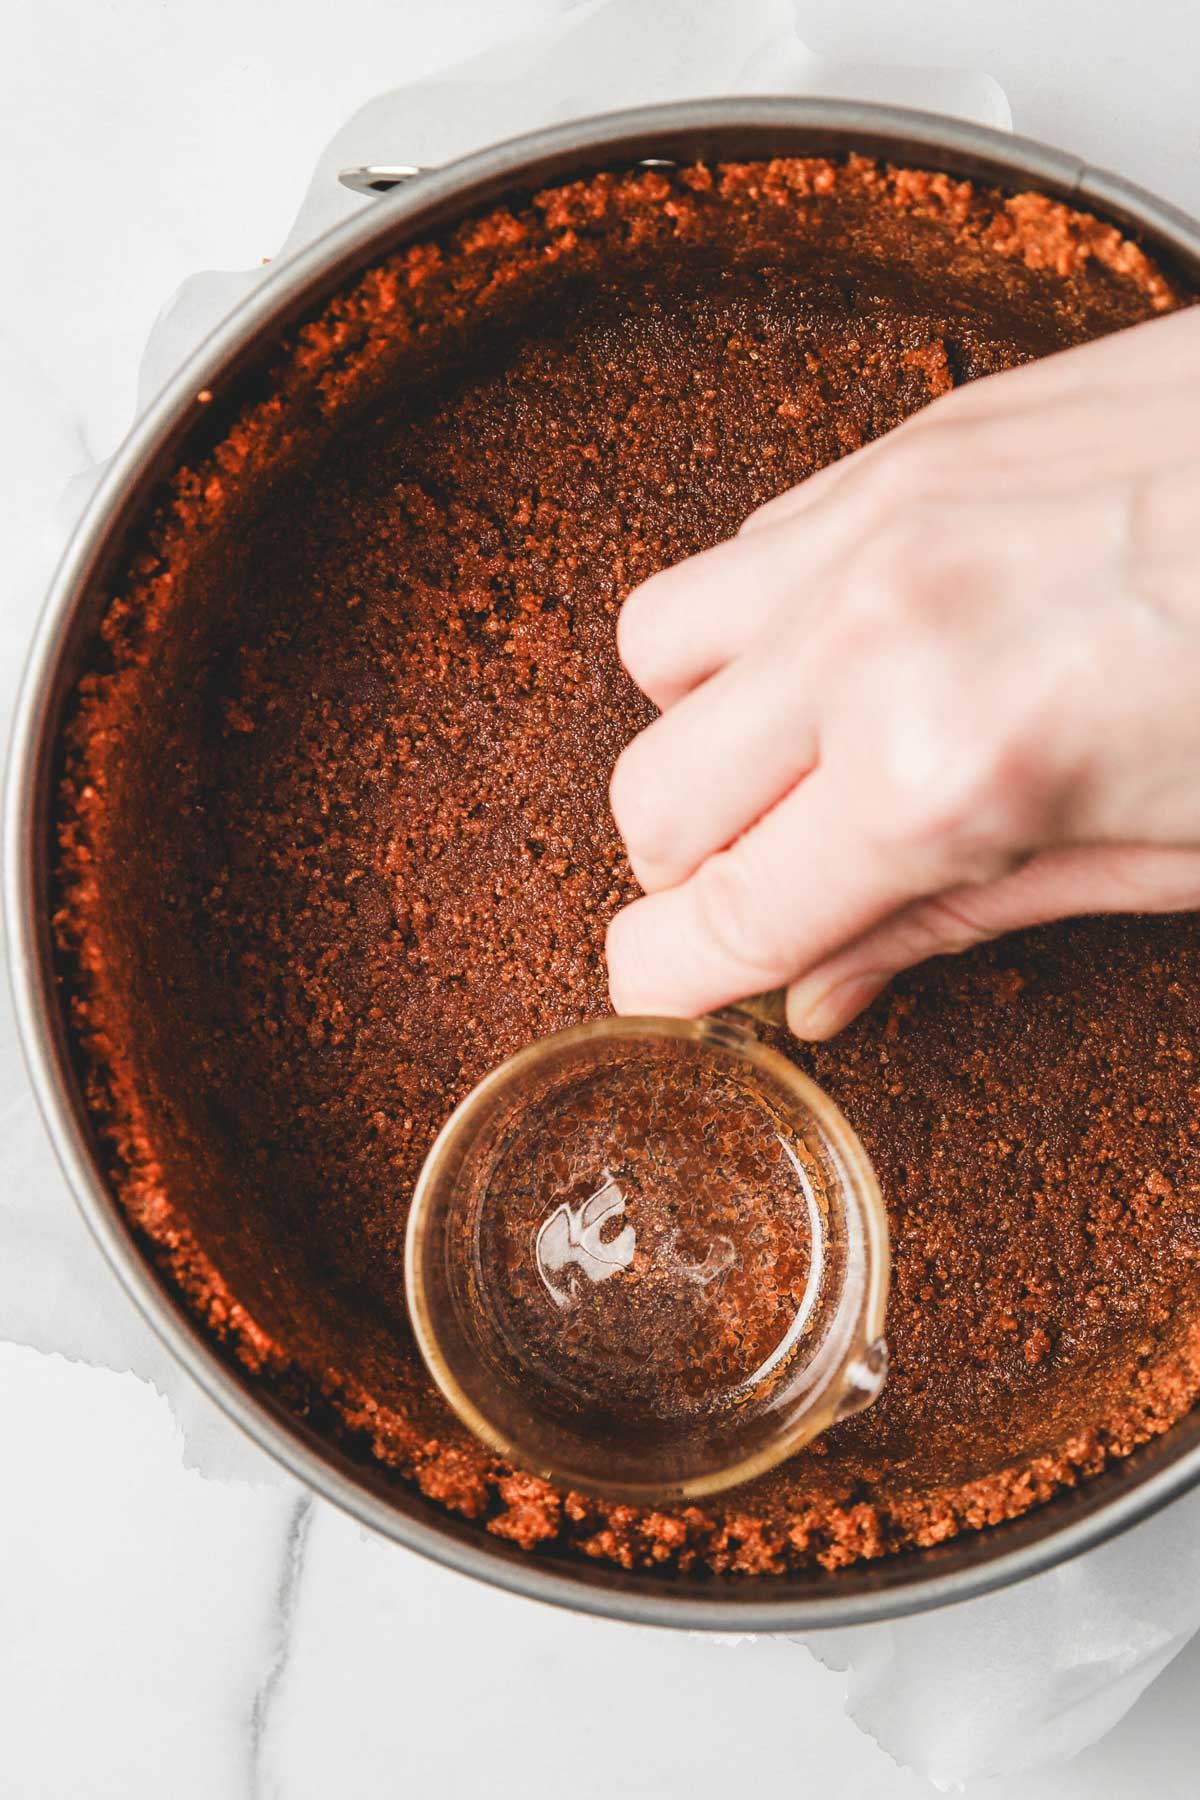
Press the remaining crumbs firmly into the bottom to create an even, compact base.
Chill the crust in the fridge for at least 30 minutes before filling.
Optional: Bake the Crust
If you prefer a firmer base, bake at 180°C (350°F) for 8–10 minutes, then cool completely before filling.
How to Use It
- Cheesecake crust (baked or no-bake)
- No-bake cheesecakes
- Cream pies and chilled desserts
- Chocolate or caramel-based fillings
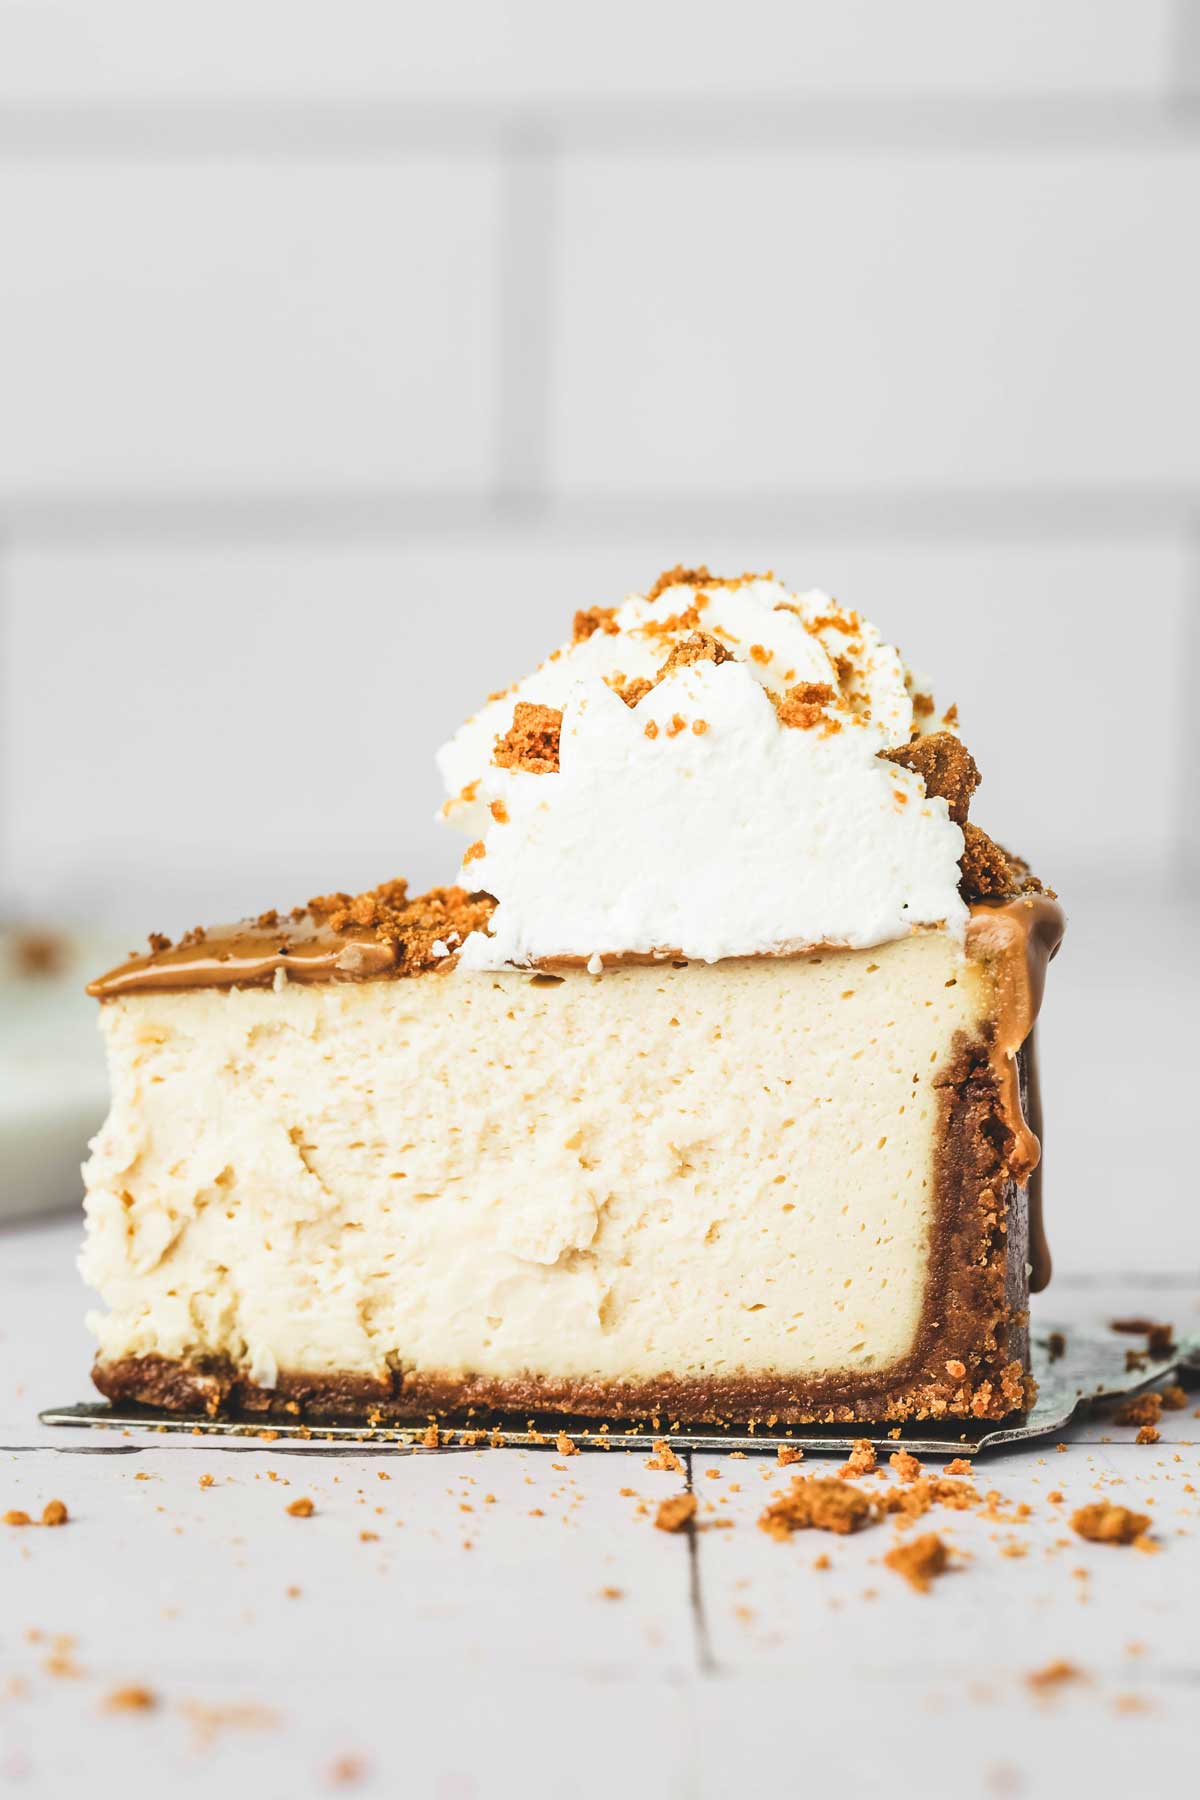
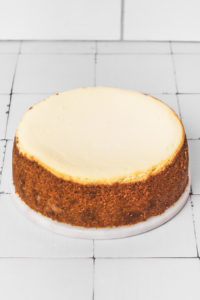
This Biscoff crust is perfect for a Biscoff cheesecake, whether baked or a no-bake biscoff cheesecake, and works beautifully with creamy fillings.
Storage
- Fridge: up to 3 days, tightly covered
- Freezer: up to 1 month, well wrapped
Recipe Variations
- Biscoff cheesecake crust: bake briefly for extra stability
- Chocolate Biscoff crust: add cocoa powder to the crumbs
- Pie crust version: press into a shallow pie pan instead of a springform
For a classic baked filling, this crust pairs perfectly with my New York cheesecake.
Recipe Questions
Can I use this crust for a baked cheesecake?
Yes, just bake the crust briefly before adding the filling.
Do I need to add sugar?
Not necessarily. Biscoff cookies are already sweet.
Can I make it ahead?
Yes, prepare and chill the crust up to 24 hours in advance.
What pan size works best?
A 9-inch springform pan or standard pie dish works perfectly.
More Crust Recipes
- Oreo crust
- Graham cracker crust
I hope you’ll love this recipe! If you try this recipe, feel free to leave a comment. It always helps. Happy baking!
Print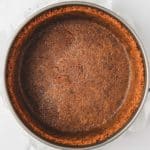
Biscoff Crust (No-Bake Pie & Cheesecake Crust)
- Total Time: 20 minutes
- Yield: 25 inch cheesecake
Description
Easy no-bake Biscoff crust made with just two ingredients. This buttery cookie crust is perfect for a 25 cm (10-inch) pie dish or springform pan and works beautifully for cheesecakes and chilled desserts.
Ingredients
- 220 g biscoff cookies - about 18–22 cookies
- 80 g (⅓ cup) unsalted butter - melted
Instructions
- Crush the Biscoff cookies in a food processor, or place them in a ziplock bag and crush with a rolling pin until you get fine crumbs.
- Melt the butter, then mix it into the cookie crumbs until evenly combined.
- Pour the mixture into a greased springform pan. Press the crumbs firmly along the sides first to create an even border, then press the remaining mixture into the bottom. Smooth the surface using the bottom of a glass.
- Chill the crust in the fridge while you prepare the cheesecake filling or pie filling.


Notes
Storage: Keep the crust refrigerated, well covered, for up to 3 days.
Tips
- Crush the cookies very finely so the crust holds together cleanly.
- Always press the sides first, then the base, for a neat edge.
- Chill before filling to prevent crumbling.
- For a firmer crust, bake at 180°C (350°F) for 8–10 minutes and let cool completely.
- Prep Time: 20 minutes
- Category: crust,
- Cuisine: American

Leave a Reply