
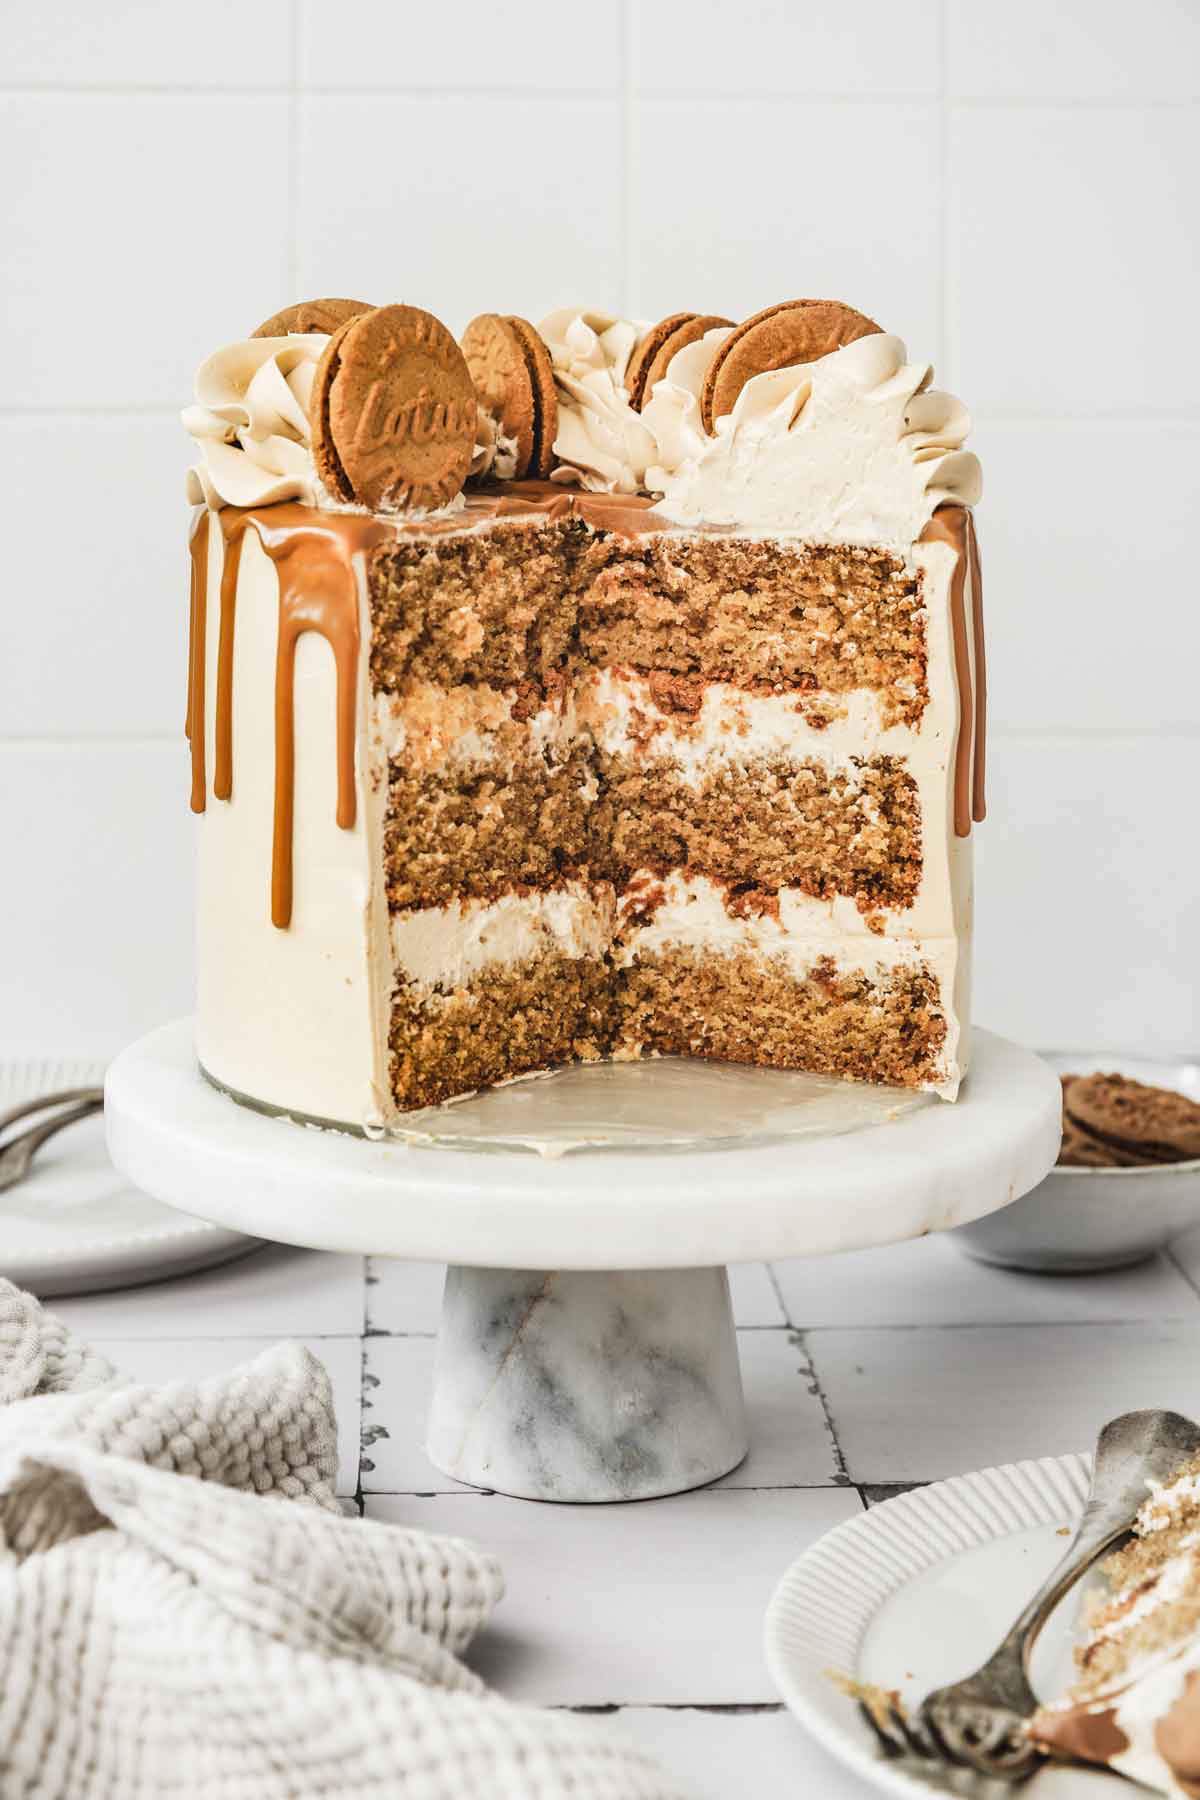
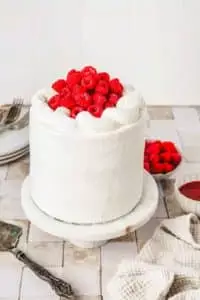
This cookie butter cake is a soft vanilla layer cake flavored with Biscoff spread, finished with creamy frosting and a glossy cookie butter drip.

This cookie butter cake is my go-to Biscoff cake recipe when I want a soft sponge with deep cookie butter flavor — a moist layer cake with creamy frosting and that glossy cookie butter drip.
As a French baker, I make this cookie butter cake often. The sponge stays light, the flavor is deep, and the slices always look clean and perfect.
I’ve tested this Biscoff layer cake many times for birthdays and special occasions — the texture stays light and the flavor is always consistent.
Why you'll love this recipe
- Soft and spiced – light sponge with rich cookie butter flavor.
- Creamy frosting combo – mascarpone inside, buttercream outside.
- That cookie butter drip – glossy, sweet, and totally irresistible.
Ingredients for Cookie Butter Cake
- Flour: cake flour for a soft, fluffy crumb (all-purpose works too).
- Leavening: baking powder + soda for a light, airy texture.
- Biscoff cookies: finely crushed for that caramel-spice flavor.
- Butter: unsalted and softened for easy mixing.
- Sugar: a mix of white and powdered for sweetness and structure.
- Eggs: room temperature — whole for the cake, whites for the frosting.
- Cookie butter spread: adds moisture and that rich cookie flavor.
- Milk: buttermilk for tenderness, or swap with yogurt or sour cream.
- Vanilla & salt: balance out the sweetness and deepen the flavor.
- Mascarpone: full-fat for a creamy, smooth frosting.
- Heavy cream: cold, to whip up light and stable layers.

Best Tips for This Biscoff Cake
- Use a kitchen scale. For perfect layers and consistent texture every time.
- Don’t overmix. Once the dry ingredients are in, stop when the batter looks smooth.
- Room temperature butter and eggs. They blend better and give a lighter crumb.
- Cool completely. A chilled cake is easier to frost and gives cleaner layers.
- Warm your cookie butter slightly. It spreads and drips more smoothly.
How to Make Cookie Butter Cake
This cookie butter cake is my vanilla cake recipe flavored with Biscoff spread and crushed Biscoff cookies for a rich cookie butter flavor.
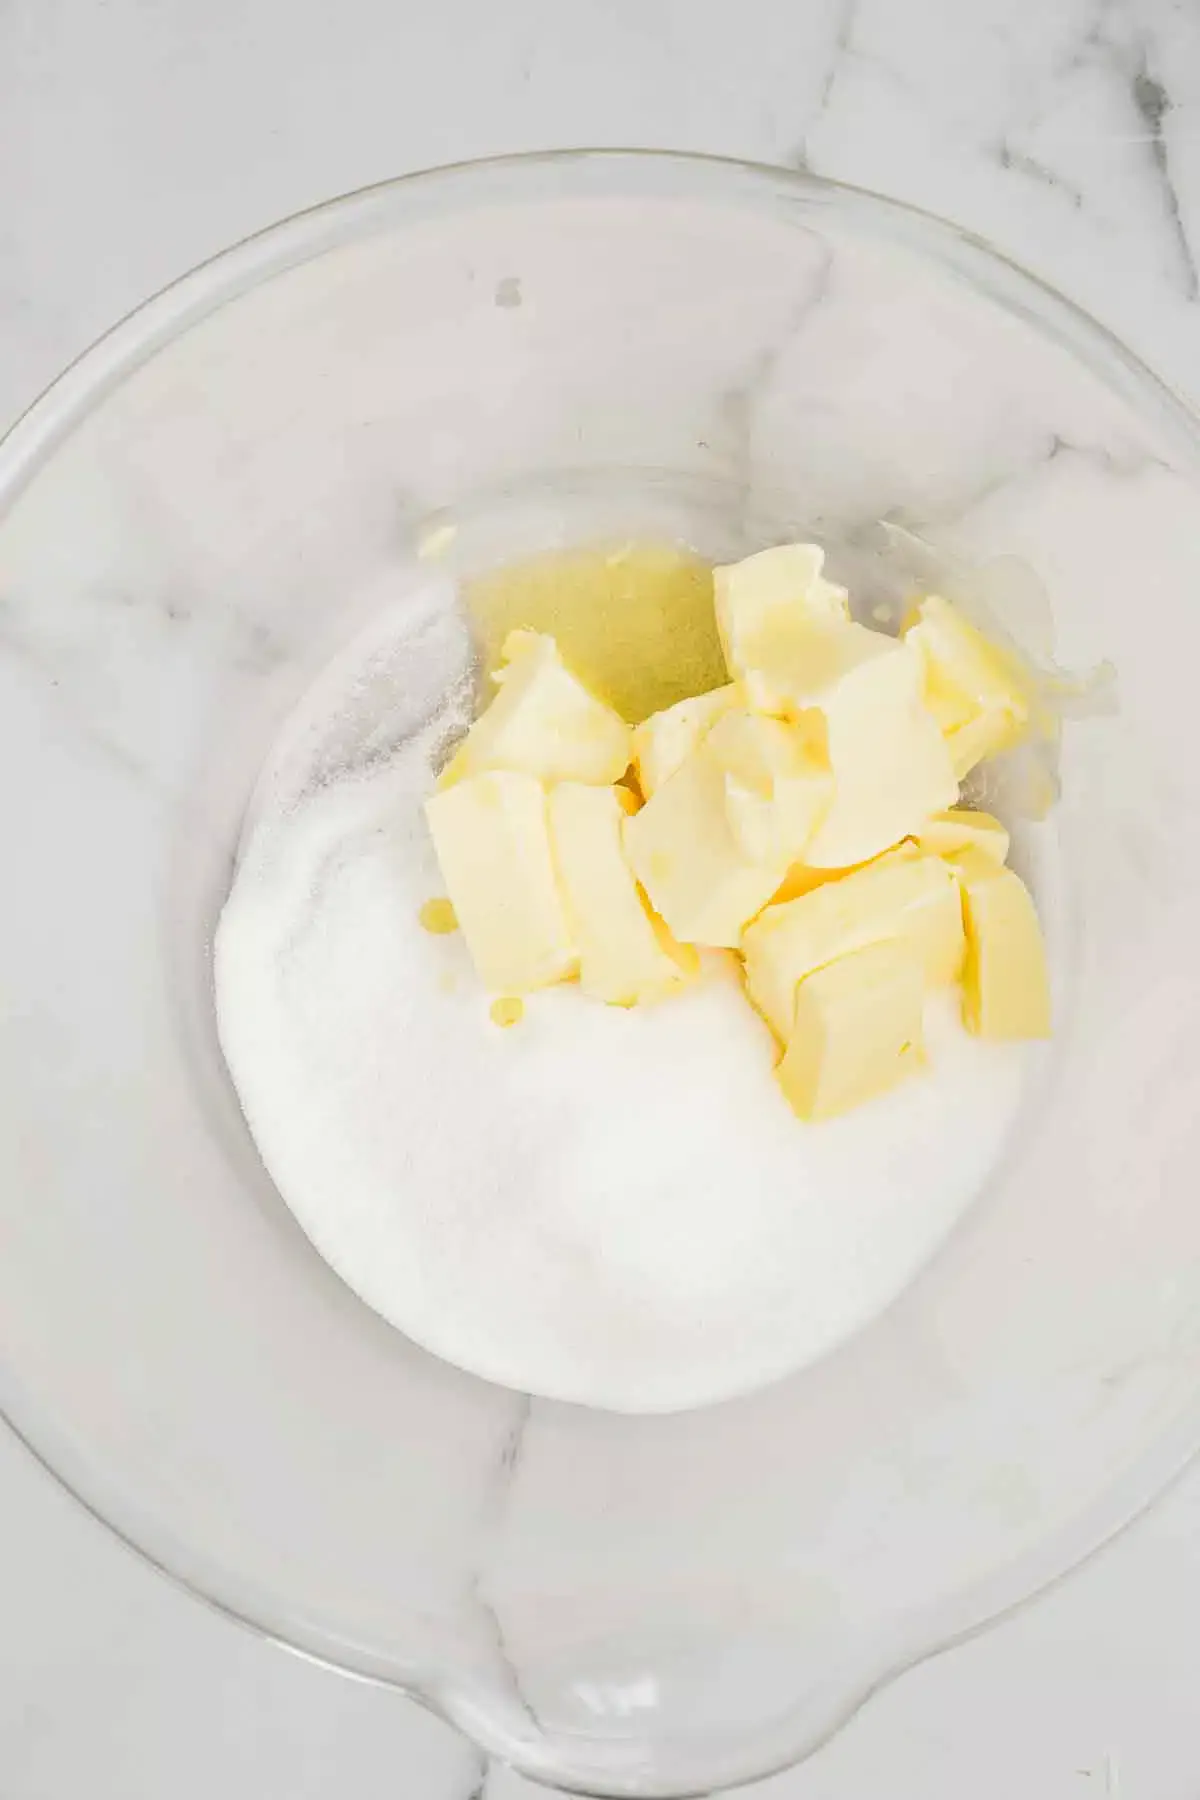
Cream the softened butter and sugar in a large bowl until smooth and fluffy.
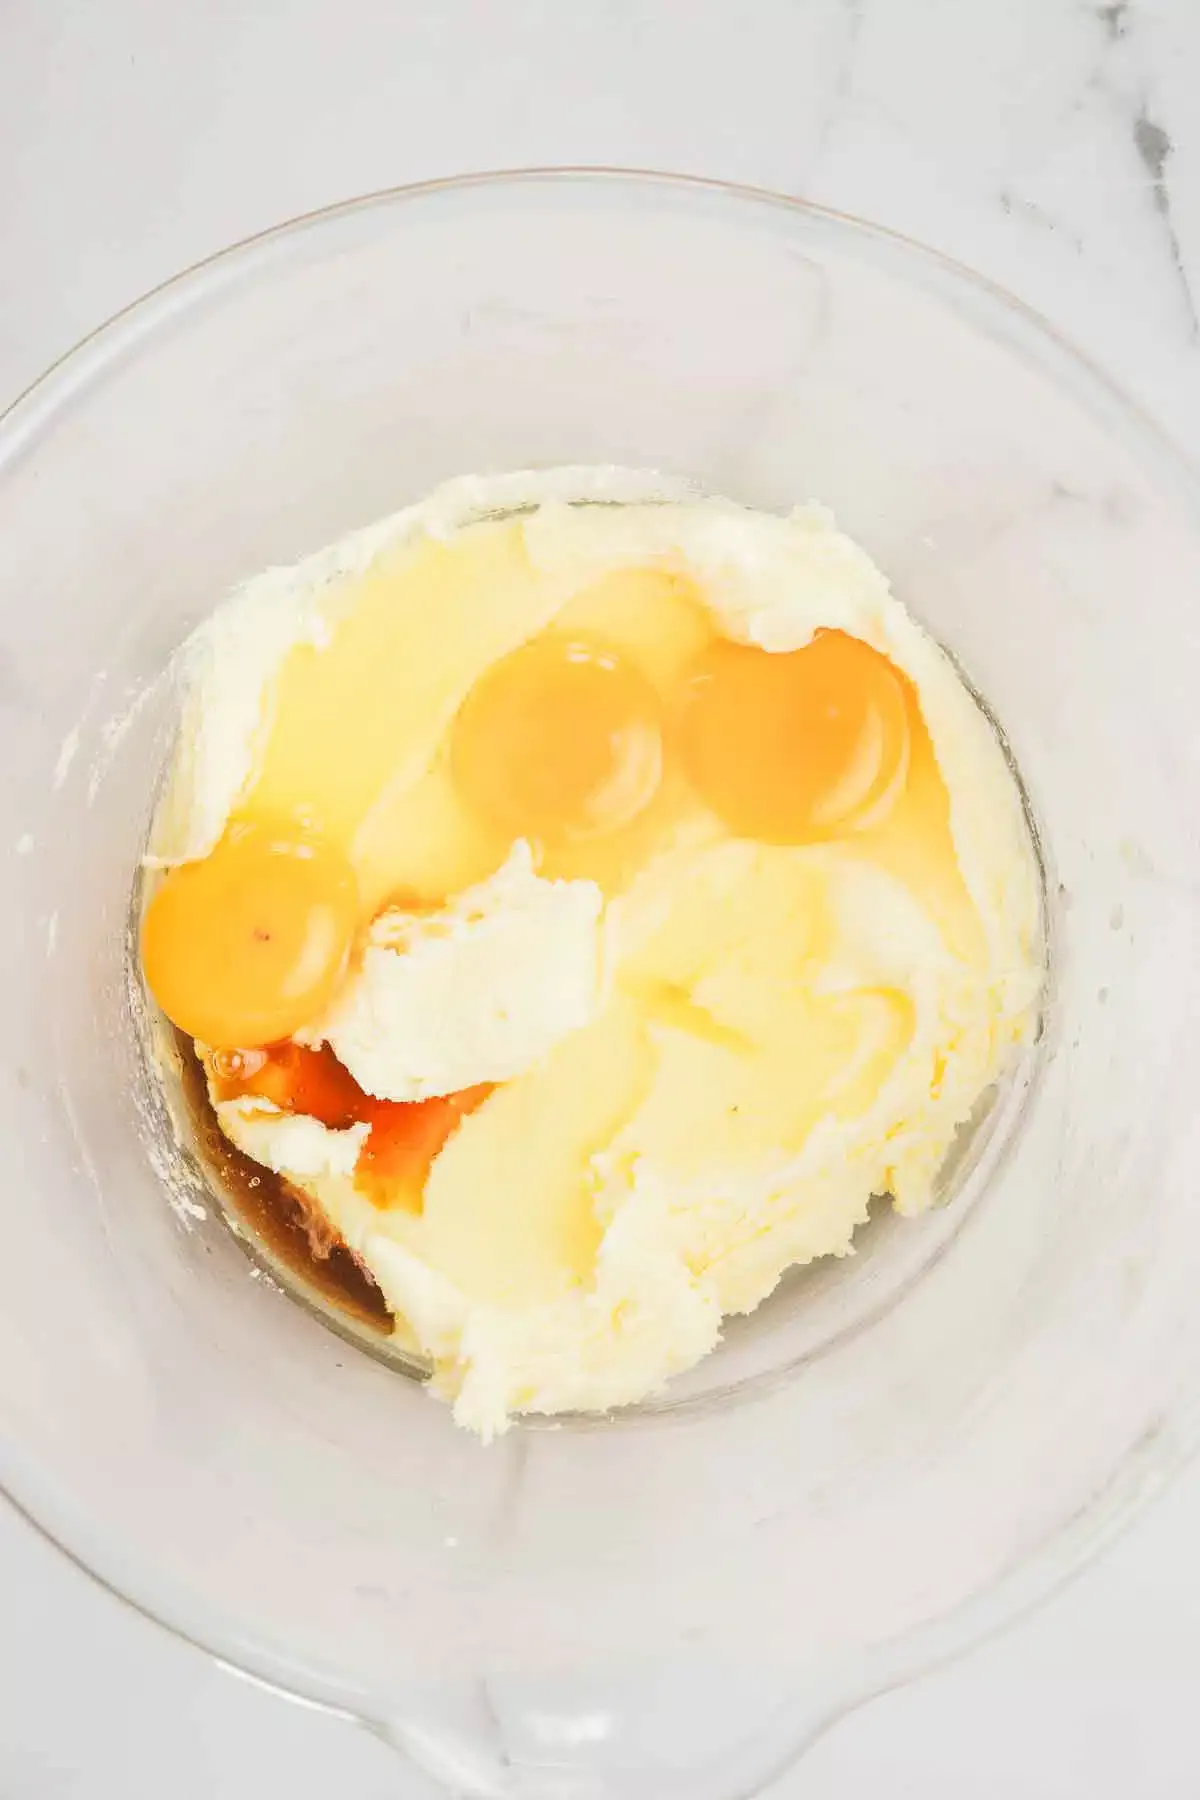
Add the eggs and vanilla, and beat again until light and creamy.
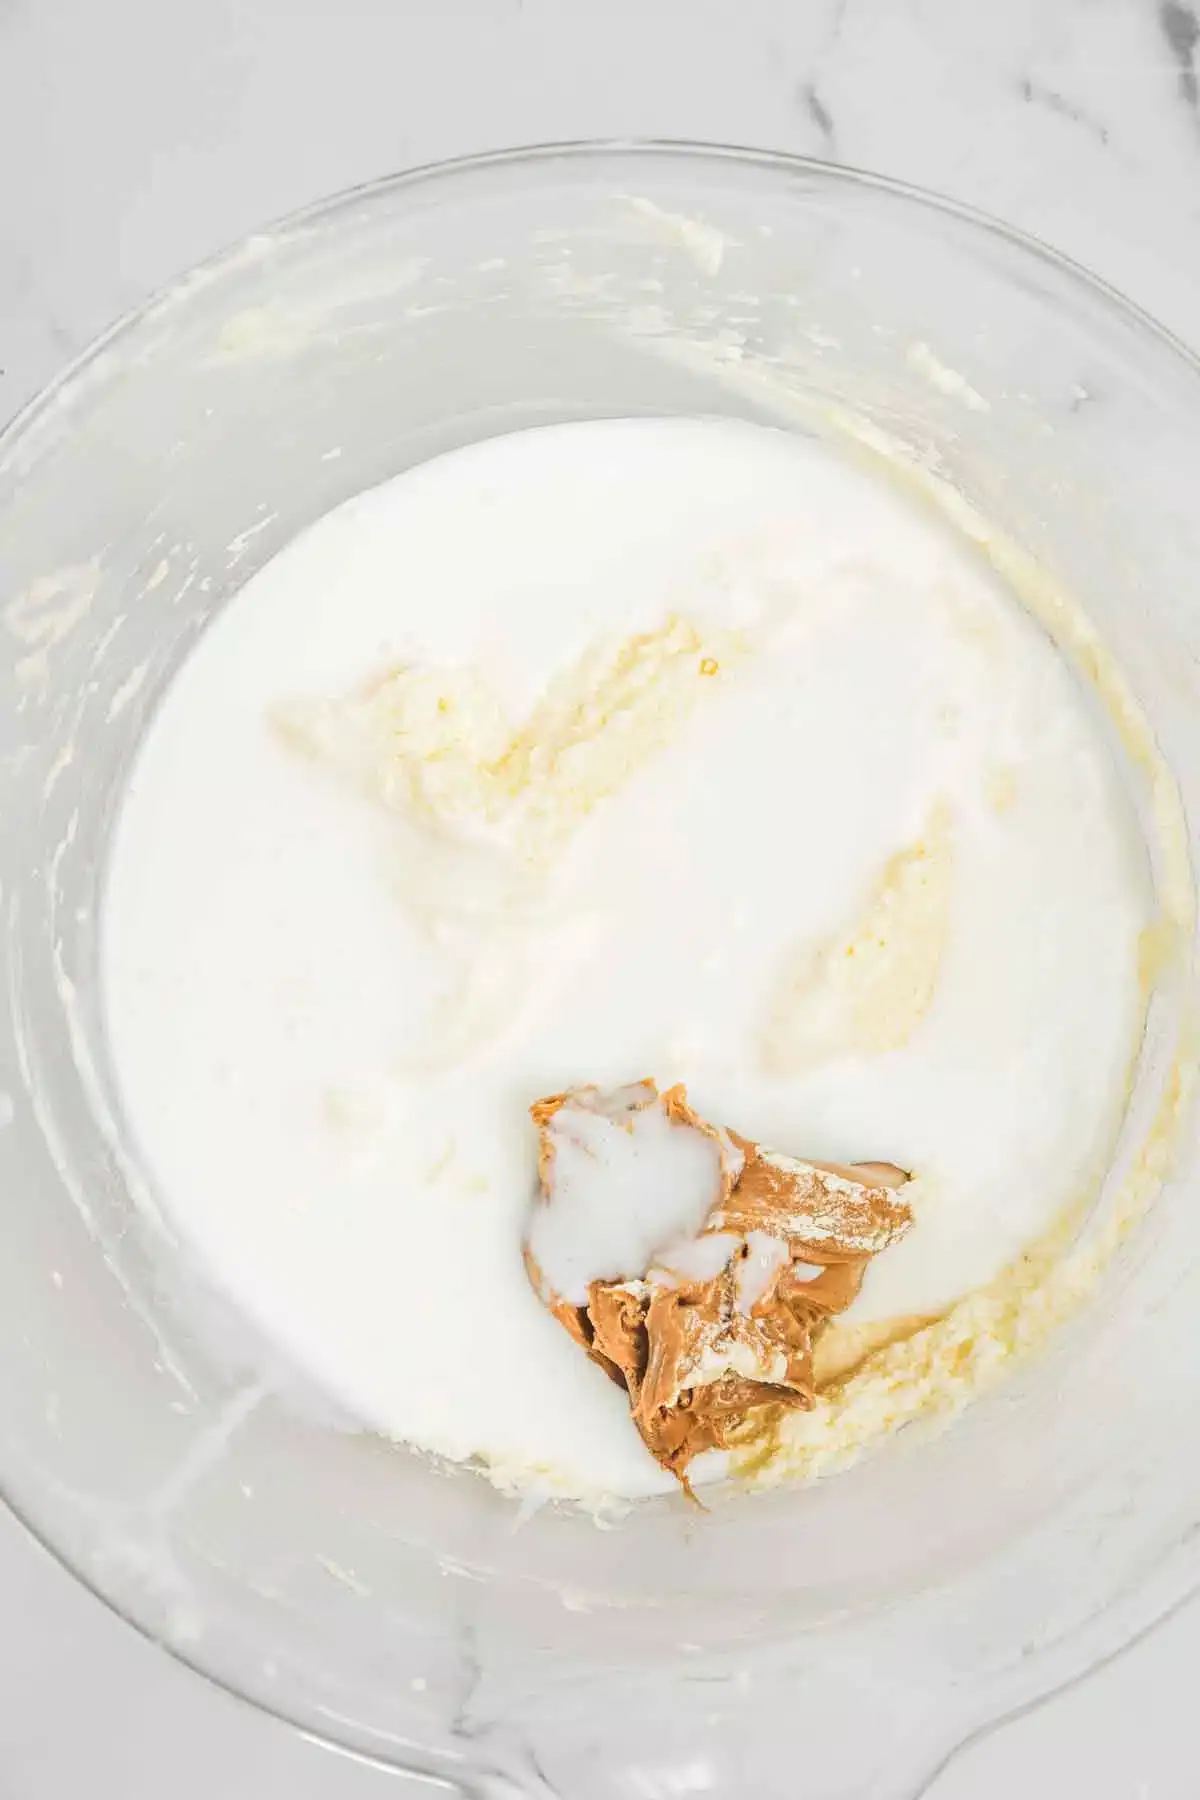
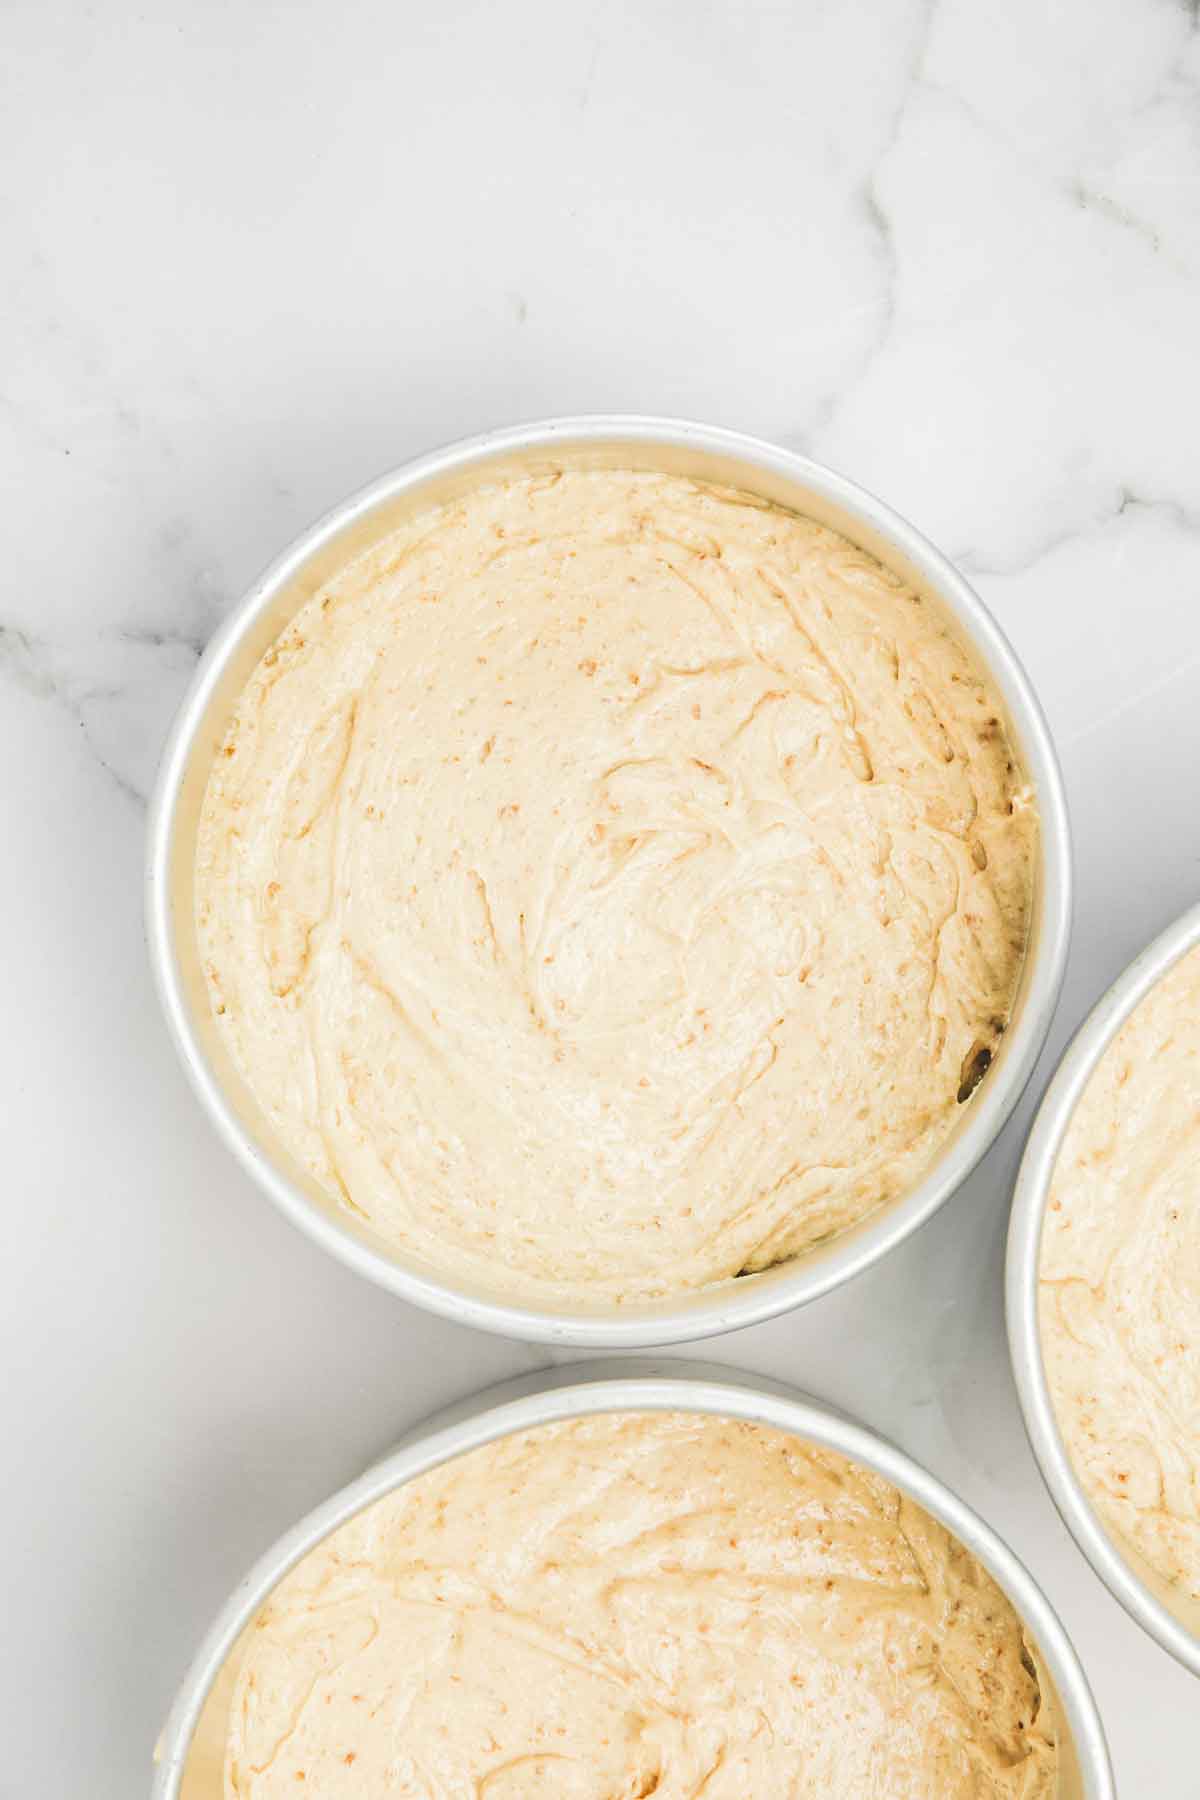
Mix in the buttermilk and cookie butter spread until fully combined and the batter looks silky.
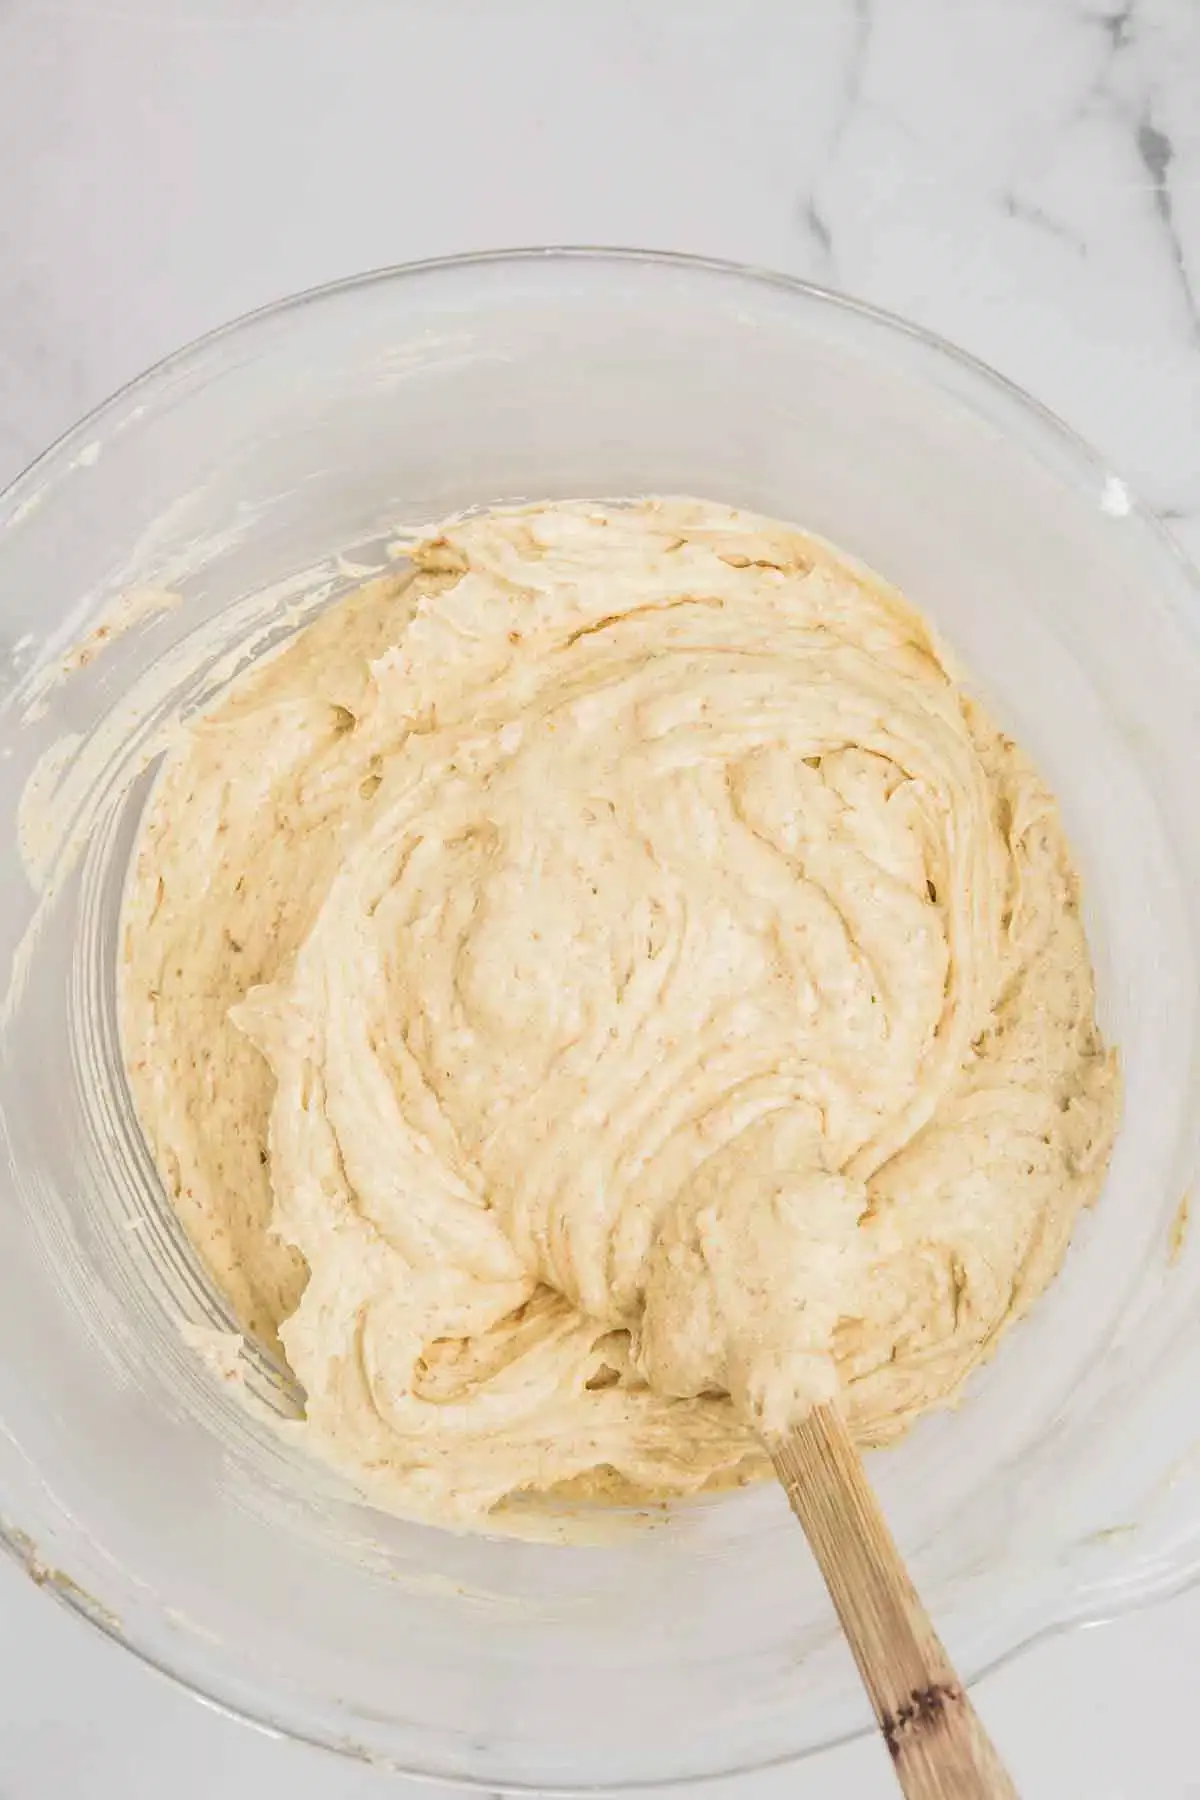
Add the dry ingredients — flour, baking powder, baking soda, and salt — and mix on low speed just until you get a smooth, thick batter.
Divide evenly into three greased and lined cake pans, smoothing the tops with a spatula.
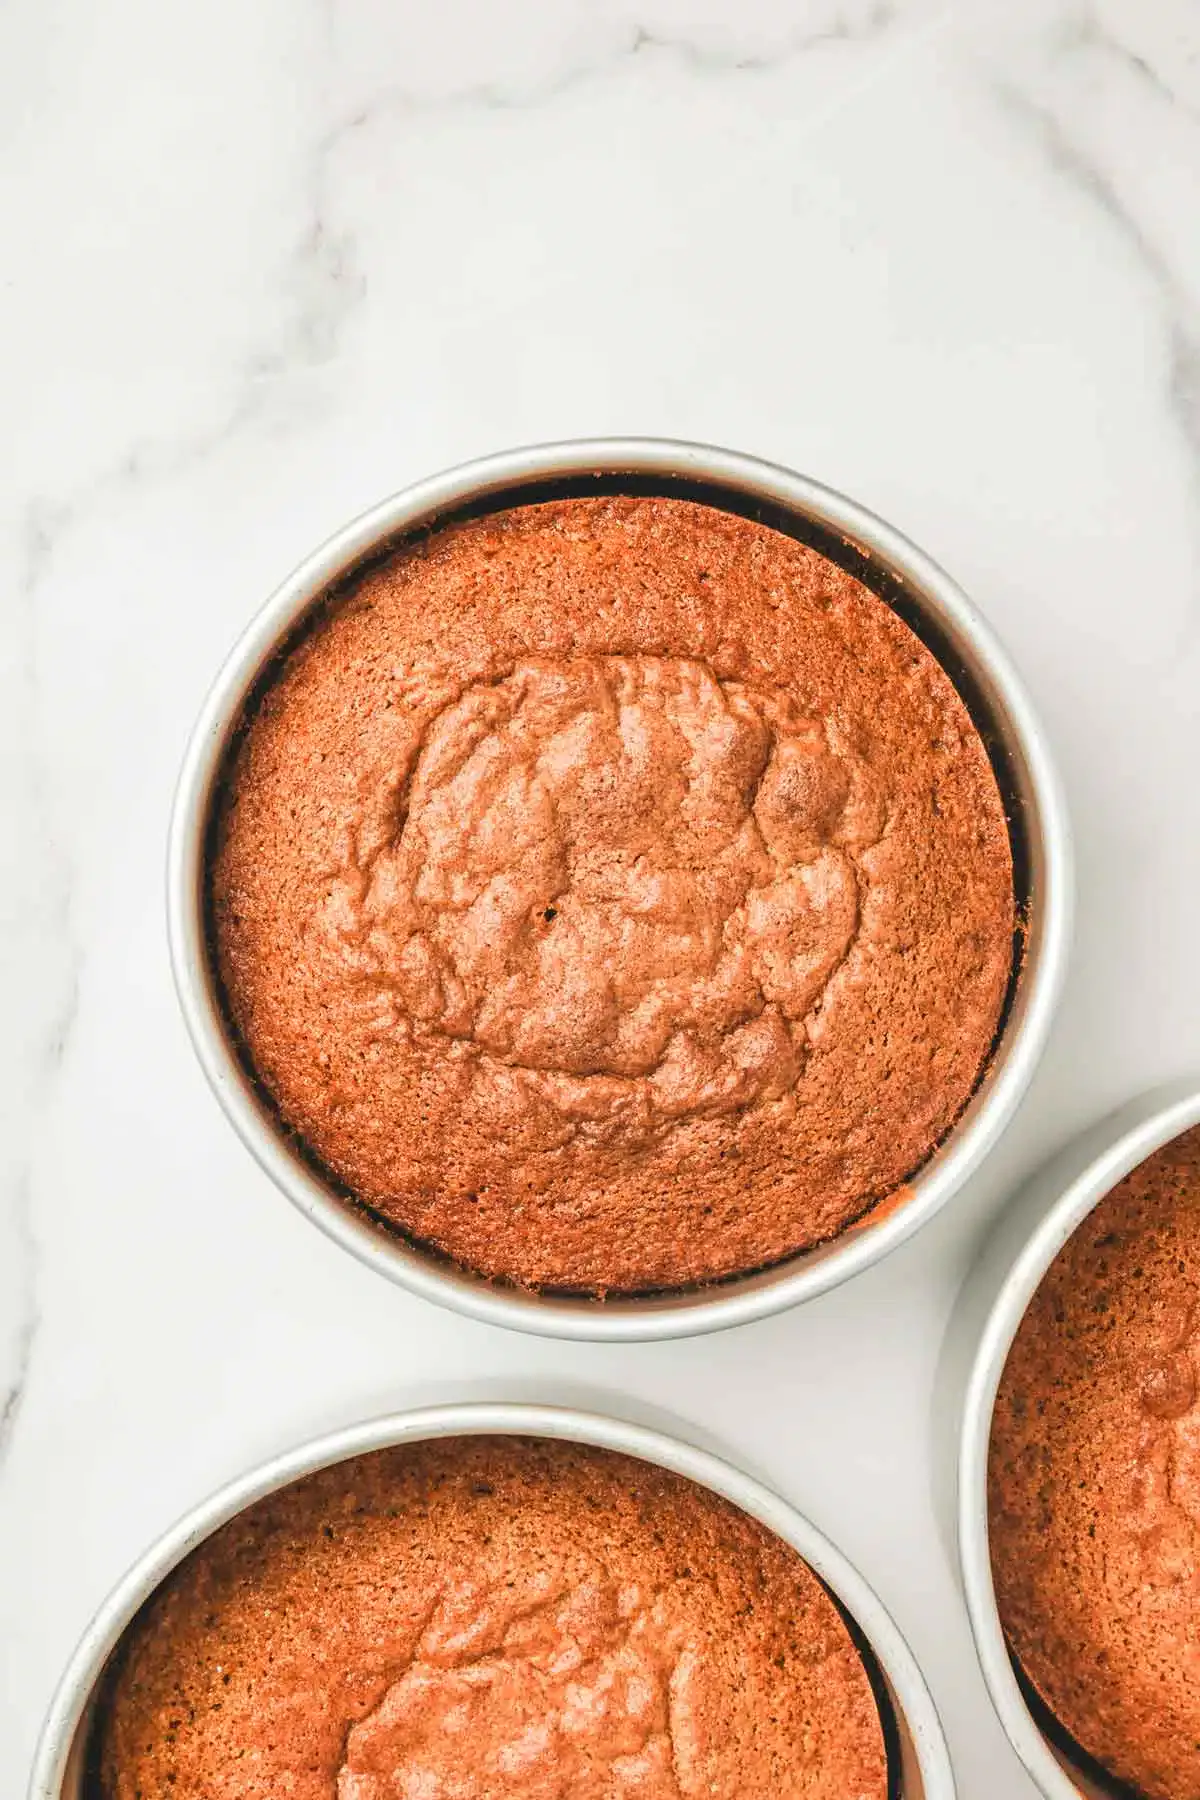
Bake in a preheated oven at 325°F (165°C) for 35–40 minutes, until golden and springy to the touch.
Let the cakes cool for about 10 minutes in the pans, then transfer to a rack to cool completely before frosting and decorating.
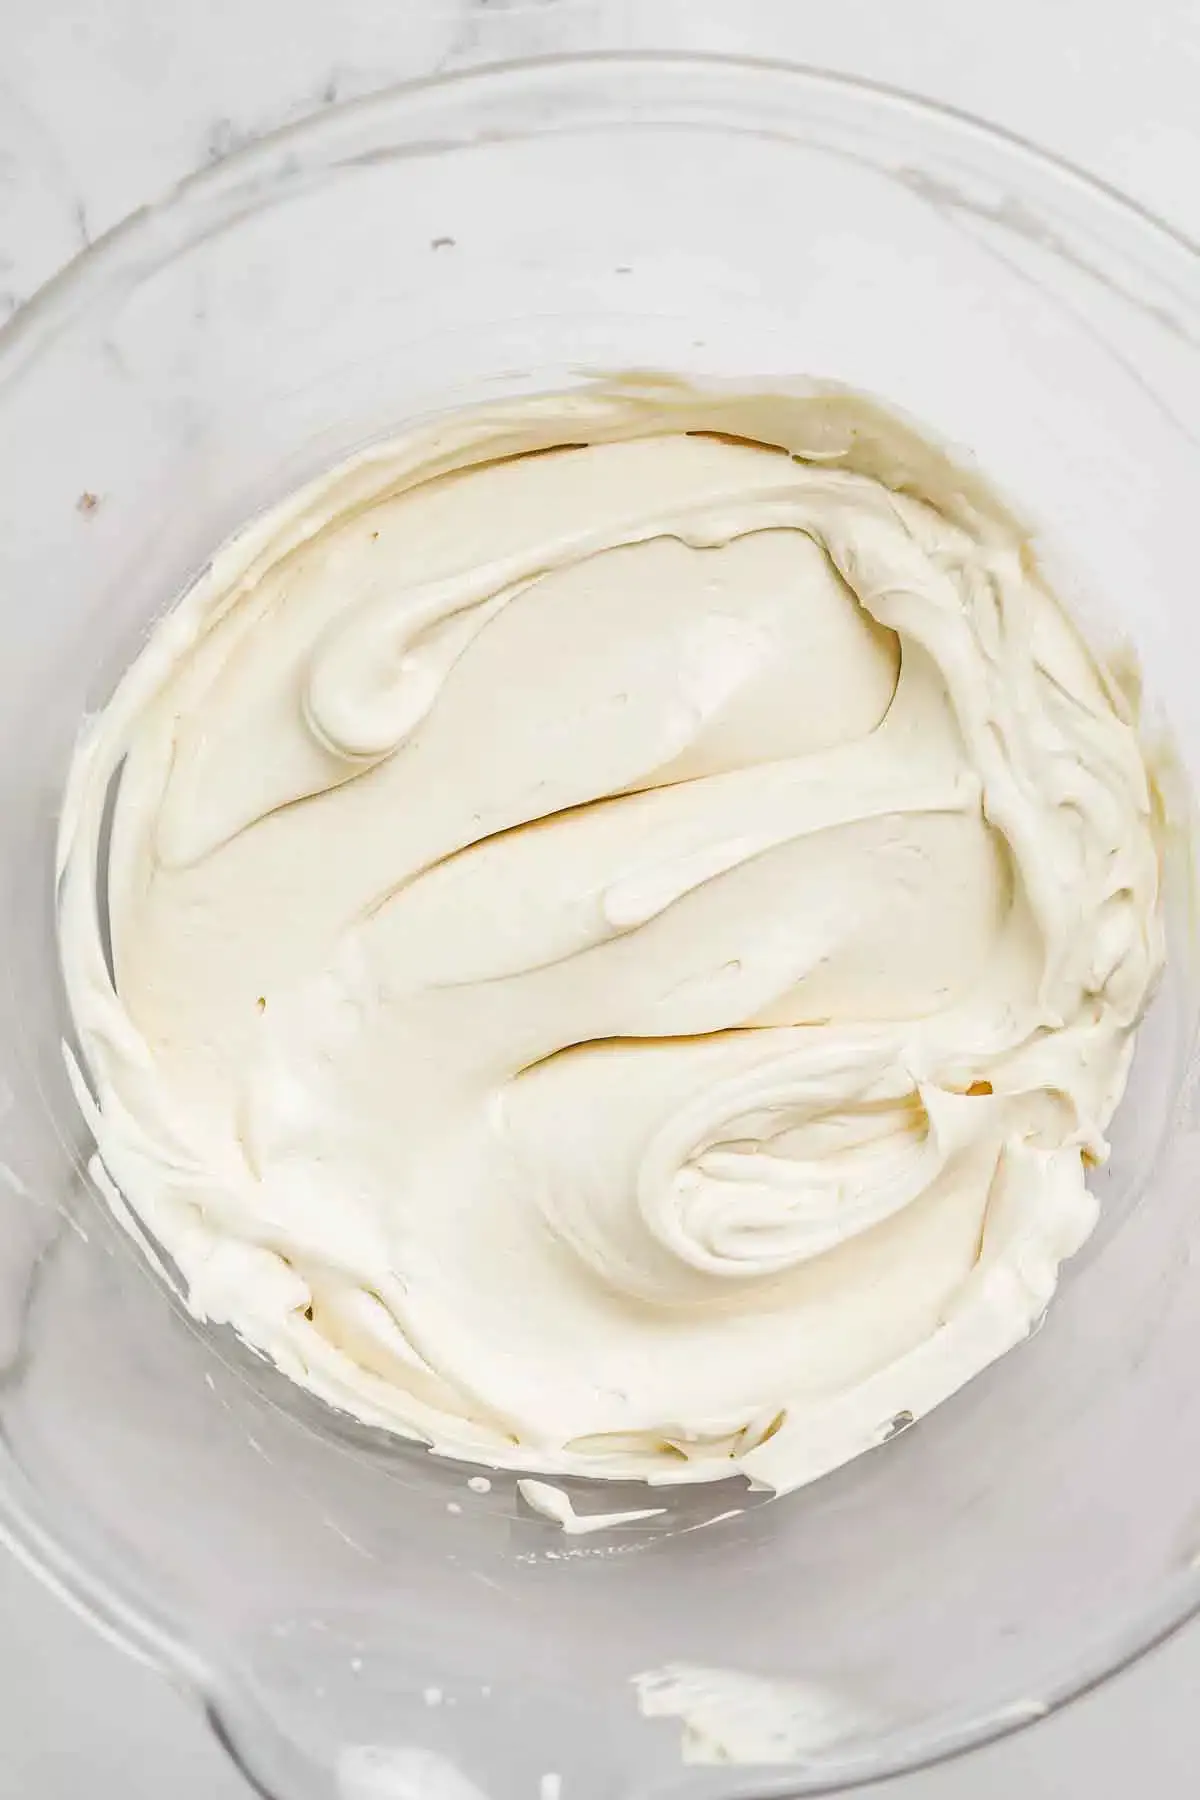
For the Biscoff mascarpone frosting, beat the cold mascarpone, heavy cream, powdered sugar, vanilla, and cookie butter spread until thick and creamy.
For the Biscoff buttercream, whip the warmed egg and sugar mixture until glossy, then add softened butter and cookie butter spread until smooth.

To assemble, spread a layer of mascarpone frosting between each cake, add a ring of buttercream, a spoonful of cookie butter, and crushed Biscoff cookies.
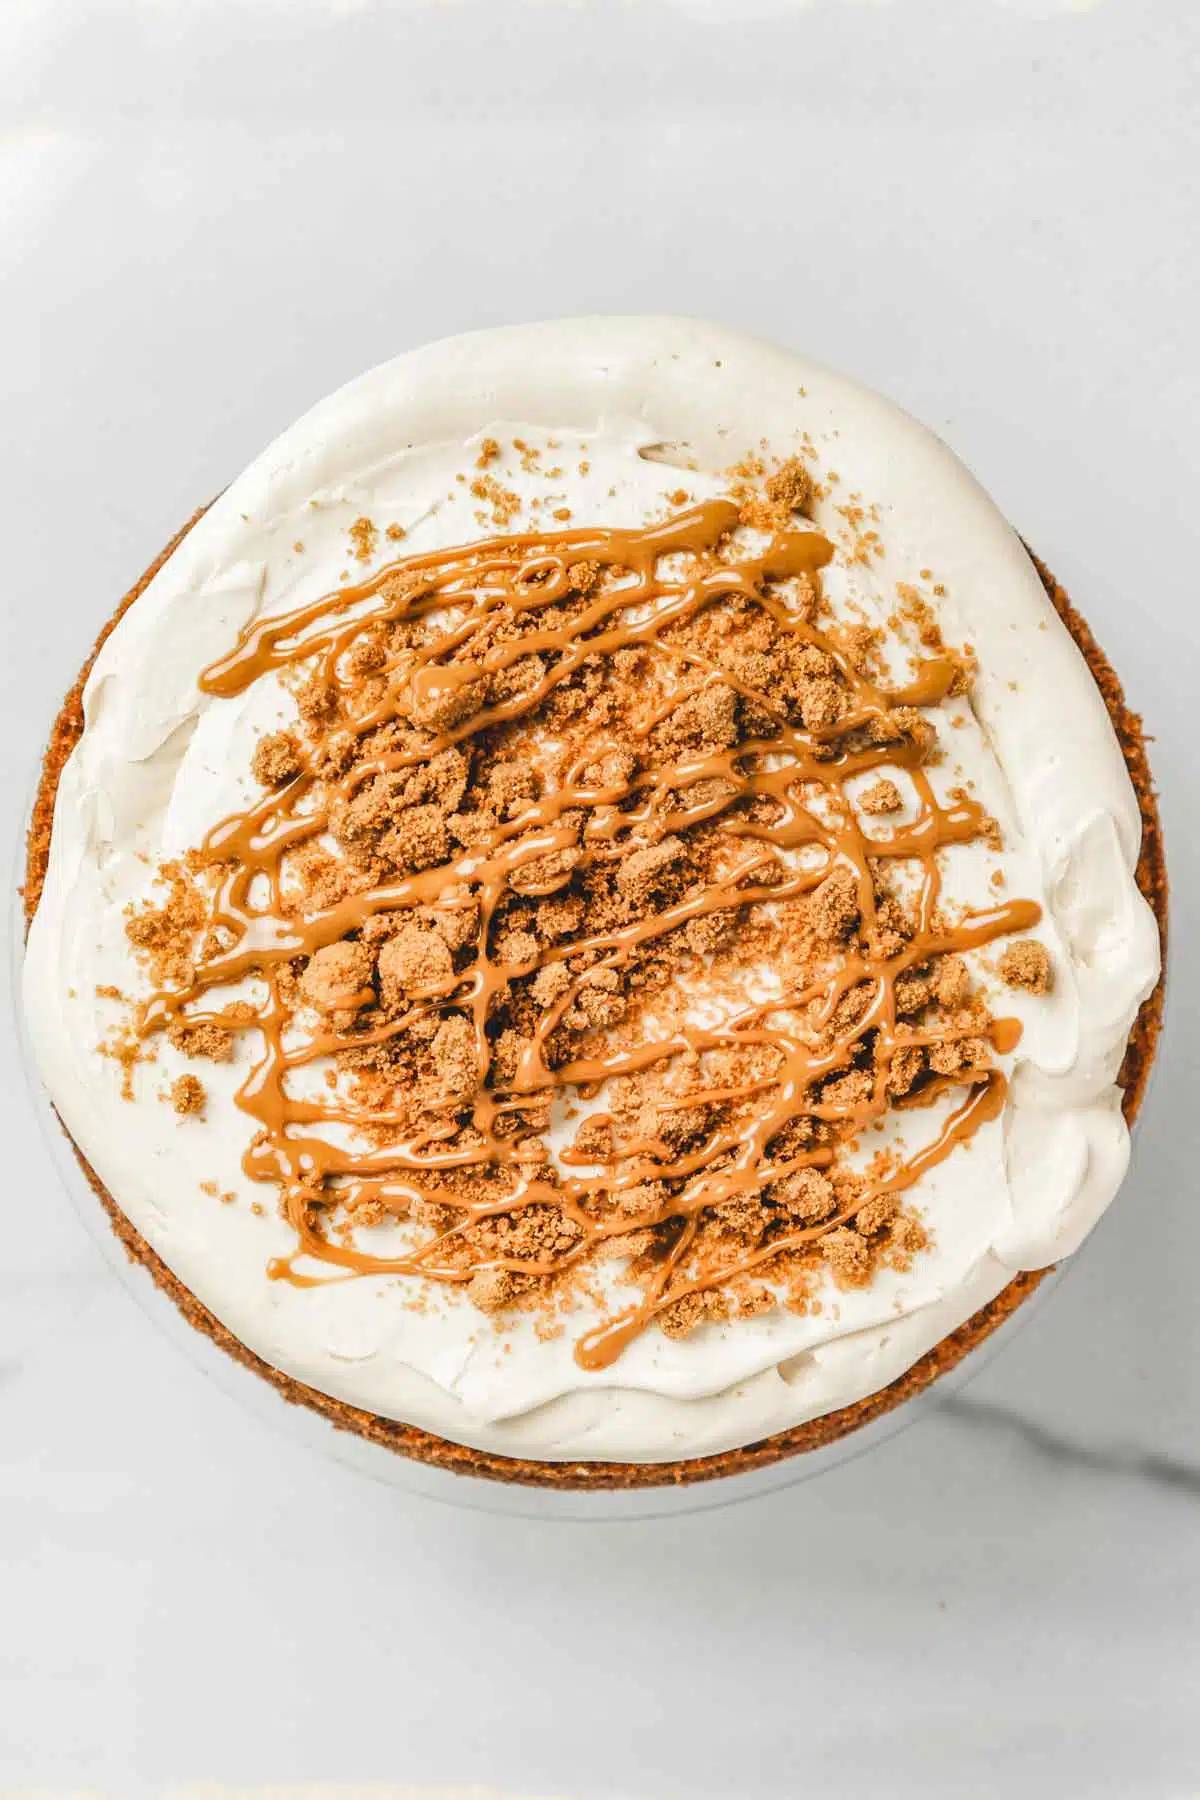
Cover the cake with a thin crumb coat, chill, then add a final layer of buttercream. Finish with a cookie butter drip and swirls of frosting on top.

Recipe Variations
- Biscoff Chocolate Cake: Try a rich chocolate sponge with whipped ganache for a deep, cocoa twist.
- Biscoff Caramel Cake: Add a touch of salted caramel sauce in the batter or frosting for extra indulgence.
- Pear Biscoff Cake: Layer thin poached pear or apple slices between the cakes for a cozy fall flavor that pairs perfectly with speculoos spices.
- Simple one-layer cake: Make it quick and easy — one layer only for an everyday treat.
- Lotus Biscoff cake layers: use this recipe as a base for a lotus biscoff birthday cake or a simple biscoff layer cake.
If you prefer individual portions, these Biscoff cupcakes use the same flavor profile in a smaller format.
Recipe Questions
Can I use cookie butter instead of Biscoff spread?
Yes — they’re the same thing. Any creamy cookie butter spread works.
Can I make this cake ahead?
Absolutely. Bake the layers a day before, wrap well, and frost the next day.
How do I store it?
Keep covered in the fridge for up to 4 days. Bring to room temperature before serving.
Can I freeze it?
Yes, freeze the unfrosted layers for up to 2 months. Thaw overnight in the fridge before decorating.
Is this the same as a Biscoff cake?
Yes, this cookie butter cake is a classic biscoff cake made with lotus biscoff spread, soft sponge layers, and a creamy frosting.

More Cake Recipes
I hope you’ll love this recipe. If you try it, feel free to leave a comment. Happy baking!
Print
Cookie Butter Cake (Biscoff Layer Cake)
- Total Time: 1 hour 15 minutes
- Yield: 8 sices
Description
Soft and spiced, this cookie butter cake is layered with creamy Biscoff frosting and topped with a glossy cookie butter drip. A rich, cozy dessert that’s perfect for birthdays or any day you crave a slice of sweetness. Makes one 3-layer 6 inch cake, about 8-10 servings.
Ingredients
Vanilla Biscoff Cake
- 200 g (1 ½ cups) cake flour
- 1 ½ tsp baking powder
- ½ tsp baking soda
- ½ tsp salt
- 6 Biscoff cookies, finely crushed
- 167 g (¾ cup) unsalted butter, softened
- 170 g (¾ cup) granulated sugar
- 3 large eggs, room temperature
- 130 g (½ cup) Biscoff cookie butter spread
- 2 tsp vanilla extract
- 170 ml (¾ cup) buttermilk
Cookie Butter Mascarpone Whipped Cream
- 250 g (8.8 oz) mascarpone cheese, cold
- 240 ml (1 cup) heavy cream, cold
- 3 to 4 tablespoon Biscoff spread
- 30 g (¼ cup) powdered sugar, sifted
- 1 tsp vanilla extract
Cookie Butter Swiss Meringue Buttercream
- 165 g egg whites (about 5 large)
- 240 g (1 cup) granulated sugar
- 330 g (1 ½ cups) unsalted butter, softened
- 1 tsp vanilla extract
- 130 g (½ cup) Biscoff spread
Cookie Butter Drip
- 2 to 3 tablespoon Biscoff cookie butter spread
Instructions
Vanilla Biscoff Cake
- Preheat the oven to 325°F (165°C). Line the bottoms of three 6-inch (15 cm) cake pans with parchment paper.
- In a bowl, whisk together the cake flour, baking powder, baking soda, salt, and finely crushed Biscoff cookies.
- In a large mixing bowl, beat the softened butter and granulated sugar for about 3 minutes until light and creamy.
- Add the eggs and vanilla extract, mixing until smooth and well combined.
- Mix in the buttermilk and Biscoff cookie butter spread until the batter looks smooth.
- Add the dry ingredients and mix on low speed just until the batter is smooth and fully combined.
- Divide the batter evenly between the prepared pans.
- Bake for 35 to 40 minutes, until the cakes are golden and a toothpick inserted in the center comes out clean.
- Let the cakes cool for 10 minutes in the pans, then transfer to a wire rack and cool completely before frosting.
Cookie Butter Swiss Meringue Buttercream
- Place the egg whites and granulated sugar in a heatproof bowl set over a saucepan of gently simmering water.
- Whisk constantly until the mixture reaches about 65–70°C (150–160°F) and the sugar is completely dissolved.
- Transfer the mixture to the bowl of a stand mixer fitted with the whisk attachment.
- Whip on high speed for about 10–15 minutes until the meringue is glossy, thick, and completely cooled.
- Reduce the mixer speed to medium and add the softened butter a few pieces at a time until incorporated.
- Increase the speed and whip until the buttercream becomes smooth and fluffy. The mixture may look curdled or runny at first but will come together.
- Add the vanilla extract and Biscoff spread and mix until fully combined.
- Switch to the paddle attachment and mix on low speed for 1–2 minutes to remove excess air bubbles.
Cookie Butter Mascarpone Whipped Cream
- Place the cold mascarpone, cold heavy cream, powdered sugar, vanilla extract, and Biscoff spread in a large mixing bowl.
- If the Biscoff spread is very firm, warm it slightly for a few seconds so it blends easily.
- Whip on low to medium speed until the frosting becomes thick, smooth, and holds soft peaks.
- Use immediately or refrigerate until ready to assemble the cake.
Assembly & Decoration
- Trim the tops of the cake layers if needed to level them.
- Place the first cake layer on a cake stand or turntable. Pipe a ring of buttercream around the edge, then fill the center with mascarpone frosting, crushed Biscoff cookies, and a spoonful of cookie butter spread.
- Repeat with the remaining layers.
- Apply a thin crumb coat of buttercream over the entire cake and refrigerate for about 20 minutes.
- Spread a smooth final layer of buttercream over the chilled cake.
- Warm the cookie butter slightly and drizzle it over the top to create the drip.
- Finish by piping buttercream swirls on top and decorating with crushed Biscoff cookies.


Notes
Storage Store in an airtight container in the fridge for up to 4 days. Bring to room temperature before serving. Makes one 3-layer, 6-inch cake (8–10 servings).
Tips:
- Always use a kitchen scale for precise measurements.
- Don’t overmix once the dry ingredients are added.
- Make sure your butter and eggs are room temperature.
- Chill the cake before frosting for clean layers.
- Warm the cookie butter slightly for a smooth drip.
- Prep Time: 40 minutes
- Cook Time: 35 minutes
- Category: Cake, layer cake
- Cuisine: American
Virginia
Buenas tardes tengo dudas sobre dos ingredientes...
Crema espesa y la mantequilla para galletas. No se exactamente qué son, gracias
Fadela
Hello, heavy cream is liquid cream with at least 30% fat and the other ingredient is lotus brand spread.
Lg
Good evening, can buttermilk be ribot milk?
Is it necessary to soak the sponges or not?
Chris
Good morning, this cake looks wonderful and I plan to make it for my adult son's birthday. Can you clarify if the oven temp of 165C is fan forced or not.
Many thanks
Chris
Fadela
Good morning, Chris! Thank you for your kind words. Yes, the oven temperature of 165°C is for a fan-forced oven. I hope your son's birthday cake turns out beautifully! If you have any more questions or need further assistance, feel free to ask. Happy baking!