
These are the essential cake decorating tools I recommend for baking, frosting, and decorating beautiful layer cakes at home.

When I started making layer cakes, I quickly realized that having the right tools makes decorating easier, faster, and much more enjoyable.
After years of baking, cake decorating, and creating recipes for Sweetly Cakes, these are the tools I reach for most often and the ones I recommend to anyone getting started.
Essential Cake Decorating Tools for Beginners
1. Stand Mixer
A stand mixer is one of the most useful baking tools for making cakes, buttercream, whipped cream, and meringue.
While a hand mixer can work for beginners, a stand mixer saves time and makes baking easier, especially if you make layer cakes regularly.
My favorite: Kitchen Aid Artisan

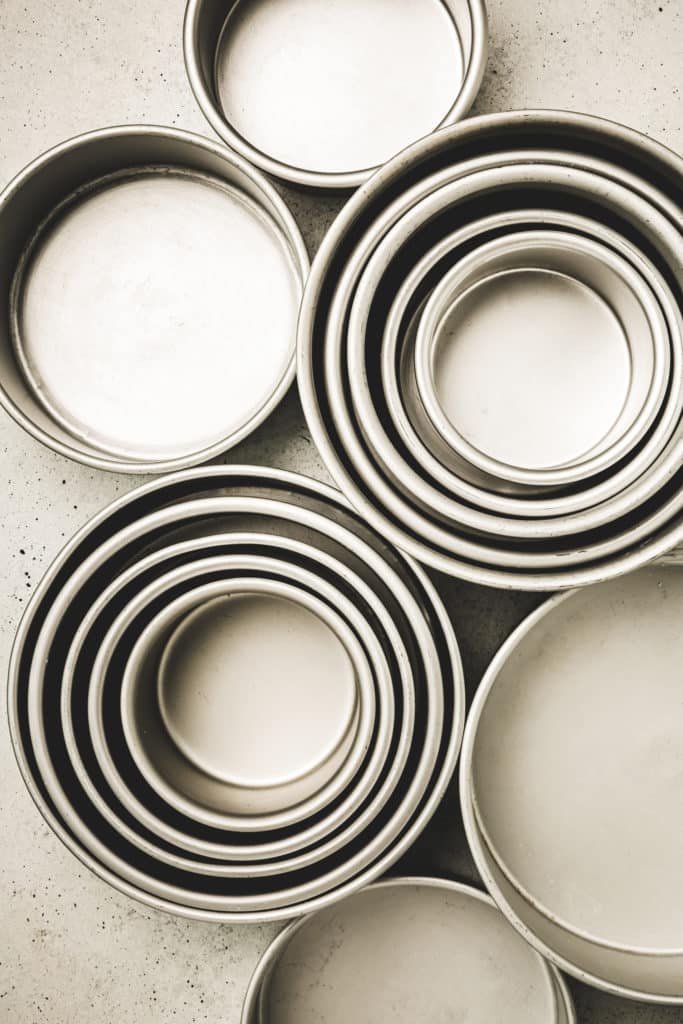
2. Cake Pans
Choosing the right cake pan makes a big difference when baking layer cakes. I recommend aluminum cake pans because they bake evenly and create soft cake layers with straight sides.
For beginners, I suggest starting with two 6-inch cake pans. This size is perfect for layer cakes and serves about 10 to 12 people.
My Favorite Cake Pans: PME Aluminum Cake Pans or Fat Daddio's Aluminum Cake Pans.
Want to practice with your new cake pans? Try my 6 Inch Vanilla Cake Recipe.
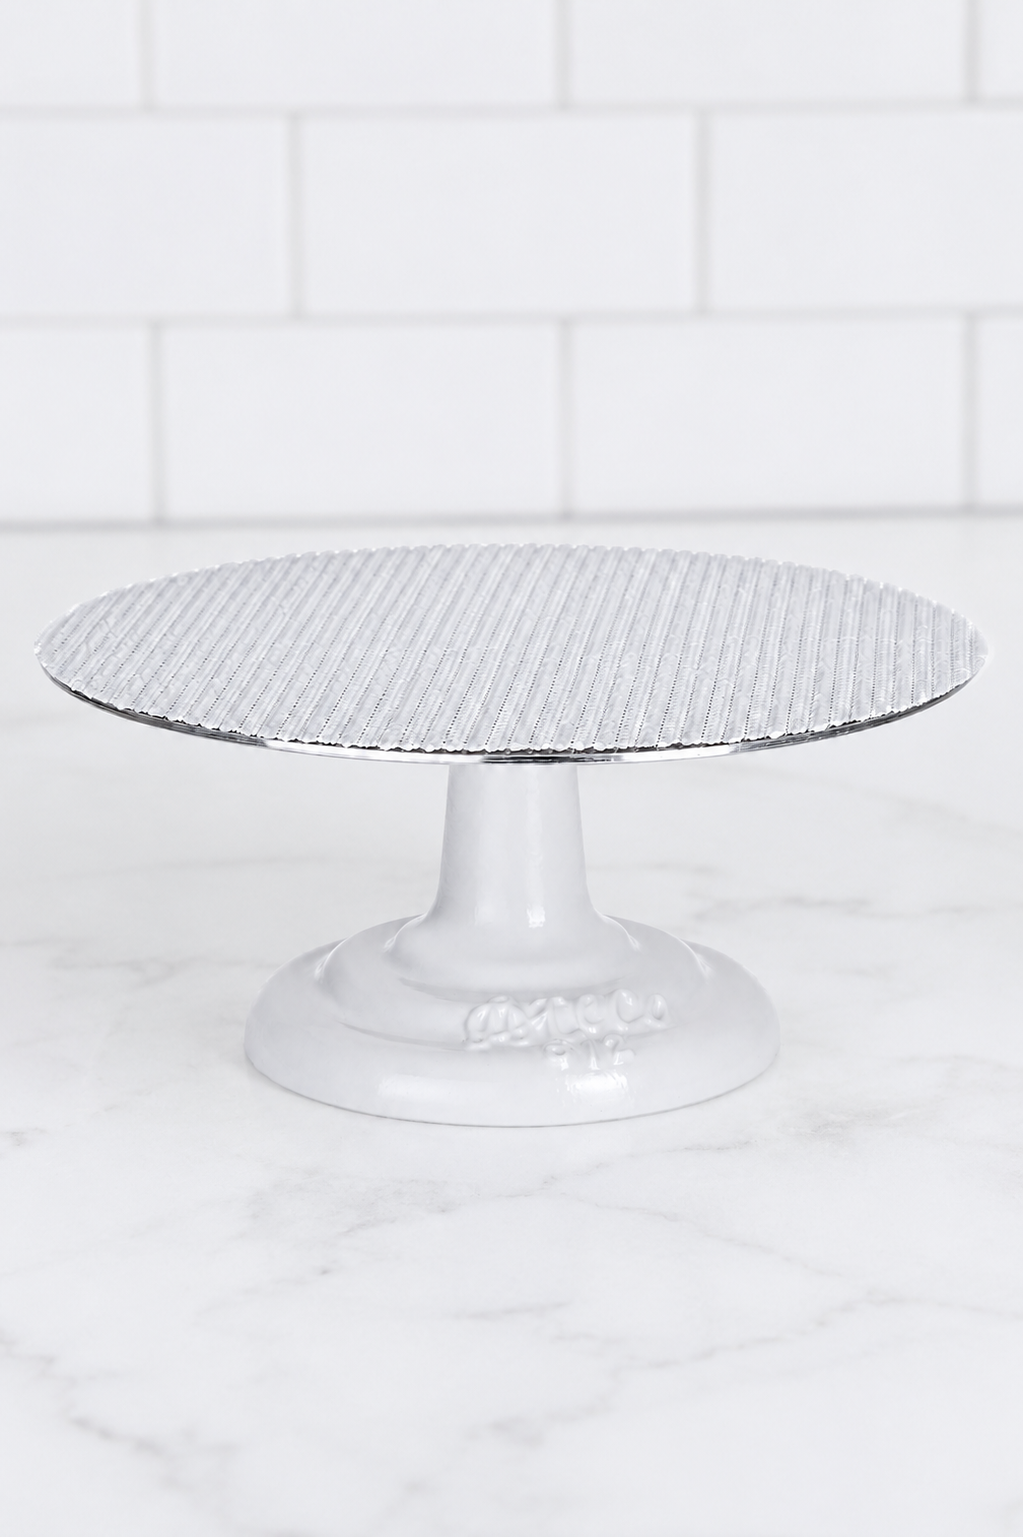
3. Cake Turntable
A cake turntable makes frosting and decorating cakes much easier. Instead of moving around the cake, you simply rotate the stand while smoothing and decorating.
This is the tool that made the biggest difference when I started frosting layer cakes.
My Favorite Turntable: Ateco Aluminum Turntable
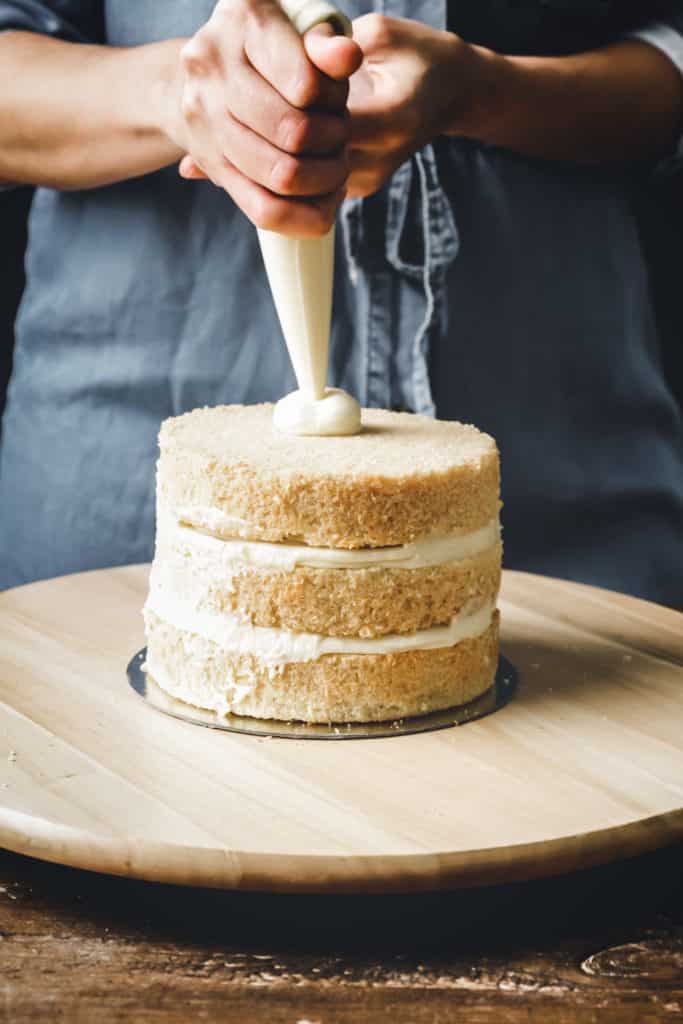
4. Offset Spatula
A good offset spatula makes it easy to spread fillings, apply frosting, and create even cake layers. The angled blade gives you more control than a regular spatula.
I use mine for almost every layer cake, from filling the layers to applying the crumb coat and final frosting.
My Favorite Offset Spatula: 6-inch Offset Spatula.

5. Cake Scraper
A cake scraper is one of the best tools for creating smooth buttercream cakes. It helps remove excess frosting and gives the cake clean, straight sides.
Even a simple plastic scraper can make a huge difference when you're learning how to frost cakes.
My Favorite Cake Scraper: PME Cake Scraper
Want to learn how to get smooth frosting and clean edges? Check out my How to Frost a Cake tutorial.

6. Piping Bags
Piping bags are essential for filling, frosting, and decorating cakes and cupcakes. Disposable piping bags are my favorite because they're practical and easy to use.
Choose large piping bags that can hold enough frosting without needing constant refills.
My Favorite Piping Bags: 16-Inch Disposable Piping Bags
7. Piping Tips
You don't need dozens of piping tips to decorate beautiful cakes and cupcakes. A few versatile tips are enough to create swirls, borders, and simple decorations.
I use the same piping tips over and over again for most of my cake and cupcake designs.
My Favorite Piping Tips: Wilton 1M, Wilton 2B and Ateco 849

8. Cake Boards
A cake board provides a sturdy base for transporting and decorating layer cakes. It also makes frosting and assembling cakes much easier.
Choose a cake board slightly larger than your cake for better stability and presentation.
My Favorite Cake Boards: Wilton Cake Boards
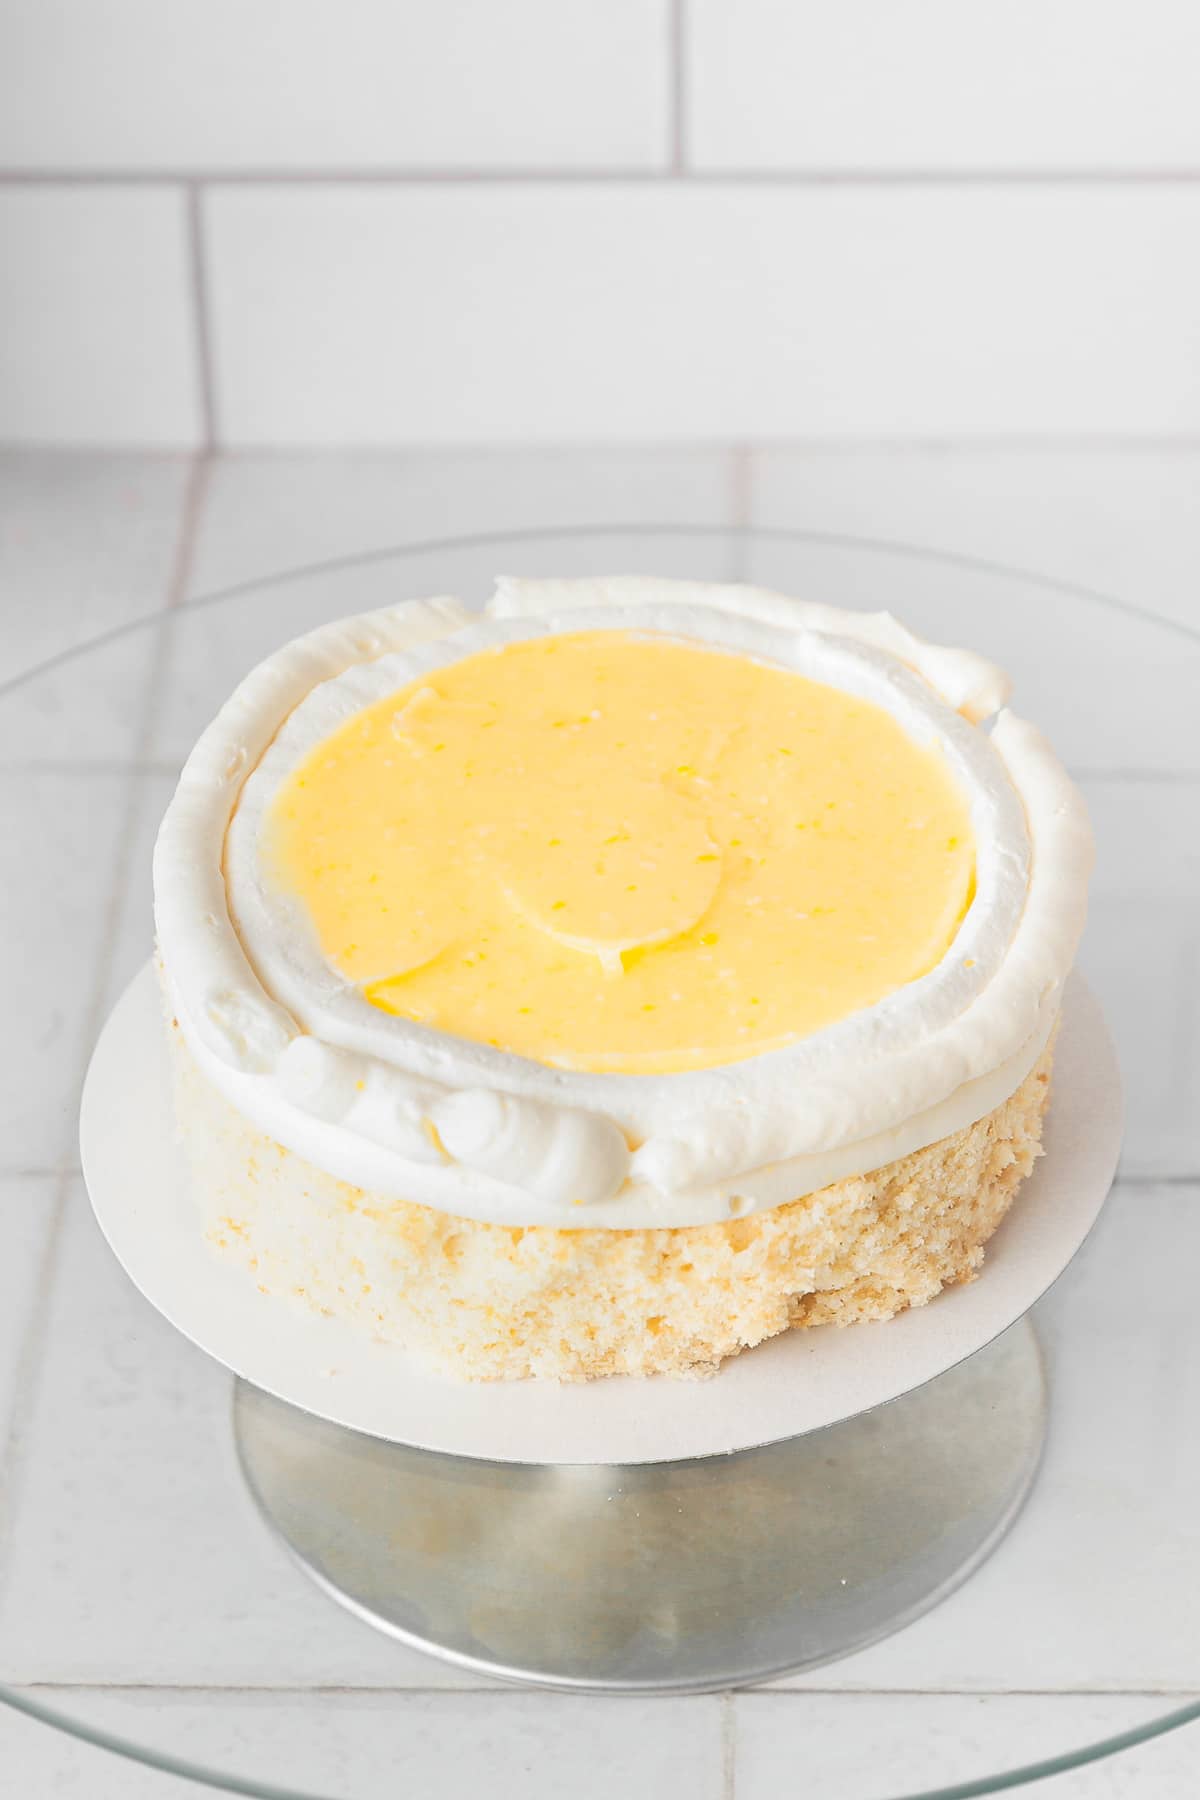
New to layer cakes? My How to make a layer cake guide explains the layers, fillings, frosting, and structure of a classic layer cake.
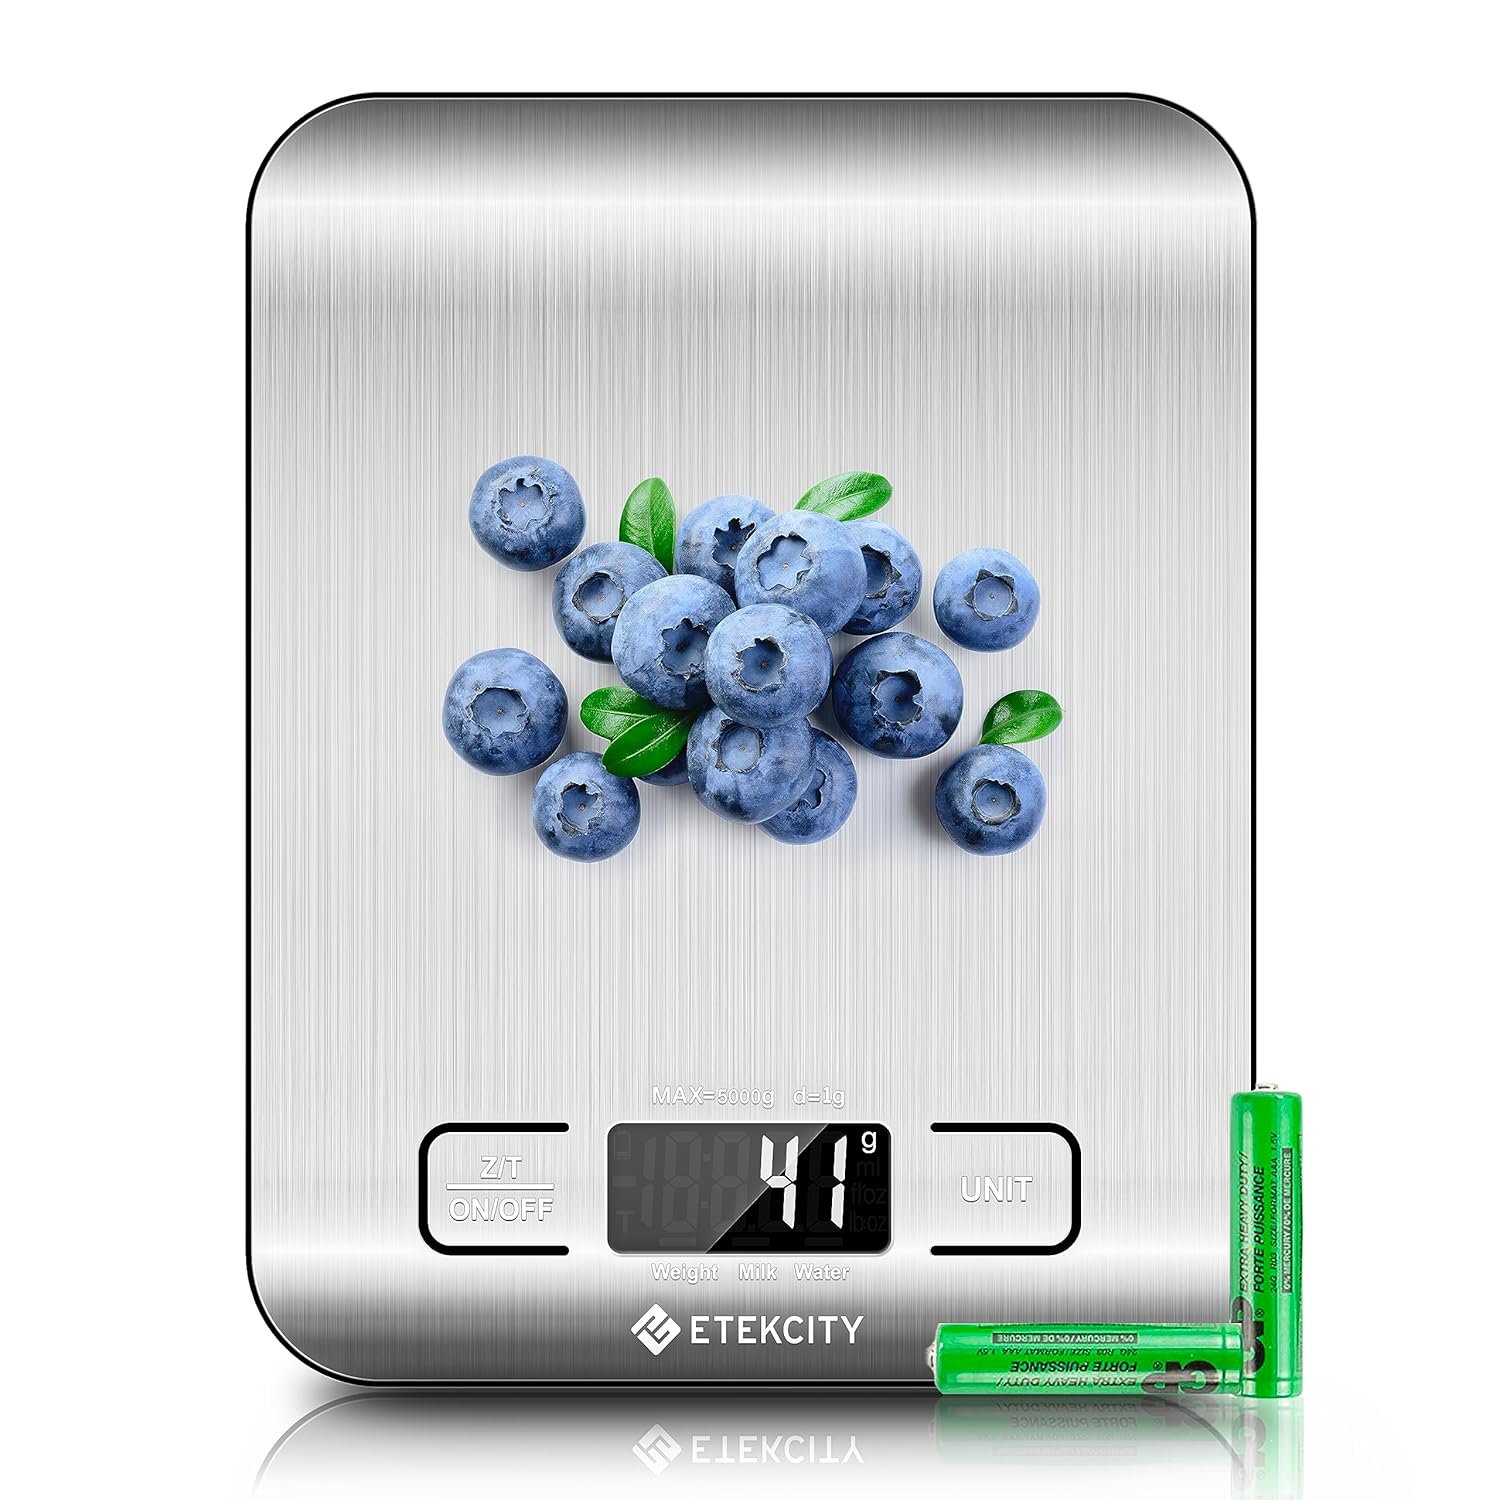
9. Digital Kitchen Scale
Baking is much more accurate when ingredients are measured by weight instead of cups. A digital scale helps create consistent results every time.
Once I started weighing ingredients instead of using cups, my cake recipes became much more consistent.
My Favorite Kitchen Scale: Etekcity Digital Kitchen Scale
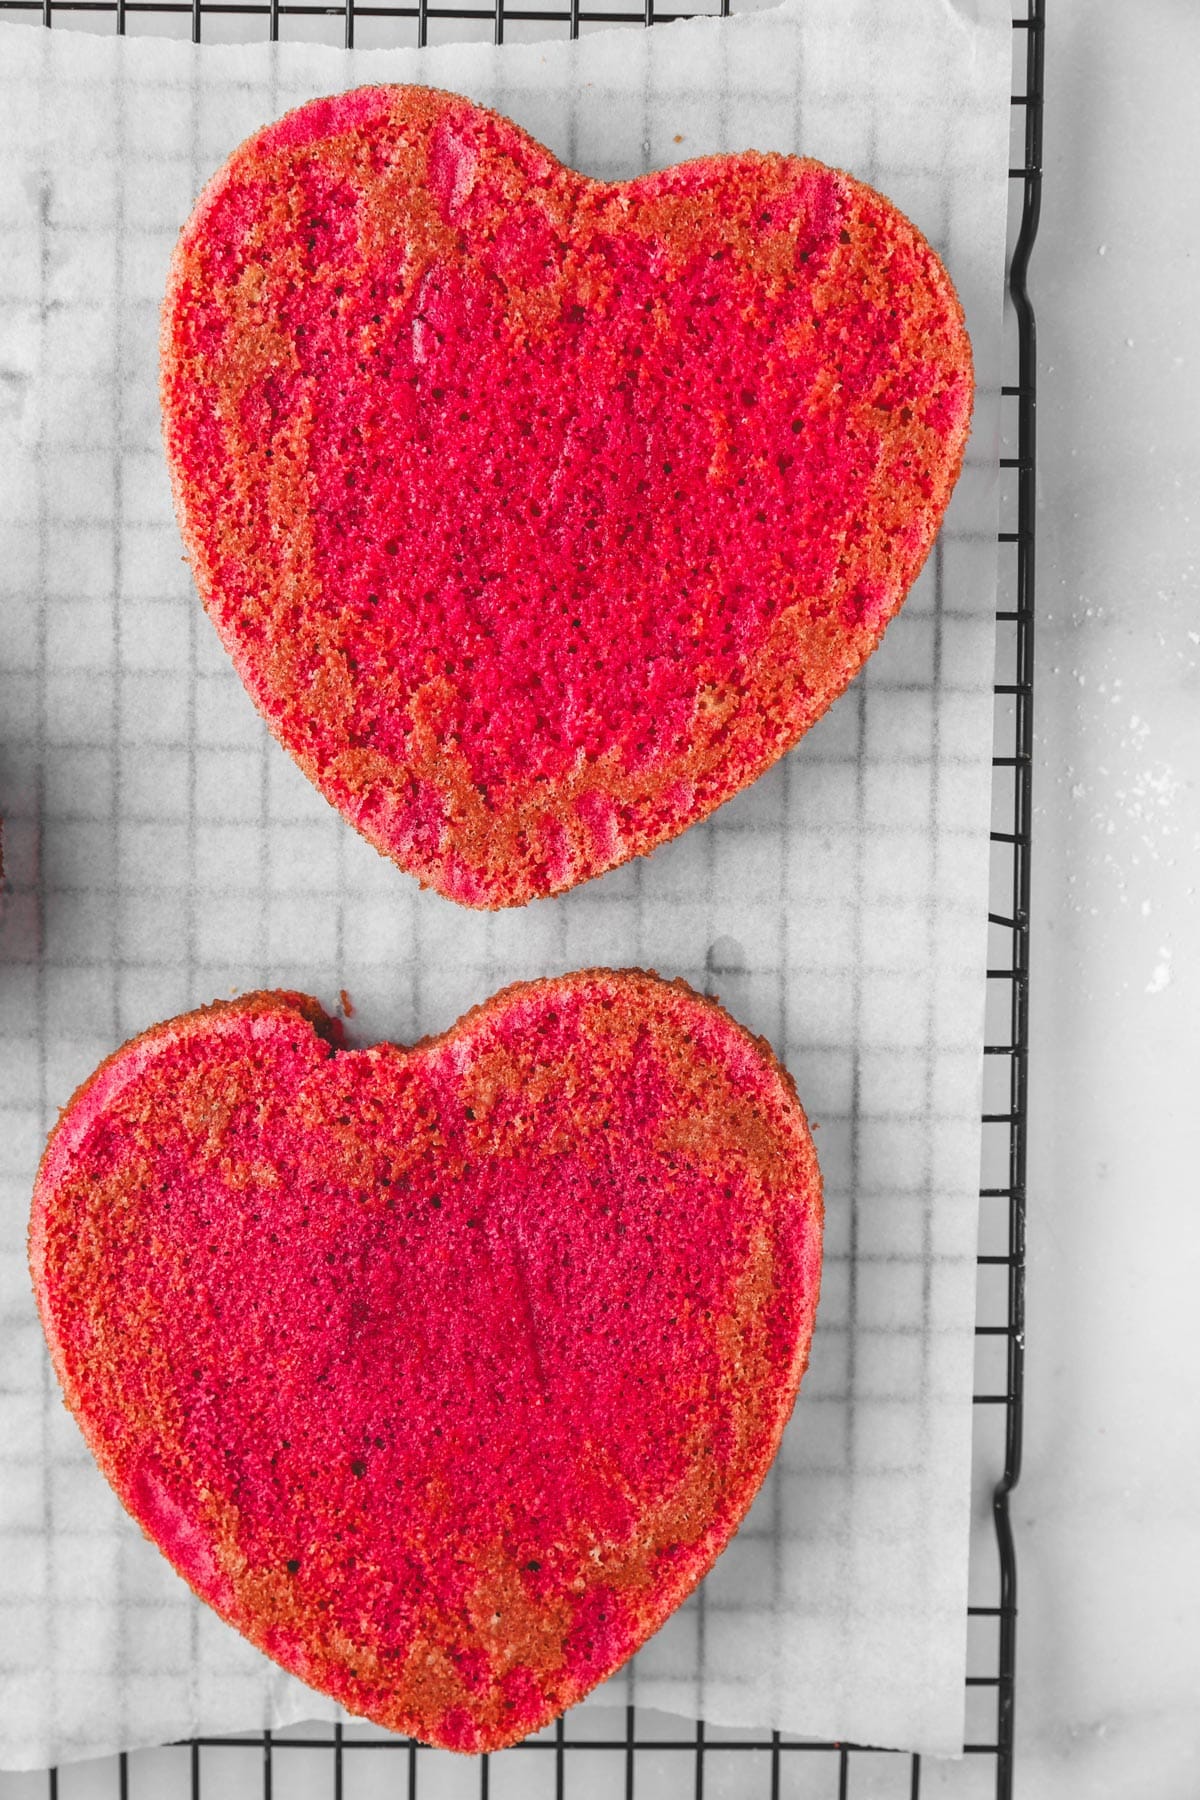
10. Cooling Rack
A cooling rack allows cakes to cool evenly and prevents condensation from making the cake soggy.
I use mine for cakes, cookies, cupcakes, and many other baking recipes.
My Favorite Cooling Rack: Cooling Rack
More Cake Decorating Tutorials
- How to frost a cake
- Frosting and fillings for cakes
- Which cake is best for layer cakes?
- How to make a layer cake
Recipes to Practice Your Skills
Frequently Asked Questions
What cake decorating tools do beginners need?
A stand mixer, cake pans, a turntable, an offset spatula, a cake scraper, and piping bags are the best tools to start with.
What size cake pans are best for beginners?
I recommend 6-inch cake pans because they are easy to handle and perfect for making layer cakes at home.
Do I need a stand mixer for cake decorating?
No, a hand mixer can work well when you're starting out, but a stand mixer makes baking and frosting much easier.
What is the most useful cake decorating tool?
If I had to choose one tool, it would be a cake turntable because it makes frosting and smoothing cakes much easier.
Do I need professional cake decorating equipment?
No. A few basic tools are enough to make beautiful homemade cakes before investing in more advanced equipment.

Do you have a favorite cake decorating tool? Let me know in the comments below. I'd love to hear what you use most often.
Matt
Great “what to get my wife for Christmas guide”.
Fadela
Certainly a dream gift for all lovers of homemade baked goods.
Norma Mineard
I have been looking for an icing scraper/smoother -extra long. these articles are not one bit helpful if I cannot find the one tool that I need.
Fadela
Hello, sorry that this post did not give you satisfaction, there are several links for icing smoother on the post, here is a direct link where you can perhaps find your happiness: https://amzn.to/3IUw5G9
Firdaos
I love this, as a beginner I will love to get this tools because they are not plenty and not too small.
Fadela
Thanks for your message, it's exactly the ones I started with and that helped me progress in baking.