
How to make chocolate curls at home with an easy method for perfect dessert decorations.
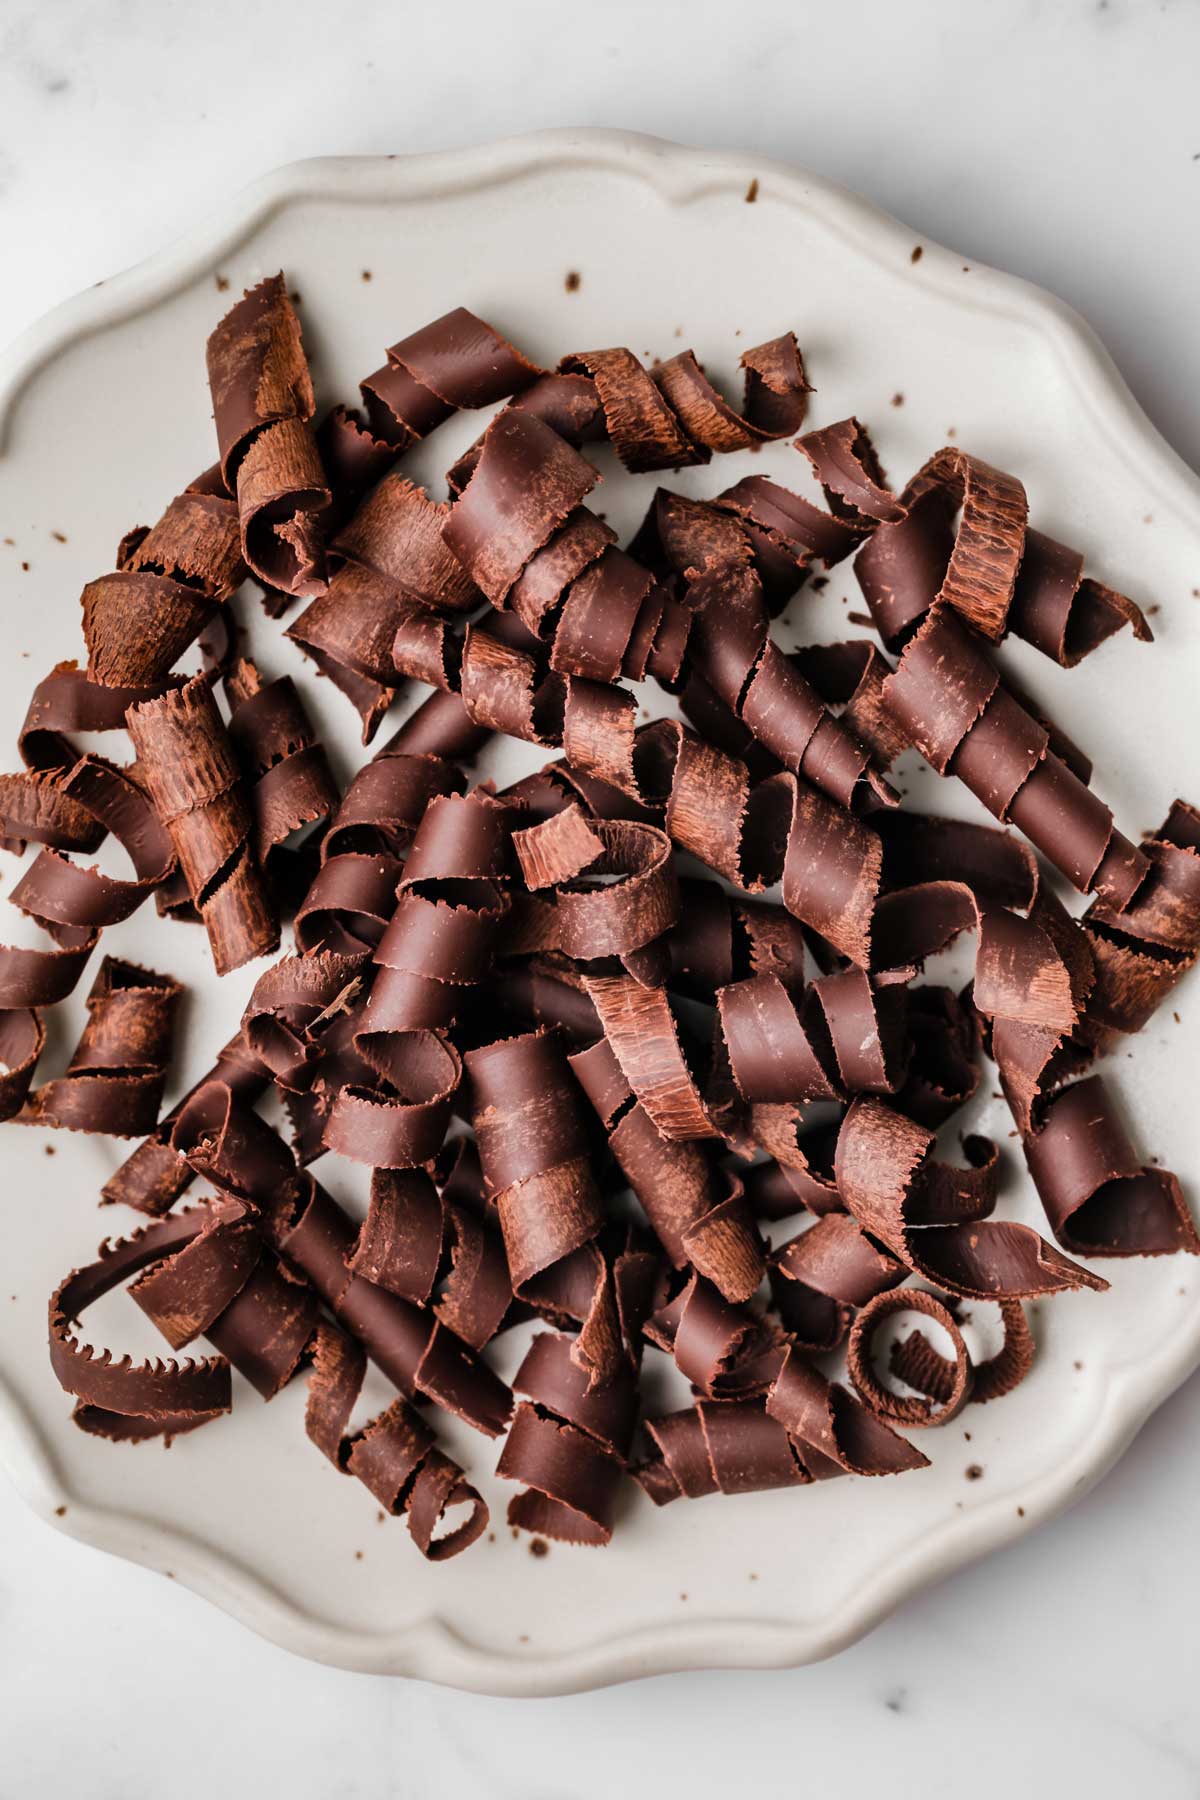
Making chocolate curls is easier than it looks.
With the right chocolate and the right temperature, you get clean, smooth curls that work beautifully on cakes, cupcakes, mousse, and even hot chocolate.
This guide shows you exactly how to make chocolate curls and chocolate shavings with any type of chocolate — dark, milk, or white — using basic kitchen tools and a step-by-step technique.
I use this method all the time when decorating my cakes because it gives the cleanest curls with the least effort.
Why you'll love this recipe
- Beautiful texture adds an elegant touch to cakes and desserts.
- Works with any chocolate for curls, swirls, and fine shavings.
- Quick and reliable method that gives clean curls every time.
What you need to make chocolate curls
Chocolate curls work best when the chocolate has the right texture and you use simple tools that help you scrape clean, even curls.
Chocolate
- Dark chocolate 54%–62% for firm, smooth curls
- Milk chocolate minimum 30% cocoa butter
- White chocolate minimum 28% cocoa butter
- Bars or pistoles both work
Tools
- Baking sheet or marble board
- Offset spatula for spreading
- Metal spatula or knife for scraping
- Optional: vegetable peeler for quick small shavings

Tips for this recipe
- Use chocolate with enough cocoa butter (dark 54–62 %, milk 30 %, white 28 %) for smooth curls.
- Spread a thin, even layer — too thick will break, too thin will crumble.
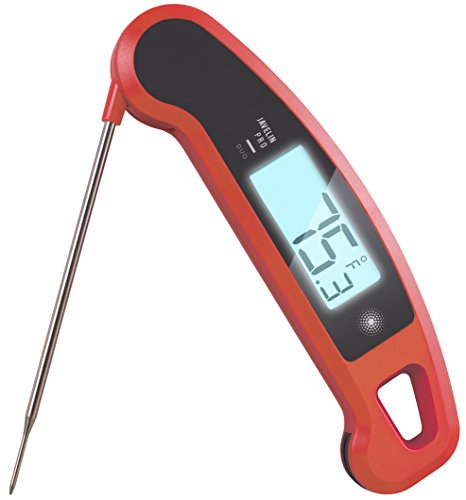
- Cool to the right stage — the chocolate must be set but not fully hard when you start scraping.
- Warm the chocolate plate slightly if curls snap instead of rolling.
- Adjust the angle of your scraper — flatter angle = long curls, sharper angle = small shavings.
How to make chocolate curls
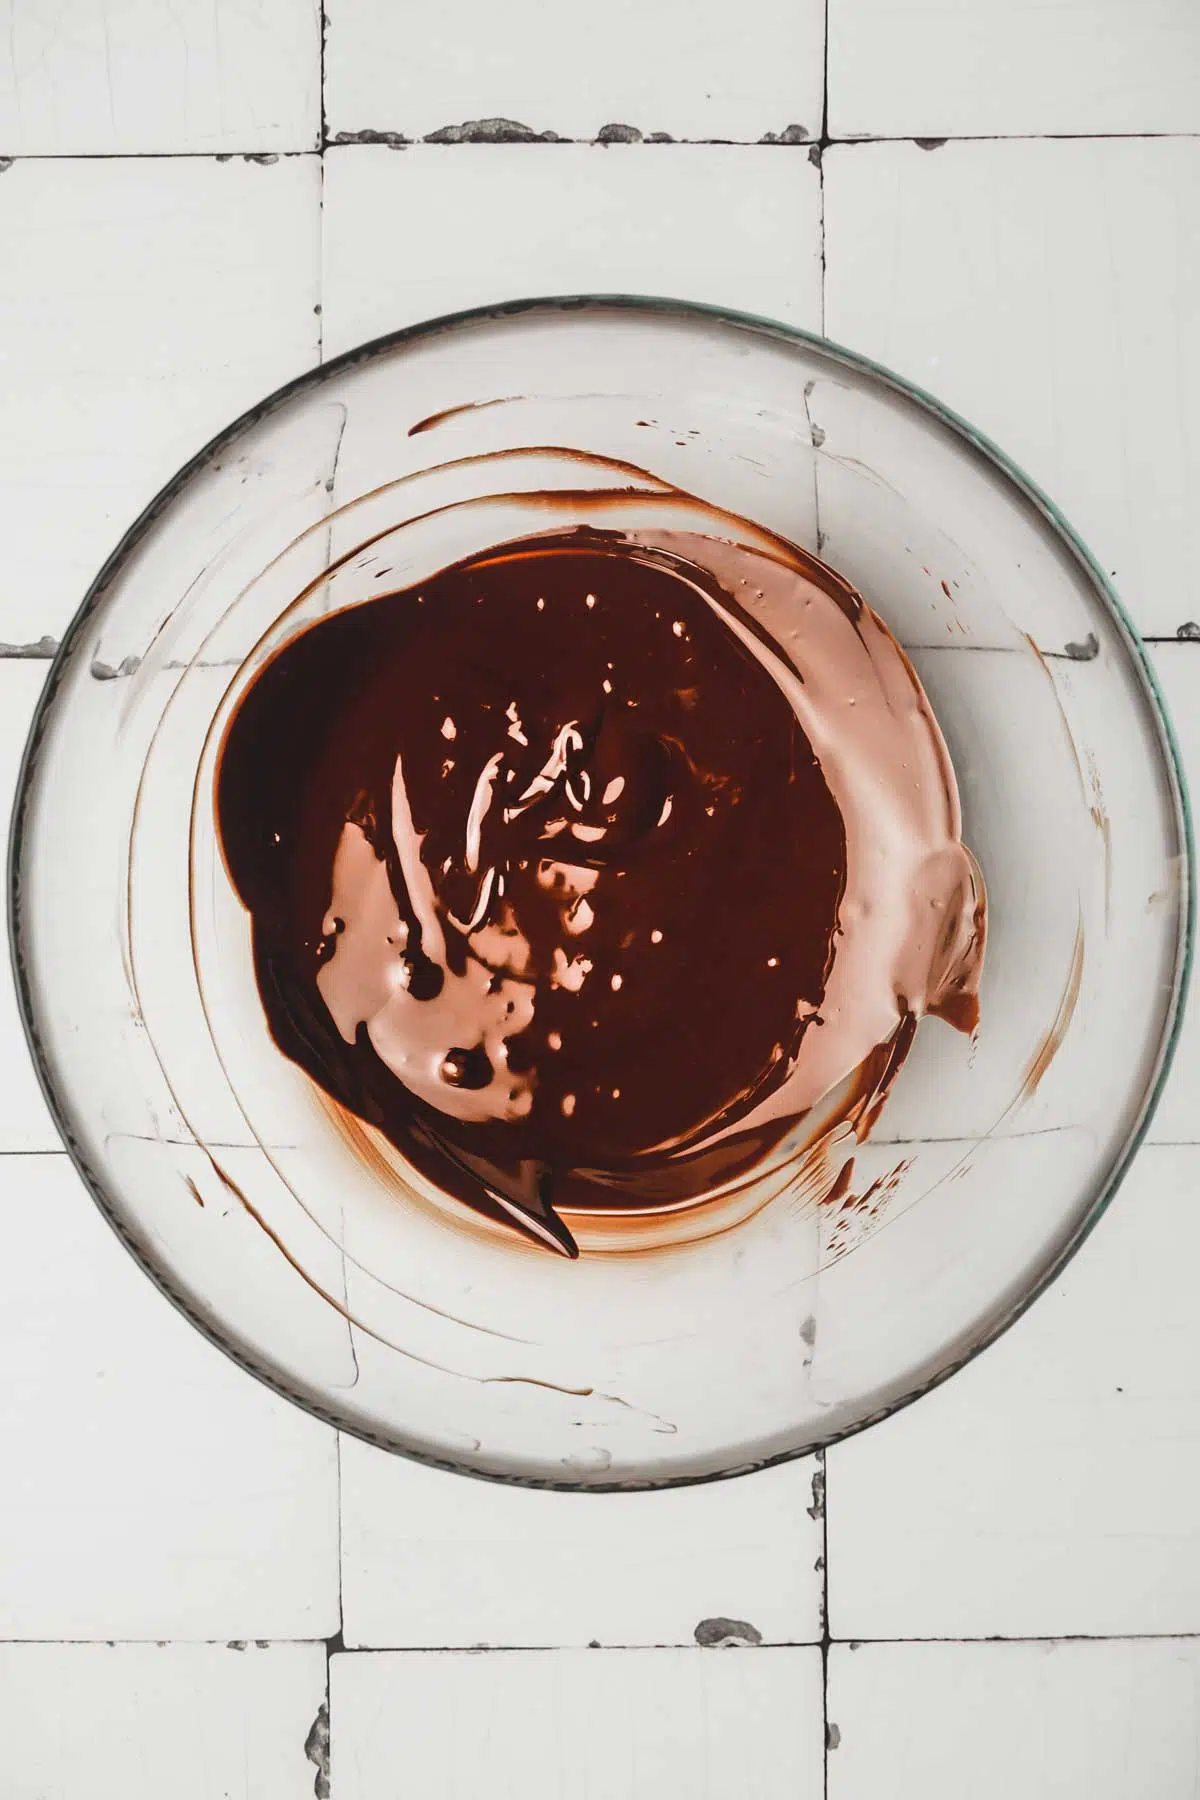
Place chopped chocolate in a bowl and melt gently in the microwave or over a double boiler until smooth.
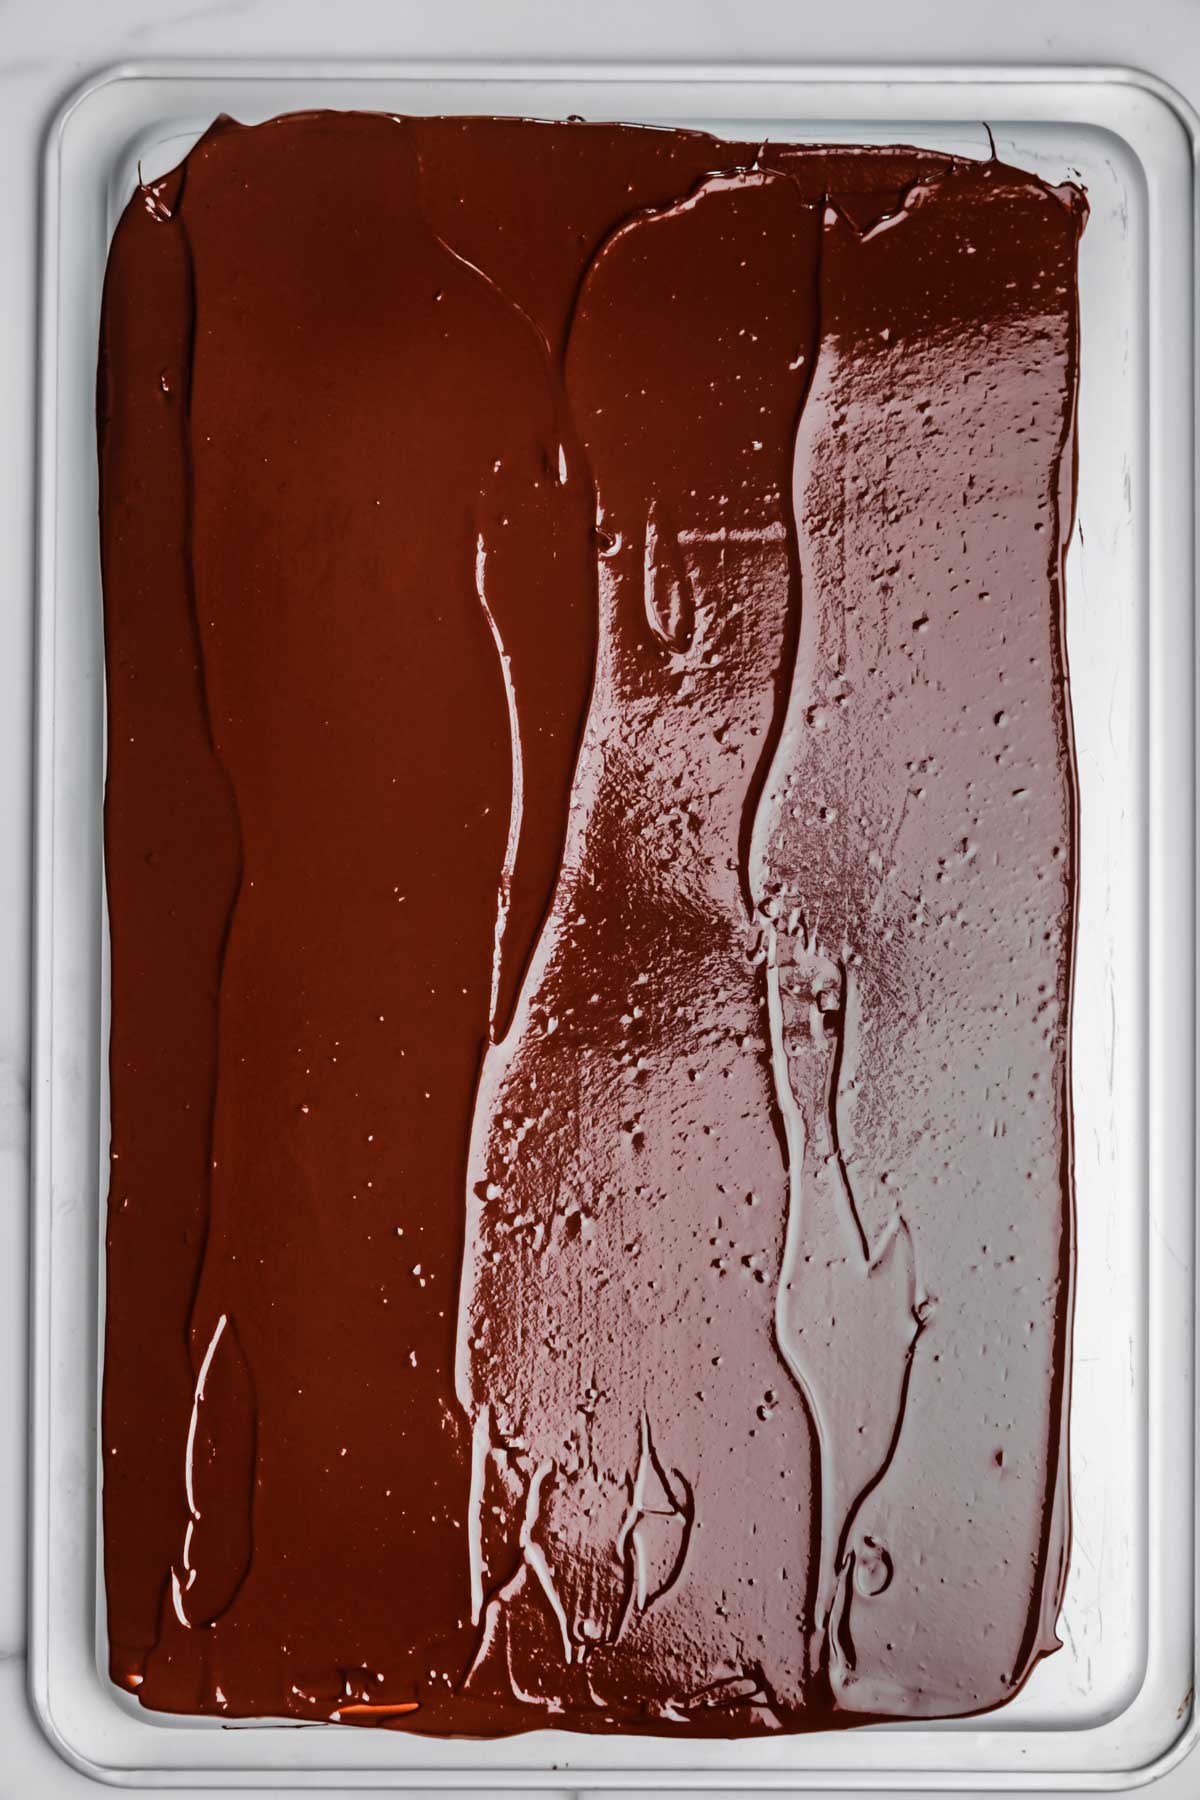
Pour the melted chocolate onto the back of a baking sheet or a marble slab and spread it thinly (about 2 mm) with an offset spatula.
Allow the chocolate to cool until set but still flexible. Touch with a finger: it should feel firm but not fully solid.
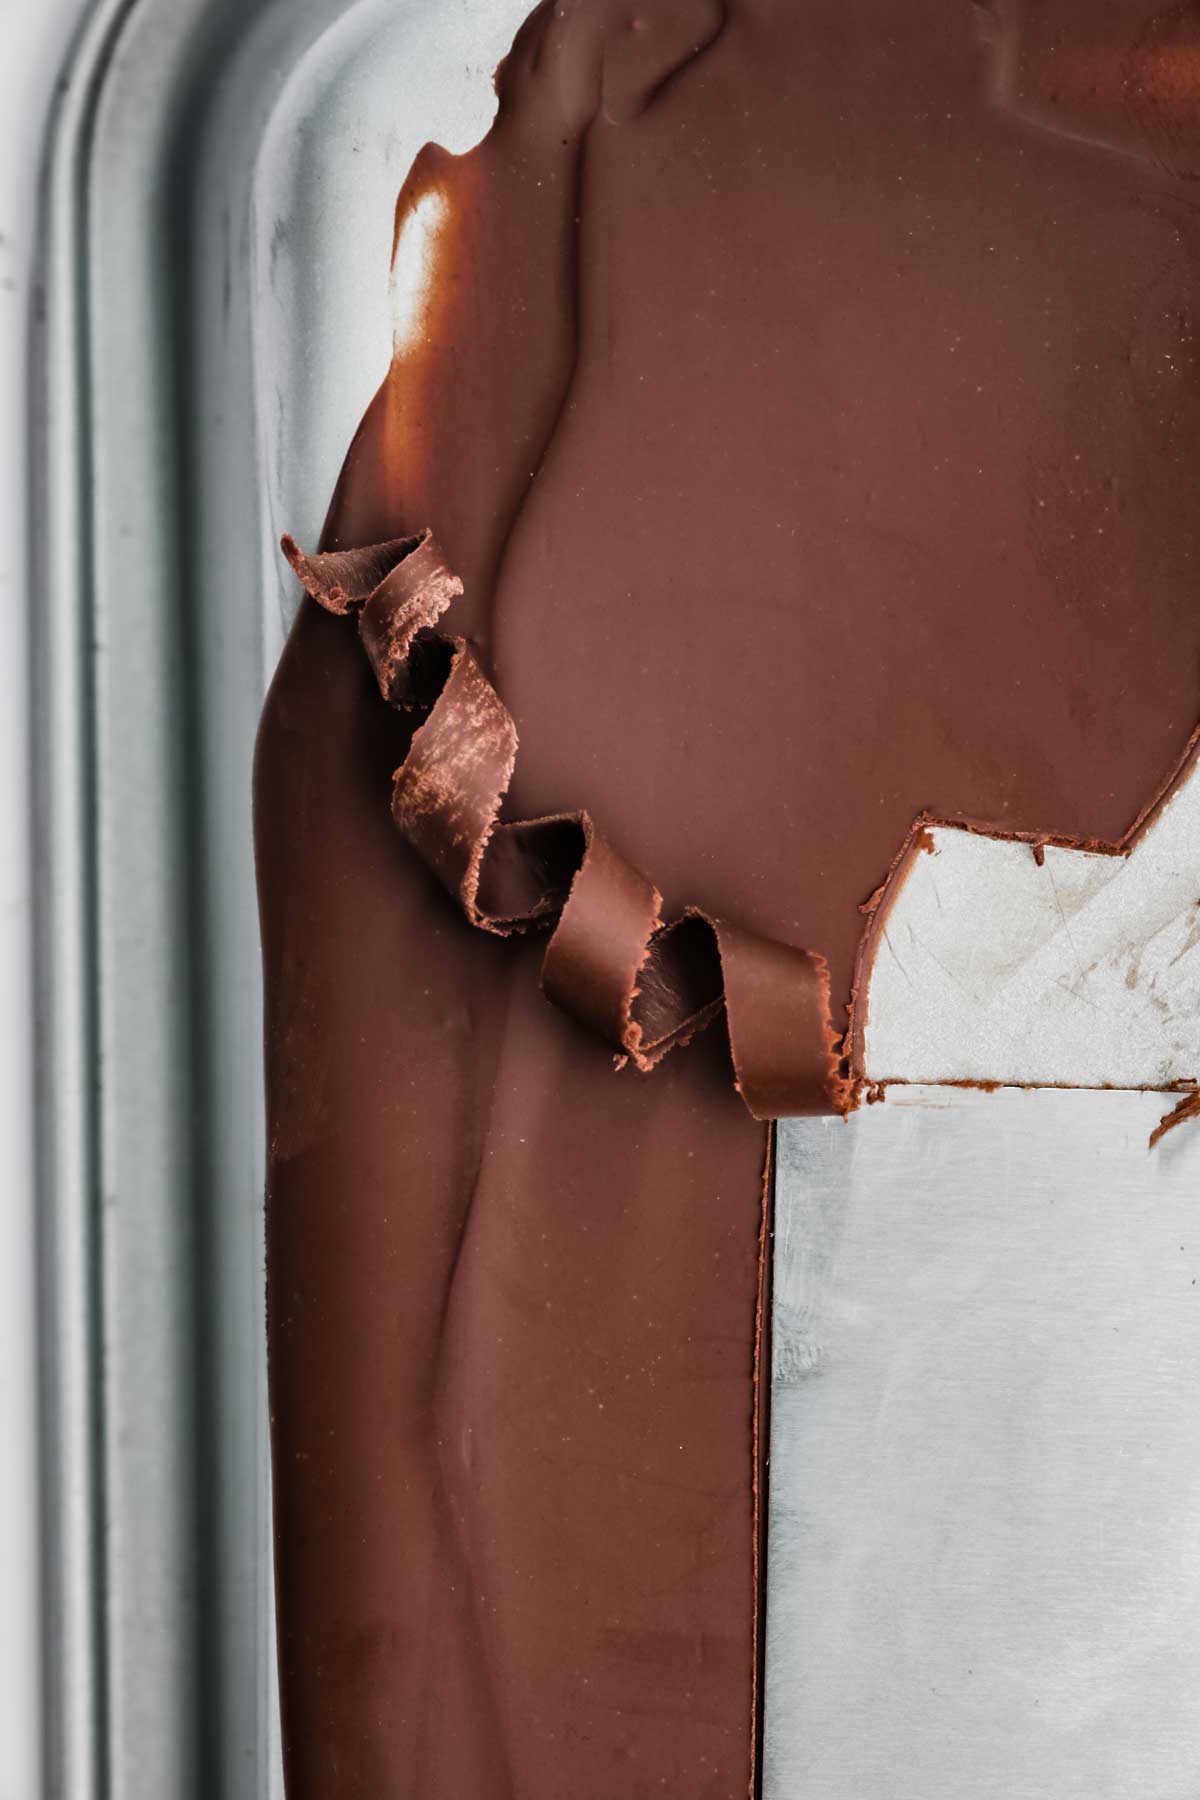
Hold a flat spatula or knife at a low angle and push forward to roll the chocolate into curls.
If it cracks → the chocolate is too cold.
If it smears → it’s still too warm.
Do I need to temper the chocolate?
Tempering isn’t required for chocolate curls, but it improves shine, texture, and durability.
Tempered chocolate sets firmer, shinier, and cleaner, which gives curls that hold their shape better on cakes and desserts.
Without tempering, the curls still work — they may just look a bit dull or fragile.
Quick tempering guide
- Melt the chocolate
- Cool it while stirring
- Reheat slightly to working temperature
- Dark chocolate: melt 50–55°C, cool to 28°C, use at 31–32°C
- Milk chocolate: melt 45–50°C, cool to 28°C, use at 30°C
- White chocolate: melt 45–50°C, cool to 27°C, use at 29°C

How to use chocolate curls
Chocolate curls are an easy way to decorate desserts and add a touch of texture and flavor. Use them on:
- Cakes and layer cakes
- Cupcakes and frosting swirls
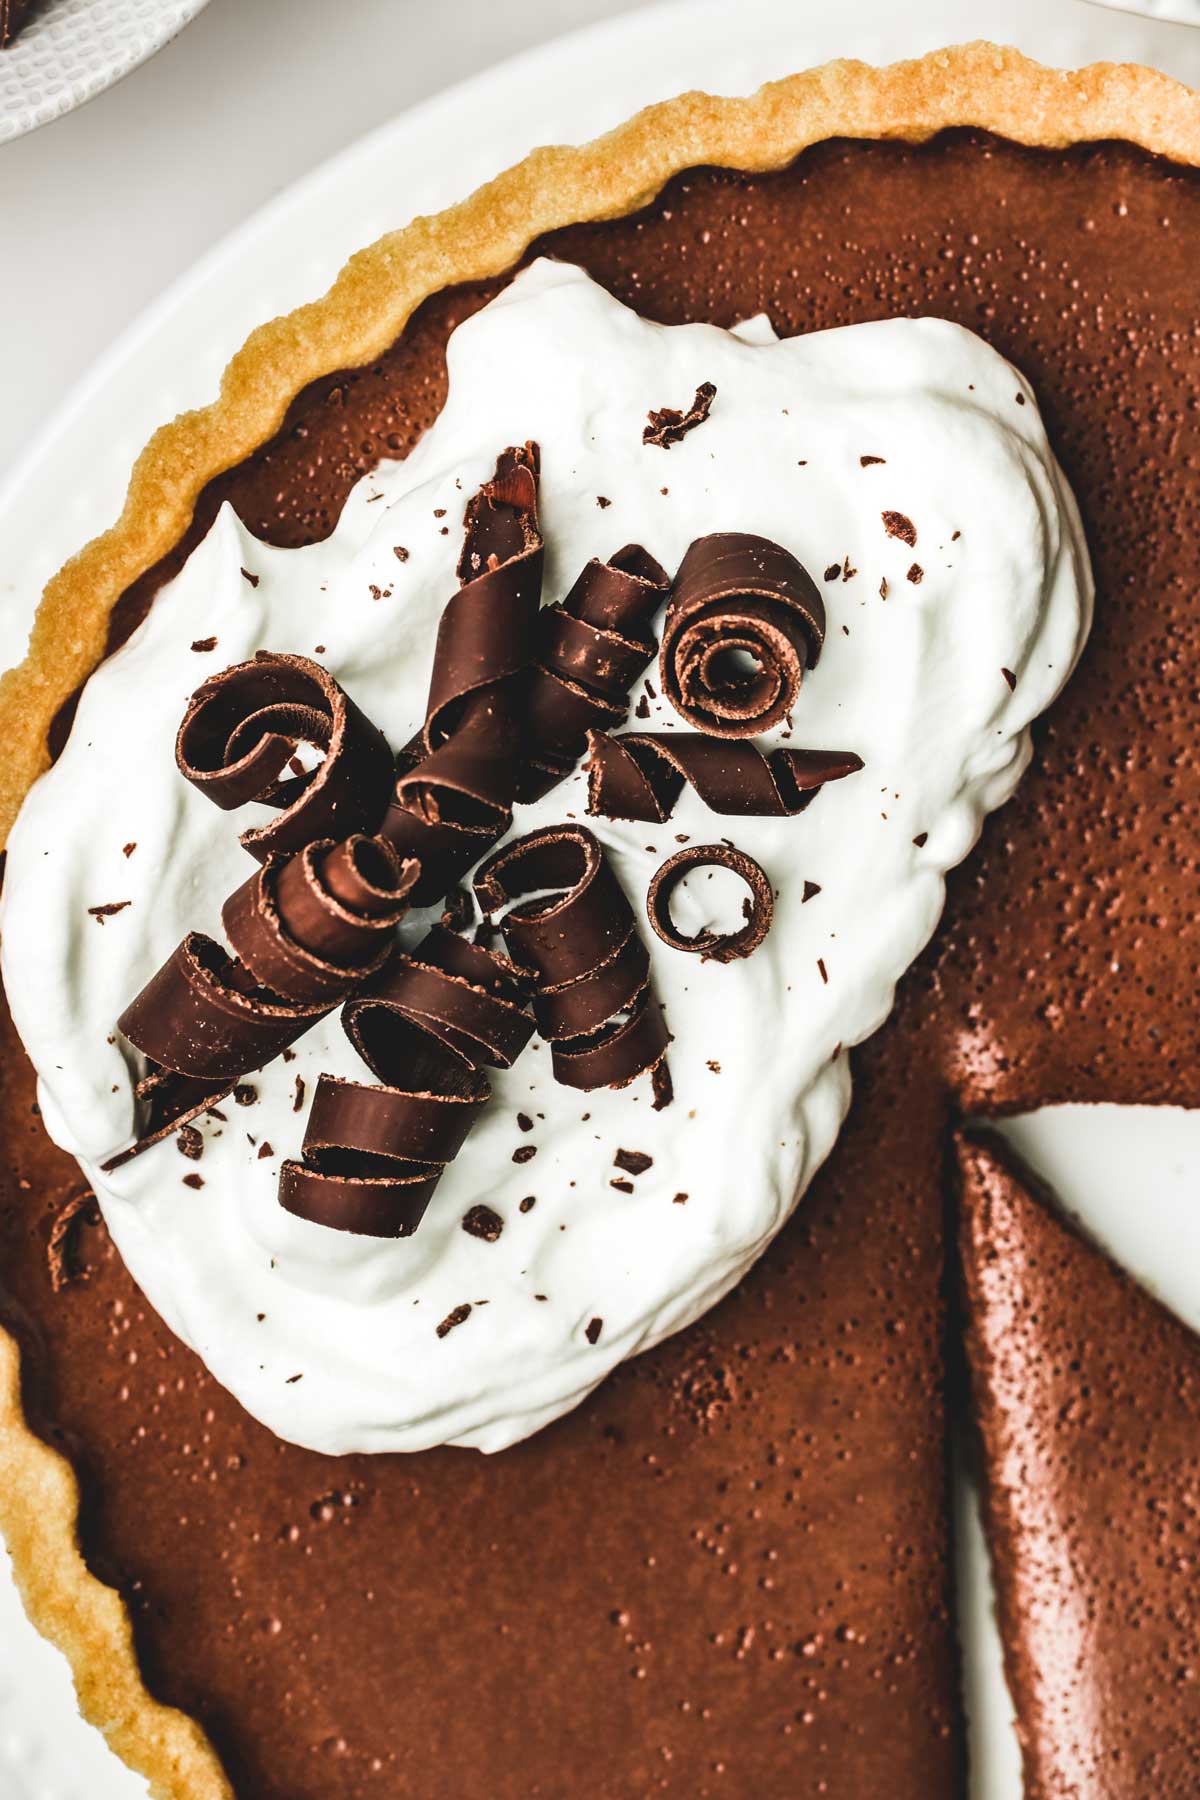
- Pies, tarts, and custard desserts
- Ice cream and frozen treats
- Hot chocolate, lattes, and festive drinks
They add a light crunch, melt quickly on the tongue, and instantly make any dessert look more refined.
Perfect for chocolate decorations on cakes, cupcakes, pies, and festive drinks.
Storage
- Keep chocolate curls in an airtight container at room temperature for several weeks.
- In warm weather, store them in the fridge or freezer to prevent melting.
- Handle them gently; chocolate curls are fragile.
Variations
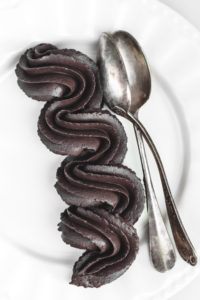
- Dark, milk, or white chocolate curls
- Marble curls by swirling two chocolates
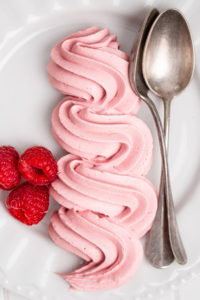
- Colored curls with cocoa butter coloring
- Citrus-zest chocolate curls
- Espresso chocolate curls for coffee desserts
Recipe Questions
How do I stop chocolate curls from breaking?
Work with chocolate that is just set. If it’s too hard, it will crack instead of curling.
Why are my curls dull or streaky?
The chocolate was not tempered. Untempered chocolate works but gives less shiny curls.
Can I make chocolate curls ahead of time?
Yes, they store very well and can be made weeks in advance in an airtight box.
What tool works best for curling?
A metal spatula or bench scraper gives the longest, cleanest curls.
More Chocolate Recipes
I hope you’ll love this recipe! Rate it ★★★★★ and leave a quick comment — it always helps. Happy baking!
Print
How to make chocolate curls
- Total Time: 20 minutes
- Yield: 2 cups of chocolate curls
Description
Easy homemade chocolate curls using dark, milk, or white chocolate. Perfect for decorating cakes, cupcakes, pies, and all your desserts with smooth curls or fine chocolate shavings.
Ingredients
200 g (3.5 oz) dark, milk, or white chocolate
Instructions
- Place the chopped chocolate in a bowl and melt it in a double boiler or microwave until completely smooth.
- Pour the melted chocolate onto the back of a baking sheet and spread it into a thin 2 mm layer using an offset spatula.
- Let the chocolate cool until it is set but not completely firm.
- Slide a metal spatula or knife along the chocolate surface to create curls or shavings. Adjust the angle and pressure to vary the curl size.
- Repeat the technique over the entire chocolate sheet.
- Gather leftover chocolate scraps, melt them again, and repeat until all the chocolate is used.
- Transfer the curls to a large airtight container.

Notes
Storage: Keep chocolate curls at room temperature for several weeks. In warm weather, store in the fridge or freezer to prevent melting.
Tempering (optional but gives shinier and stronger curls):
- Dark chocolate: Melt at 50–55°C, cool to 28°C, use at 31–32°C.
- Milk chocolate: Melt at 45–50°C, cool to 28°C, use at 30°C.
- White chocolate: Melt at 45–50°C, cool to 27°C, use at 29°C.
Tips:
- Use chocolate with enough cocoa butter for smooth curls.
- Spread a thin and even layer for clean results.
- If curls crack, the chocolate is too cold.
- If it smears, it is still too warm.
- Use a metal spatula or bench scraper for long curls.
- Prep Time: 20 minutes
- Category: chocolate
- Cuisine: American
Laura
These chocolate curls turned out amazing! So easy to make and they look beautiful on cakes. I’ll keep this method forever.