
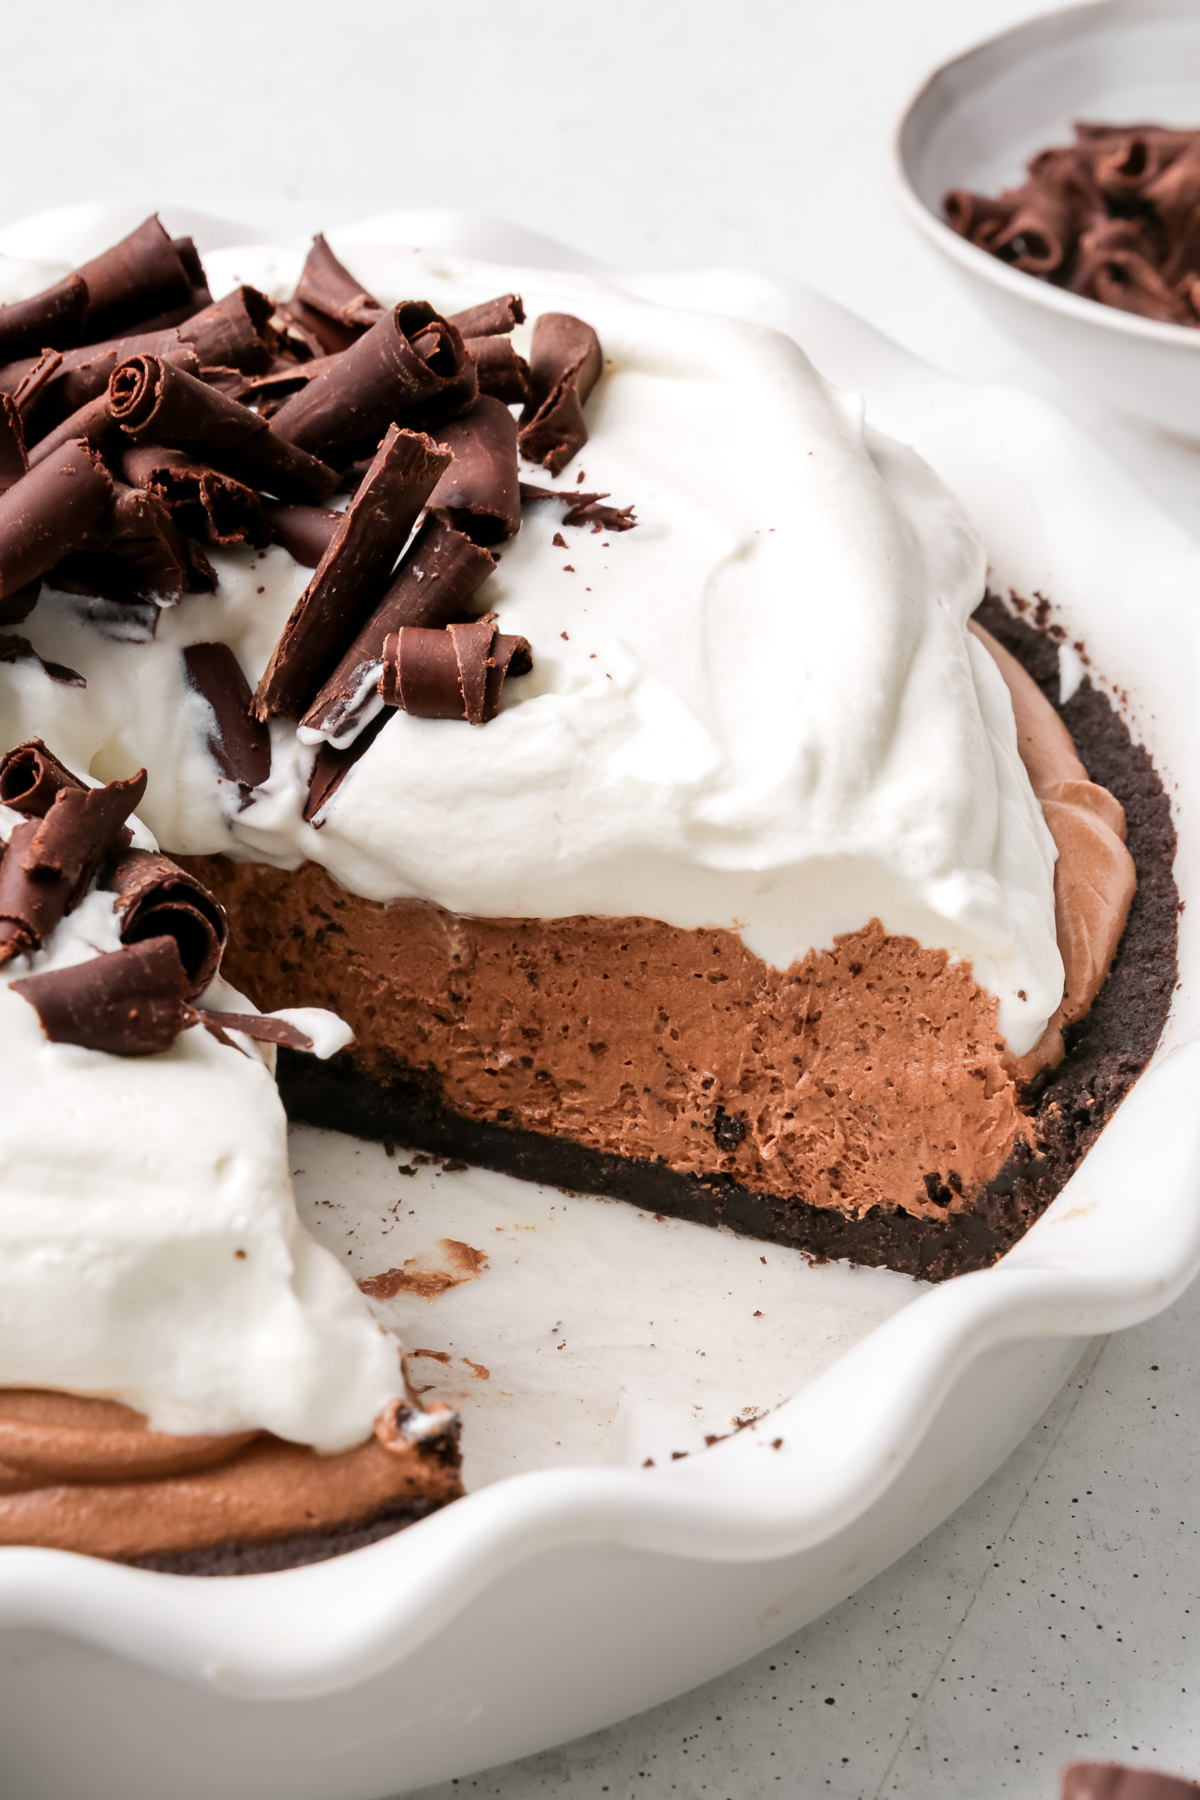
This no bake chocolate pie has a crunchy Oreo crust, a rich chocolate mousse filling, and a fluffy whipped cream topping.
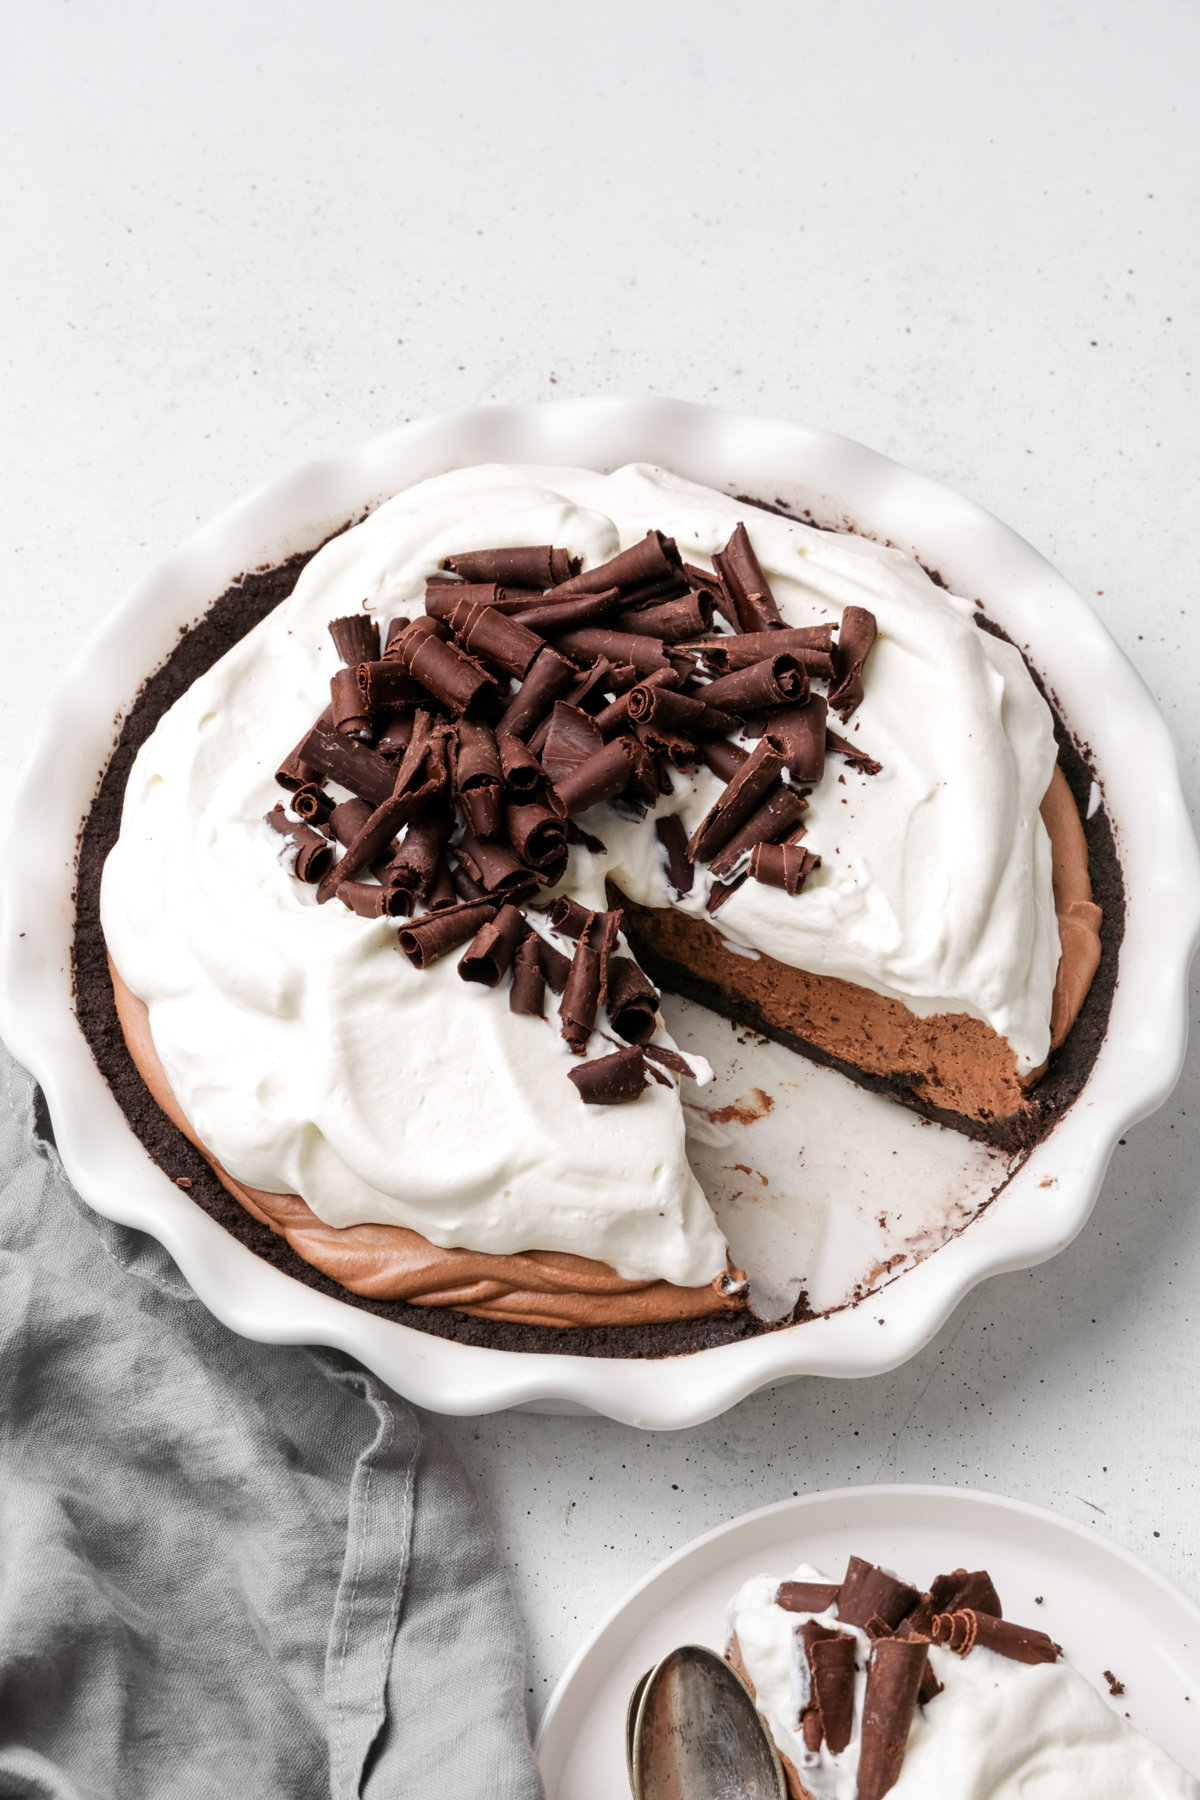
This easy homemade chocolate pie combines a silky, creamy chocolate filling with a buttery Oreo cookie crust, all without turning on the oven.
Made with real melted chocolate and topped with fresh whipped cream and chocolate curls, it’s a delicious make-ahead dessert for any occasion.
Why You’ll Love This Recipe
- No oven needed: An easy no-bake dessert with a crunchy Oreo crust.
- Rich & silky: A light, creamy chocolate mousse made with real chocolate.
- Perfect for making ahead: Prepare it the day before and chill until ready to serve.
Ingredients You Need
- Oreo cookies: For a crunchy, homemade Oreo crust.
- Unsalted butter: Melted for the crust and softened for a smooth, rich chocolate filling.
- Dark chocolate: Use good-quality baking chocolate for a deep chocolate flavor and silky mousse.
- Eggs: Give the chocolate mousse its rich, creamy texture.
- Granulated sugar: Sweetens the chocolate filling.
- Heavy whipping cream: Use cold cream (at least 35% fat) for the mousse and whipped cream topping.
- Powdered sugar: Lightly sweetens the whipped cream.
- Vanilla extract: Enhances the chocolate flavor.
- Chocolate curls: Optional, for decorating the finished pie.
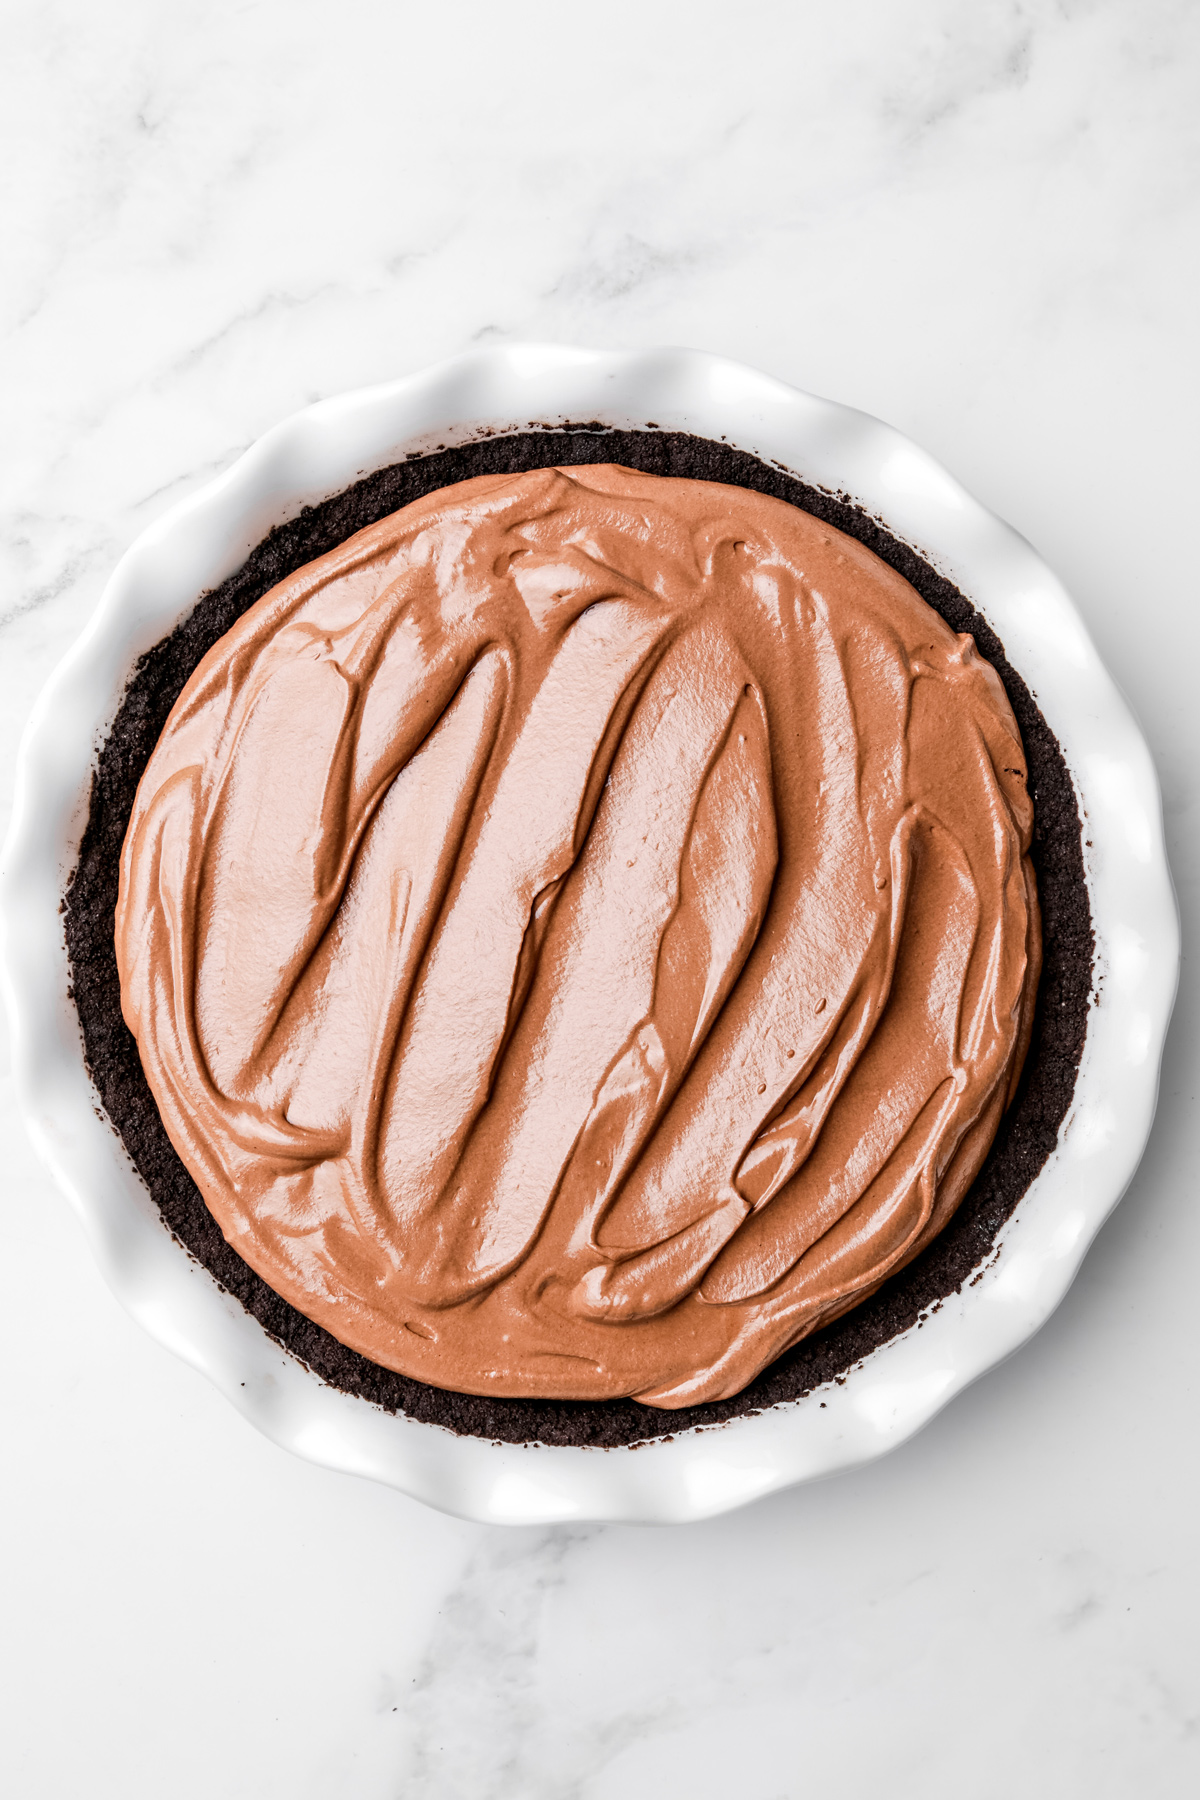
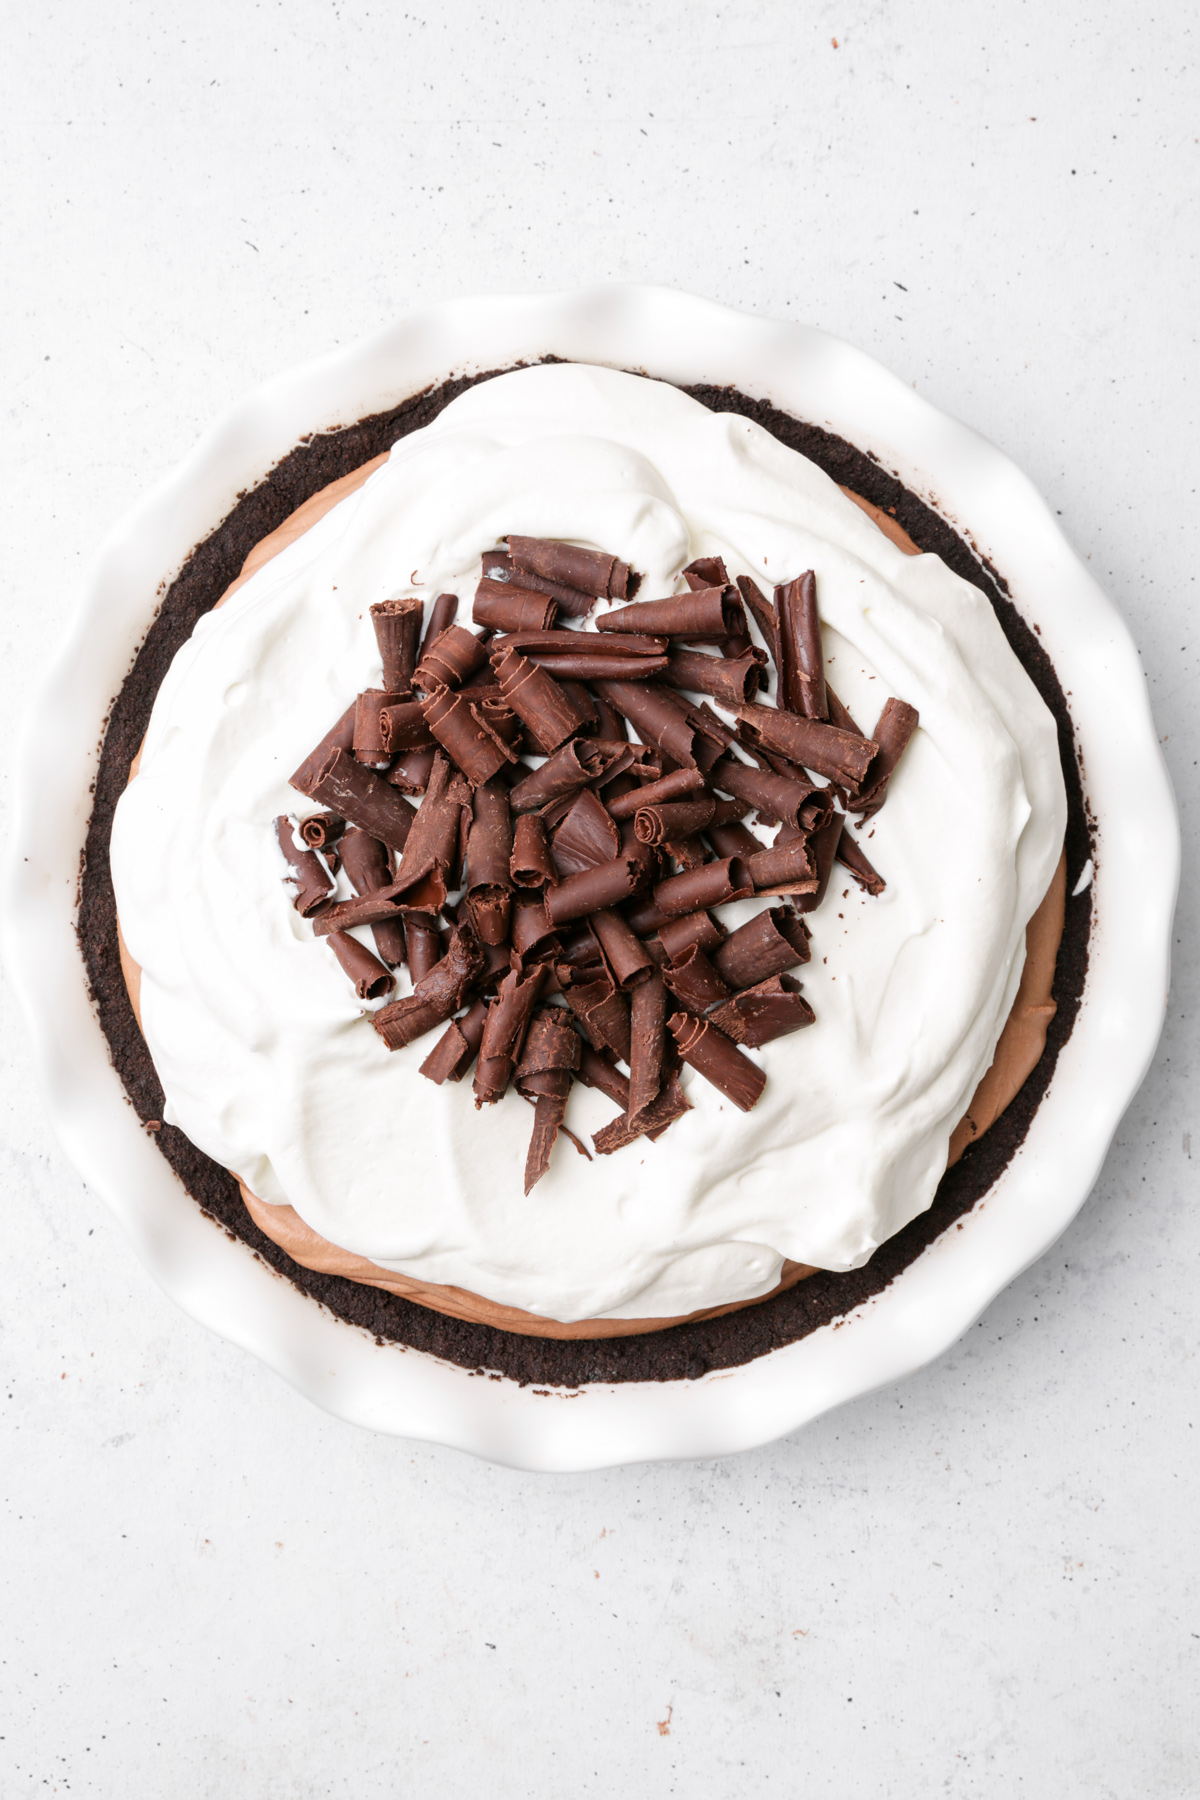
How to Make No Bake Chocolate Pie

Tips for the Best No Bake Chocolate Pie
- Use quality chocolate: Choose good-quality dark baking chocolate for a rich, smooth mousse.
- Press the crust firmly: Pack the Oreo crumbs tightly into the pie dish so the crust holds together.
- Cool the chocolate mixture: Let it cool before adding the whipped cream to prevent it from melting.
- Use cold heavy cream: Whip to firm peaks and gently fold into the mousse to keep it light and airy.
- Chill overnight: Refrigerate for at least 4 hours, preferably overnight, for clean slices and the best texture.
Storage
Store your no bake chocolate pie covered in the refrigerator for up to 3 days. Keep chilled until ready to serve.
Variations
- Graham cracker crust: Swap the Oreo crust for a classic graham cracker crust.
- Chocolate whipped cream: Replace the vanilla topping with homemade chocolate whipped cream.
- Peanut butter: Add a layer of creamy peanut butter between the Oreo crust and chocolate mousse.
- Fresh berries: Top with fresh raspberries or strawberries for a fruity twist.
Recipe Questions
Can I make no bake chocolate pie ahead of time?
Yes! Prepare the pie a day ahead and refrigerate overnight. Add the whipped cream topping before serving.
How long does chocolate mousse pie need to set?
Refrigerate for at least 4 hours, preferably overnight, until the chocolate mousse filling is firm enough to slice.
Can I use a different crust?
Absolutely! Try a graham cracker crust or a baked pastry crust instead of the Oreo cookie crust.
Why is my chocolate mousse pie too soft?
The chocolate mixture may have been too warm when you added the whipped cream, or the pie may need more chilling time.
More Pie Recipes
I hope you’ll love this recipe. If you try it, feel free to leave a comment. Happy baking!
Print
No Bake Chocolate Pie with Oreo Crust
- Total Time: 0 hours
- Yield: 10 serving
Description
This easy no bake chocolate pie features a crunchy Oreo crust, a rich and silky chocolate mousse filling, and fluffy whipped cream topped with chocolate curls.
Ingredients
Oreo Crust
- 325 g (about 30 cookies) Oreo cookies
- 60 g (¼ cup) unsalted butter, melted
Chocolate Mousse Filling
- 4 large eggs, room temperature
- 190 g (¾ cup + 3 tbsp) granulated sugar
- 225 g (8 oz) semisweet baking chocolate, chopped
- 2 tsp vanilla extract
- 1 pinch salt
- 155 g (11 tbsp) unsalted butter, softened
- 290 ml (1¼ cups) heavy whipping cream, cold (at least 35% fat)
Whipped Cream Topping
- 200 ml (¾ cup + 1 tbsp) heavy whipping cream, cold (at least 35% fat)
- 1 tbsp powdered sugar
- 1 tsp vanilla extract
Chocolate Curls
- 100 g (3.5 oz) semisweet baking chocolate, chopped
Instructions
Oreo Crust
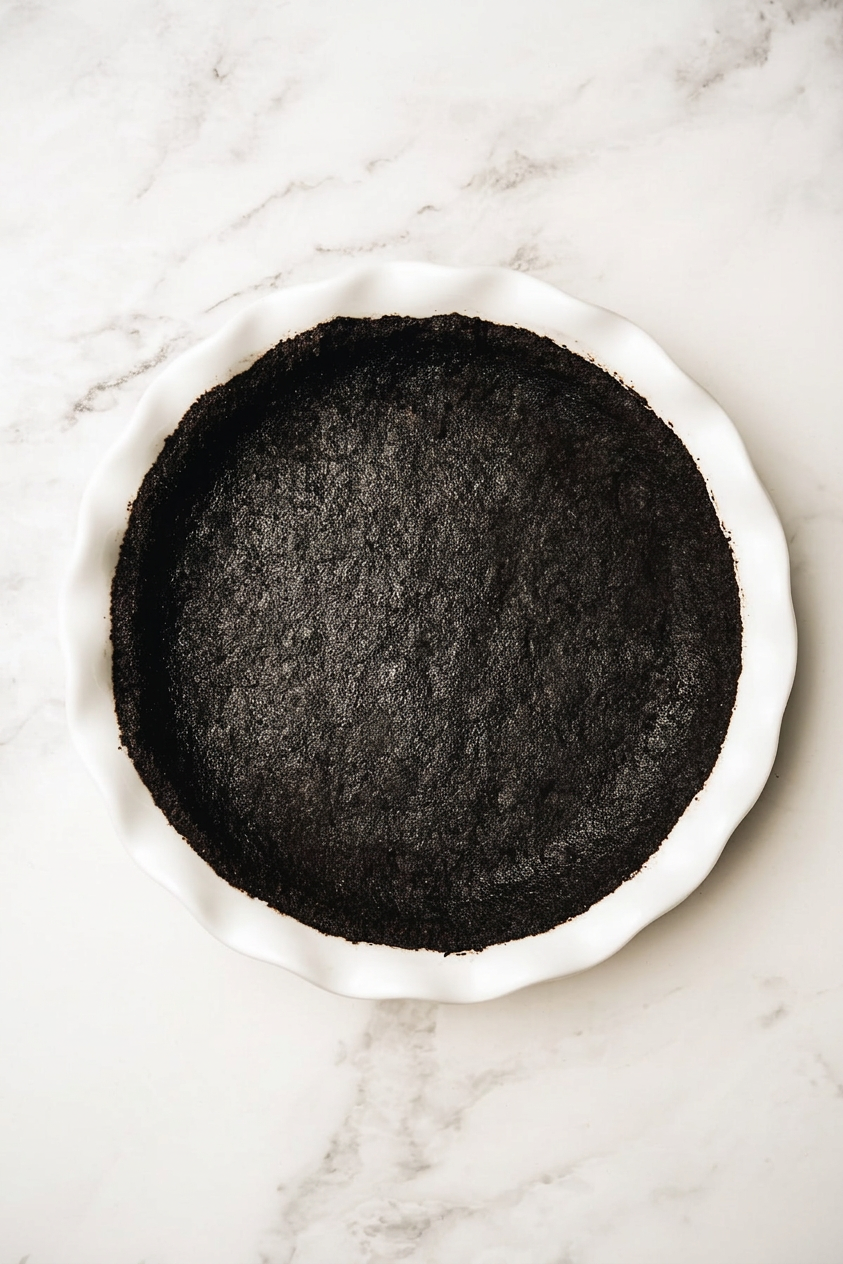
- Crush the Oreo cookies into fine crumbs using a food processor.
- Mix with the melted butter until evenly combined.
- Press the mixture firmly into the bottom and sides of a 9-inch (23 cm) pie dish.
- Refrigerate for at least 30 minutes while preparing the chocolate mousse.
Chocolate Mousse Filling
- Whisk the eggs and sugar in a heatproof bowl over a saucepan of gently simmering water, stirring constantly. Use a thermometer to monitor the temperature.
- Remove from the heat and stir in the melted chocolate, vanilla extract, and salt. Let cool until lukewarm.
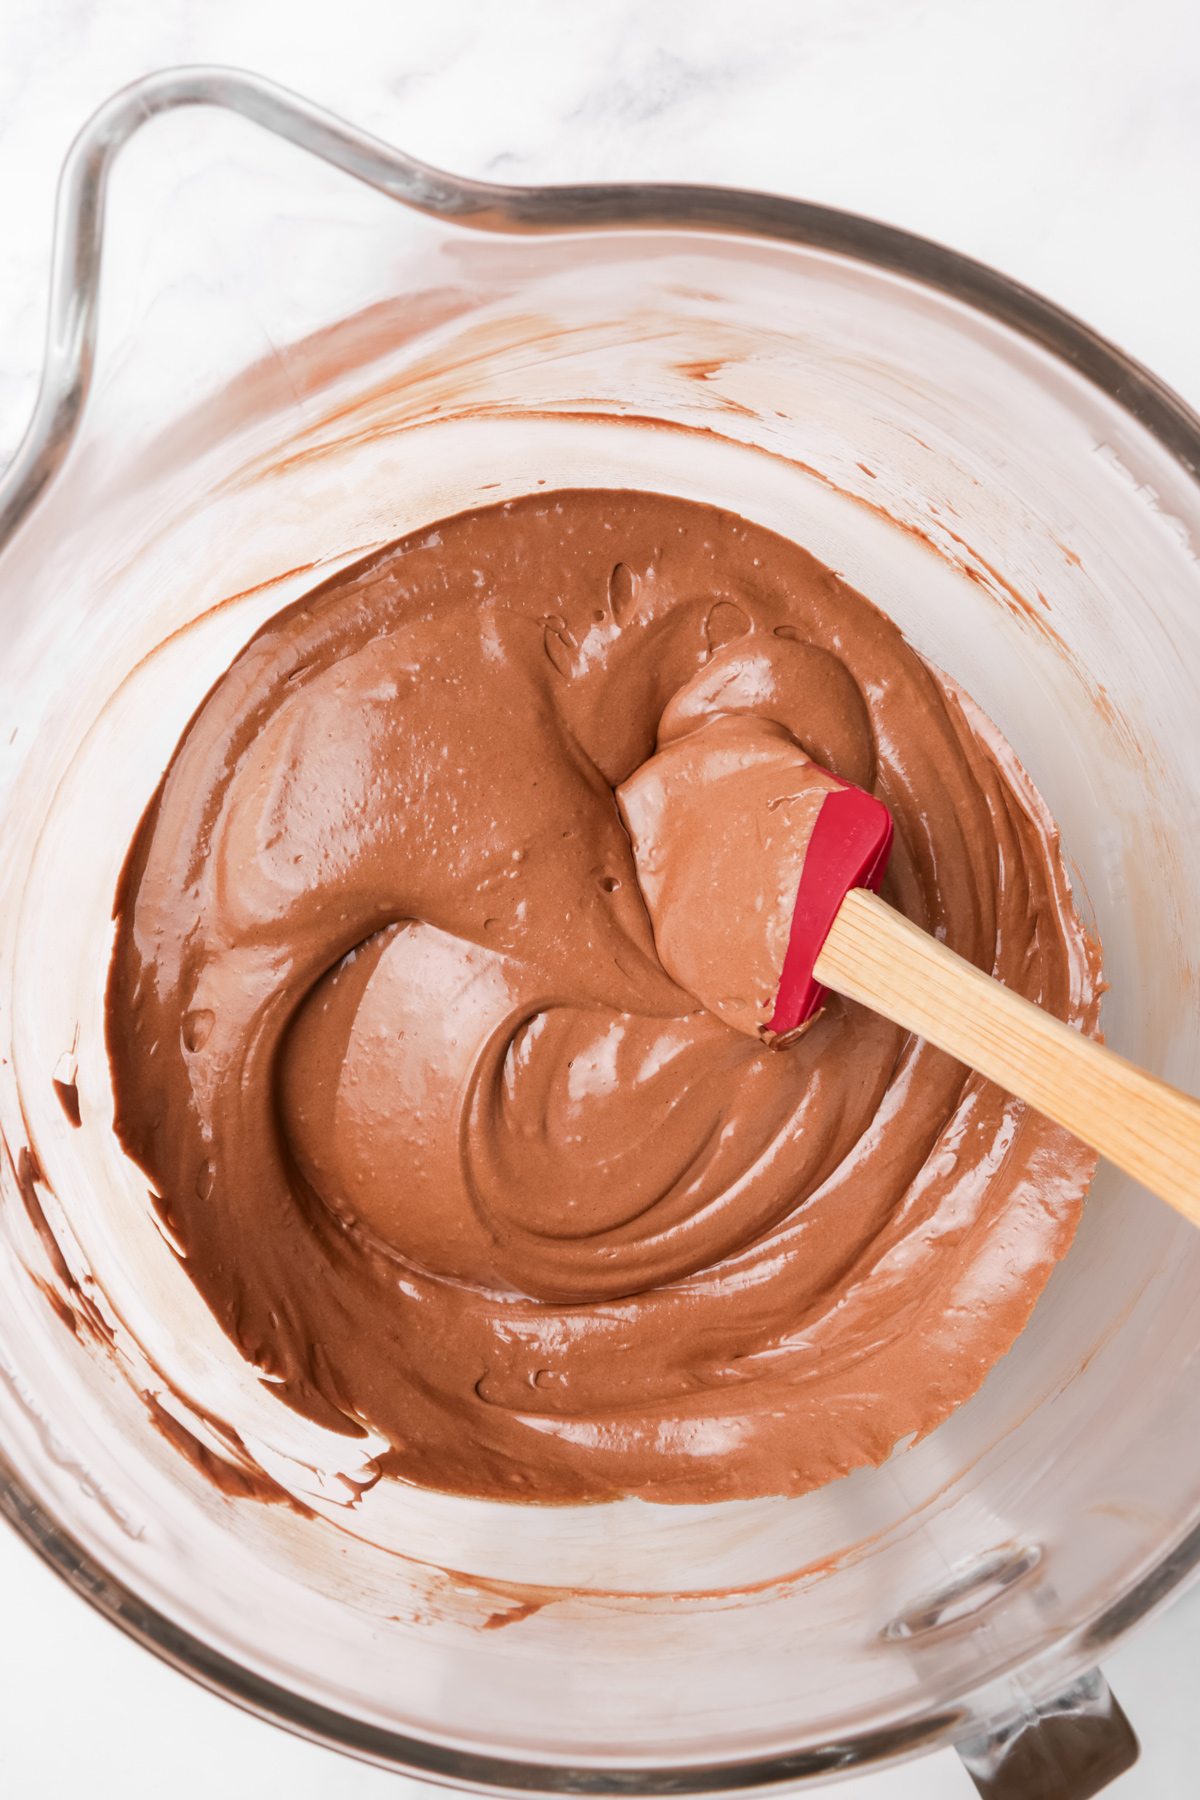
- Beat the softened butter in a stand mixer fitted with the whisk attachment for about 5 minutes, until pale and creamy.
- Add the chocolate mixture gradually, mixing until smooth and fully combined.
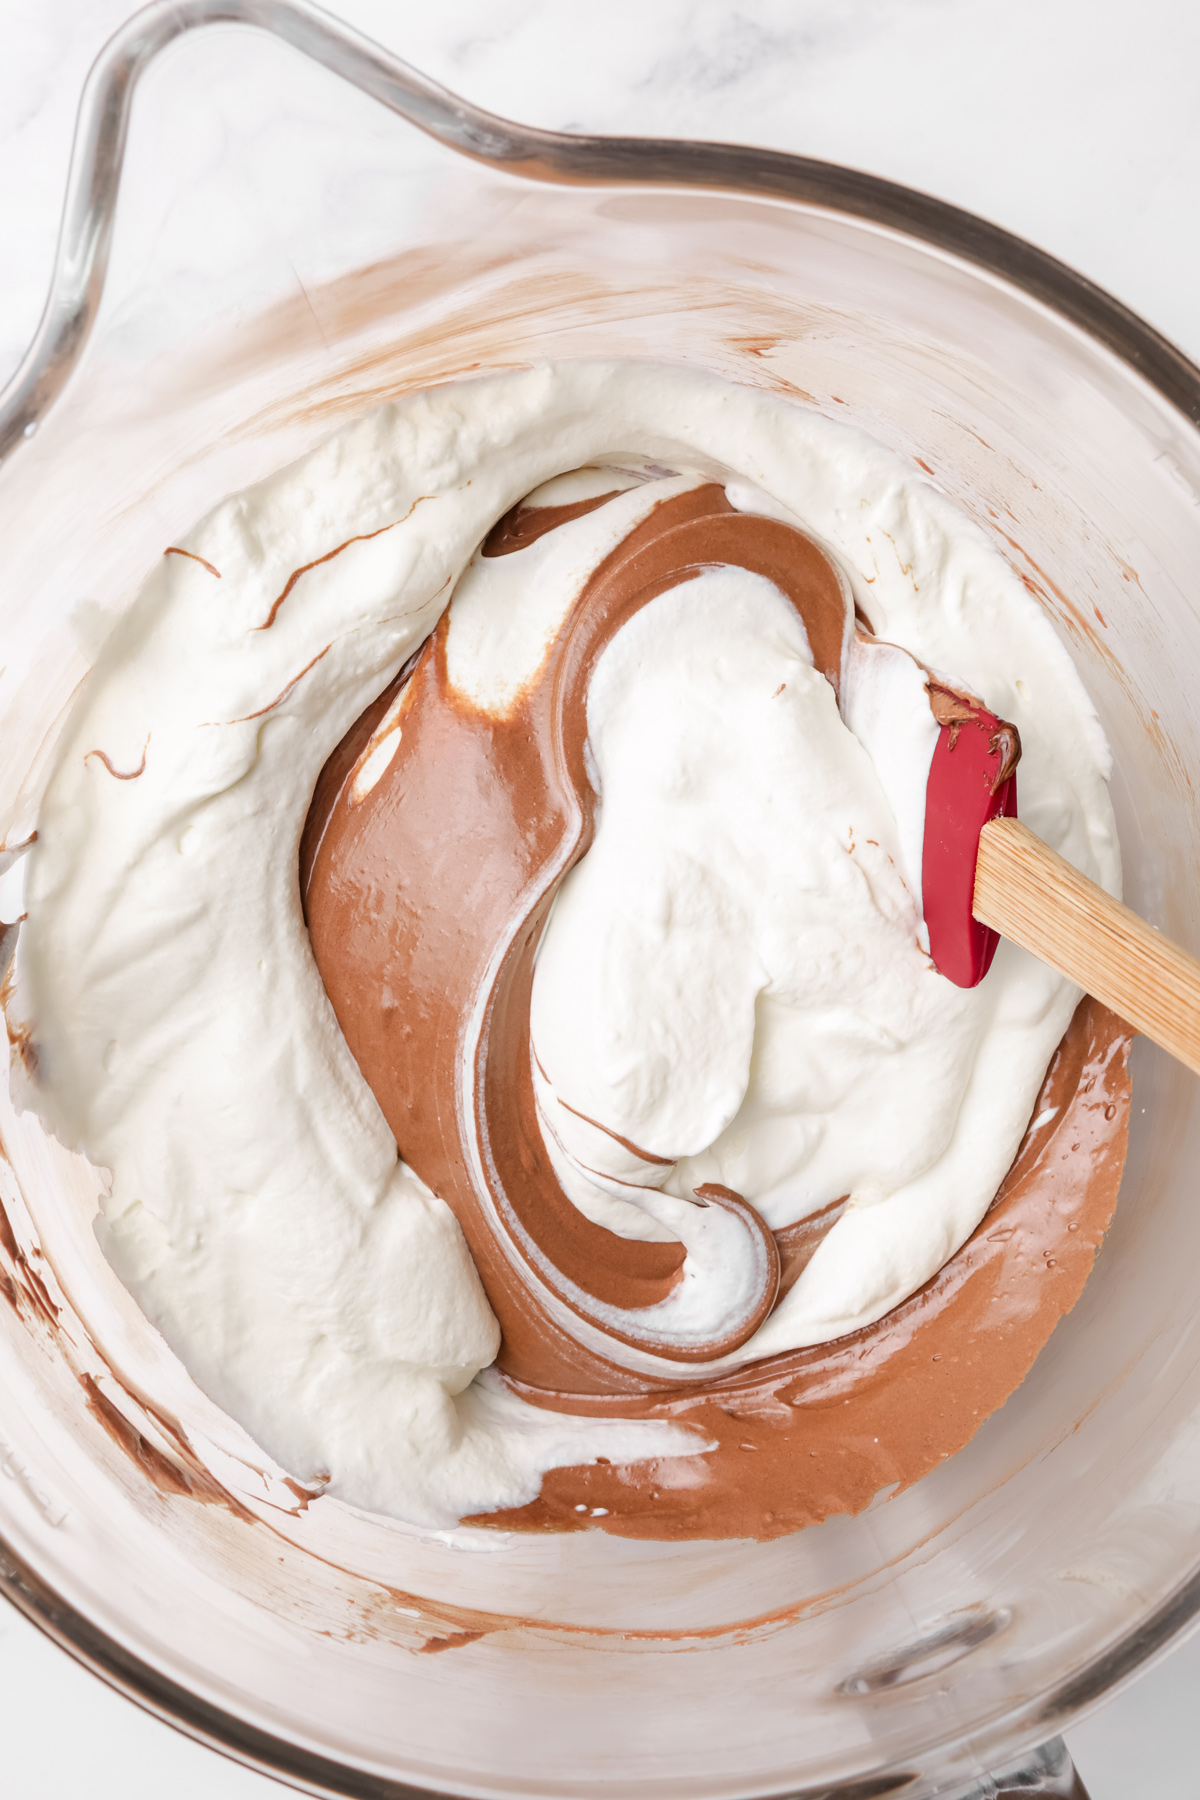
- Whip the cold heavy cream in a separate bowl until firm peaks form.
- Fold the whipped cream gently into the chocolate mixture using a spatula until smooth and airy.
- Spread the chocolate mousse filling evenly over the chilled Oreo crust.
- Refrigerate for at least 4 hours, preferably overnight, until completely set.
Chocolate Curls
- Chill a baking sheet in the freezer for about 10 minutes.
- Melt the chopped chocolate in the microwave or over a double boiler.
- Spread a thin layer of melted chocolate over the cold baking sheet using an offset spatula.
- Scrape the chocolate with a metal spatula once it has set but is still slightly flexible, forming chocolate curls. Keep in a cool place.
Whipped Cream Topping
- Combine the cold heavy cream, powdered sugar, and vanilla extract in a mixing bowl.
- Whip until medium-stiff peaks form, being careful not to overwhip.
- Spread the whipped cream over the chilled chocolate pie.
- Decorate with chocolate curls and refrigerate until ready to serve.




Notes
- Chocolate: Use good-quality semisweet baking chocolate for a rich, smooth filling.
- Butter: Make sure the butter is soft but not melted before whipping.
- Heavy cream: Keep it cold for the best whipped texture.
- Chilling: Refrigerate overnight for a firmer mousse and cleaner slices.
- Storage: Keep covered in the refrigerator for up to 3 days.
- Prep Time: 30 minutes
- Chill time: 4h30
- Cook Time: 10 minutes
- Category: Pie
- Cuisine: American
Nutrition
- Calories: 621
- Sugar: 42
- Sodium: 297
- Fat: 46
- Saturated Fat: 26
- Carbohydrates: 53
- Fiber: 2
- Protein: 5
- Cholesterol: 149


Menolly
Can we make it with whipped chocolate Ganache instead of chocolate mousse? I have leftover Ganache I need to use. Thank you.
Fadela
Sorry for the delayed response! Absolutely, using whipped chocolate ganache instead of chocolate mousse is totally doable. It will add a rich and luxurious flavor to the pie, especially with your leftover ganache. Enjoy your baking!